When growing onions, every gardener dreams of getting a big harvest. Among the numerous varieties of this crop, Exhibition onion stands out, capable of producing a good harvest using a minimum area. This is achieved due to the fact that the bulbs are large and weigh up to 800 grams. Onions are in demand in large families not only because of their size, but also because of their pleasant sweetish taste.
- A little about the variety
- Planting seeds and seedlings
- Selecting the required area for the onion
- Preparing the soil before planting
- Preparing a garden bed
- Preparing seedlings for planting in the ground
- Preparing seeds before planting
- Landing in the ground
- What conditions are required?
- Temperature
- Lighting
- Care
- Feeding
- Disease and pest control
- Onion harvesting
- Useful tips and reviews
A little about the variety
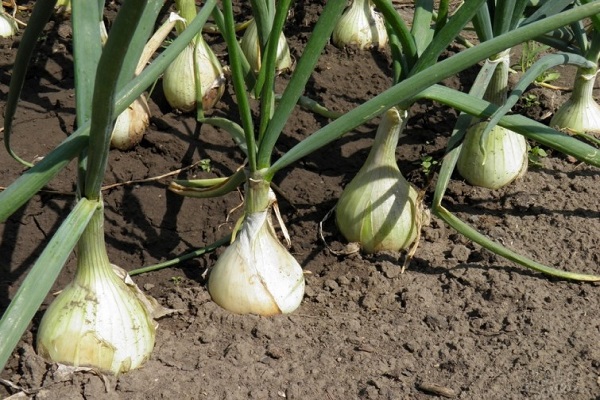
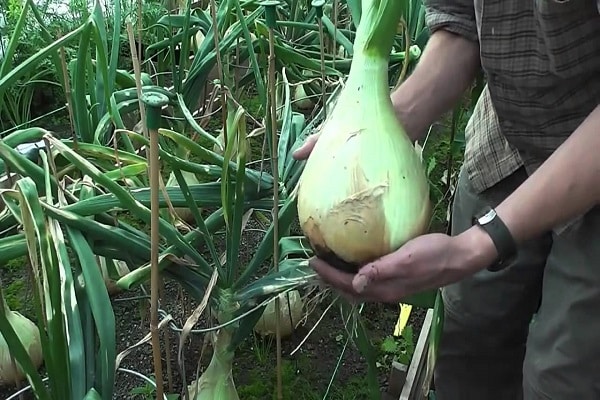
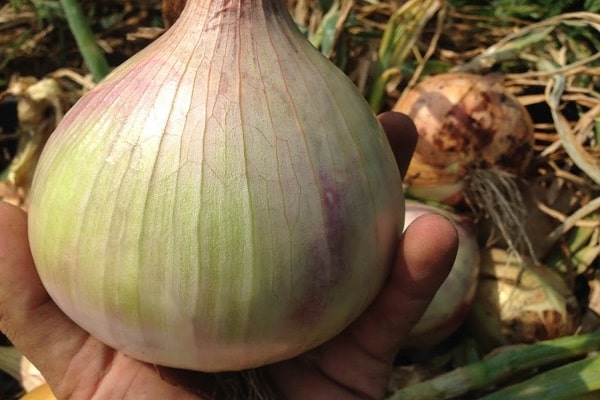
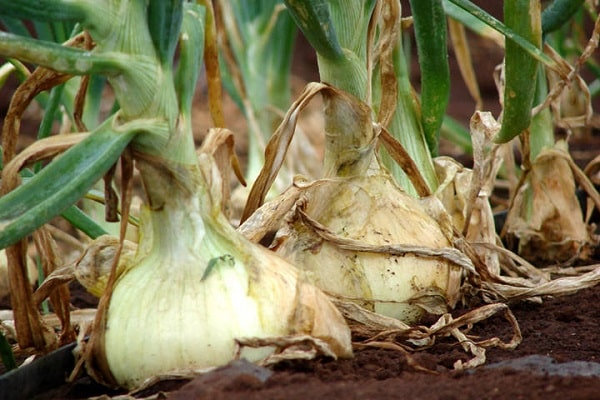
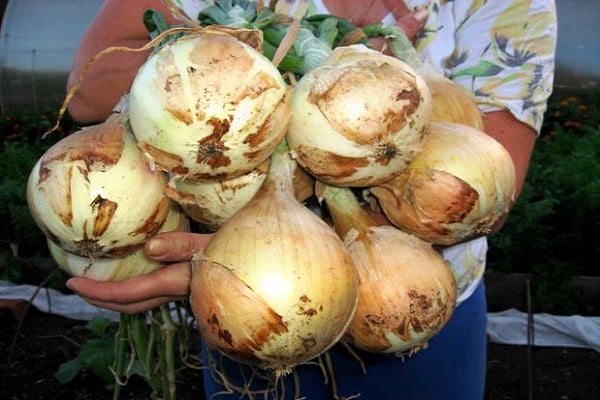
Exhibition stands out among the best large-fruited varieties. Bulbs, depending on care, can weigh from 150 to 800 grams, so the yield ranges from one square meter to 4.5 kg.
It is a Dutch variety that is obtained from seeds. In the southern regions it is sown in open ground. In the middle zone and in the north, it is recommended to first obtain seedlings and plant them in a permanent place of growth in the spring.
The description of the Exhibition onion variety and its characteristics are as follows:
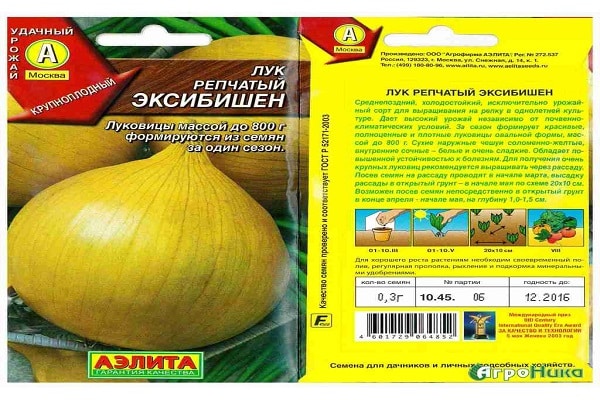
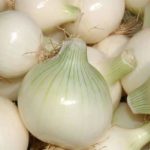
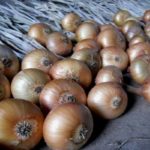
- The large heads of the bulbs are yellow in color, with thin scales, have a rounded elongated shape, and the neck is thickened.
- The onion inside is white, juicy and tender in consistency, with a sweetish taste without bitterness. It is better to eat fresh, adding to salads. When cutting butter, it does not irritate the eyes and nose.
- The growing season is about 130 days. Onions remain fresh for about 3-4 months, then they begin to sprout greens.
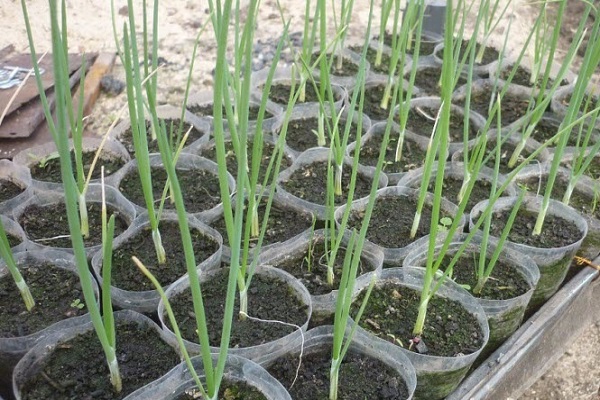
Seeds are sown for seedlings due to the long development period. Onions grow well in any soil. When grown in seedlings, the bulbs turn out to be very large: they weigh from 500–800 grams. When sown with seeds, they grow much smaller - up to 150–300 grams.
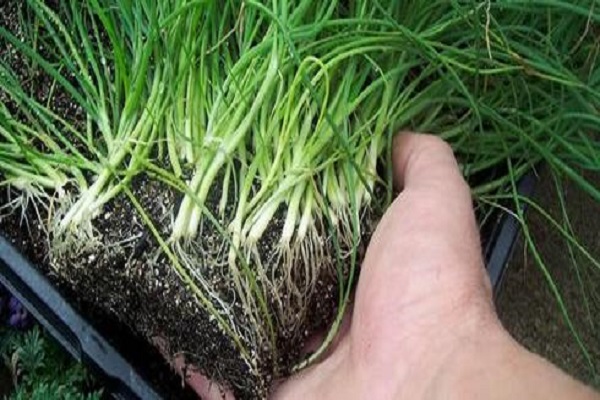
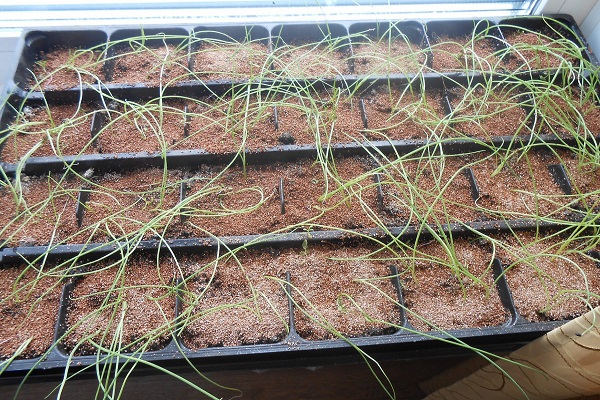
Planting seeds and seedlings
There are two ways to grow onions - seedlings and from seeds. The first method is the most popular because it is a 100% guarantee of obtaining onions. The seedlings take root and develop well. Not all seeds germinate well, and there is no exact guarantee that a bulb can be obtained from each grain.
Selecting the required area for the onion
To plant onions, you need a well-lit area.
According to the advice of gardeners, attention should be paid to:
- looseness of the soil and its acidity, which should not be high, preferably neutral and moisture-resistant;
- the place should be warm, the soil can be either sandy or sandy loam.
Preparing the soil before planting
Before planting plants, it is necessary to prepare the soil. It is good if the soil consists of turf soil, humus and mullein, preferably rotted. All additives must be mixed using a rake.
Thanks to such preparation, it will be possible to grow a good harvest.

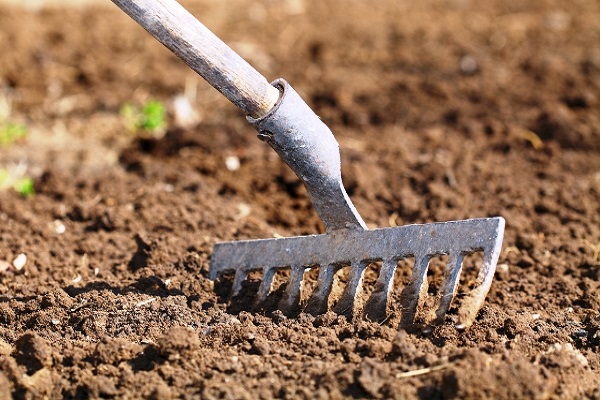
Preparing a garden bed
To ensure proper planting, the bed should be prepared in the fall. It is recommended to dig it up, remove weed roots and debris.
With the onset of spring, the soil in the beds must be loosened using a hoe and a rake, then grooves must be drawn, maintaining a distance of 30 cm. It is recommended to install arches on the bed with onions to cover it with film or agrospan in case of cold weather and bird attacks.
Preparing seedlings for planting in the ground
To grow Exhibition onions through seedlings, it is recommended to treat the seeds with a solution of potassium permanganate. The temperature of the liquid should be about 40 °C, then the seeds must be slightly dried so that they do not stick to your hands and can be sprinkled.
You can soak them to wake up in warm filtered water with aloe juice, then wrap them in damp gauze and keep them like that for about 3-4 days. It is usually recommended to plant seeds for seedlings in late February and early March.
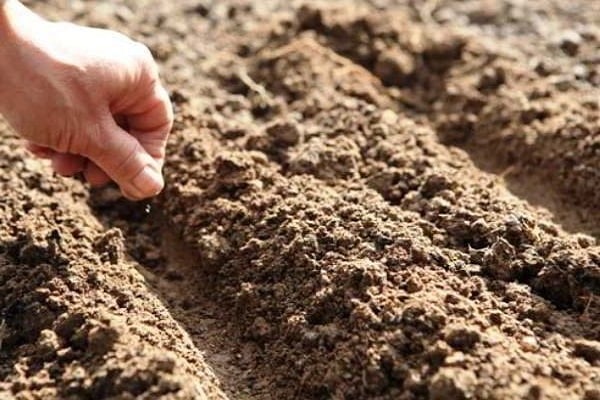
Preparing seeds before planting
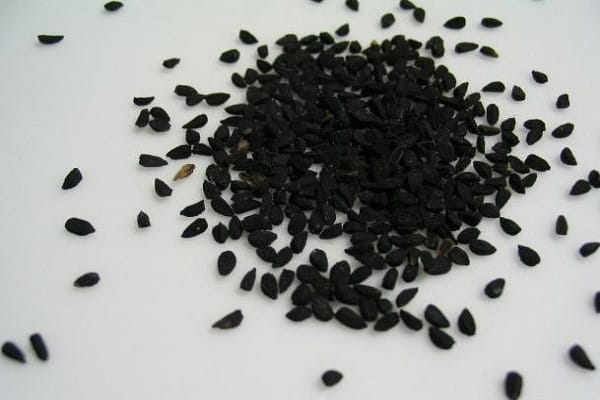
Growing exhibition onions from seeds is considered a simpler method, however, it does not guarantee the germination of all seeds.
Before sowing the seeds, it is necessary to carry out preparatory work:
- Soak for 3 hours in warm water, the temperature of which should be 25 ° C.The seeds are kept in a damp cloth for about 3–4 days to allow them to swell.
- Disinfect with a manganese solution. The seeds are immersed in the pink composition, heated to a temperature of 40 ° C, overnight: about 8 hours. Dry slightly.
- In order for the seeds to be planted at the same distance, they must be glued to toilet paper, which is cut into ribbons and glued with a specially prepared starch paste. A drop of glue is dropped onto the paper at a distance of 5–7 cm, and a seed is placed in it. It is important to wait until the glue dries and the achene sticks.
- Such tapes are laid in grooves and covered with a layer of light soil; the soil can be lightly mulched to better retain moisture.
- To avoid the occurrence of fungal diseases, the soil must be treated with Fitosporin.
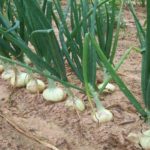
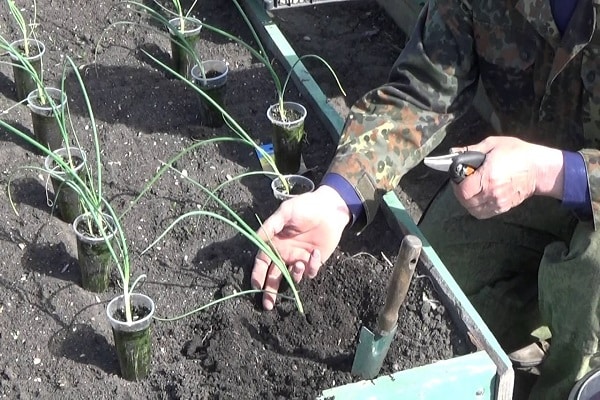
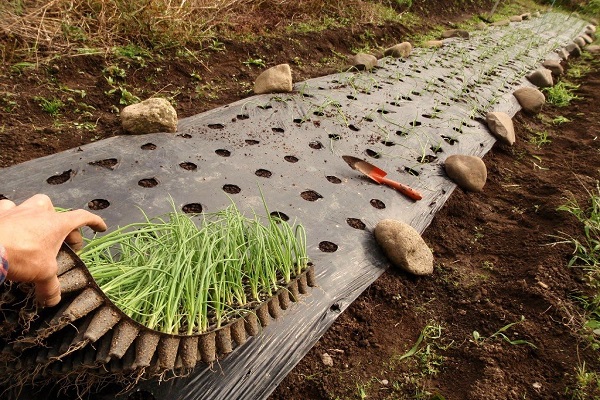
Landing in the ground
The resulting seed material is planted in open ground in early May. To do this, grooves are drawn at a distance of 30 cm. A distance of 20–25 cm is maintained between the bulbs. The holes are made using fingers. Exhibition onion heads are planted to a depth of 3 cm.
What conditions are required?
Growing and further caring for Exhibition onions will require maintaining certain rules. First, you will need to prepare a container, fill it with moist soil prepared in advance, and draw shallow grooves at a distance of 2 cm from each other.
Place the seeds on top and sprinkle about 1.5 cm of soil. Then cover with glass or film and place in a warm place.
After the seedlings are 2 months old, it is necessary to begin hardening them; for this, the containers are taken out onto the balcony or loggia. Gradually, the hardening time is increased: they start with 5 minutes and increase to 30, depending on the weather outside and the temperature.
Temperature
An important condition for growing onions is maintaining the correct temperature of at least 20–25 °C. In the future, it is advisable to monitor the moisture of the soil, but it is better not to water it, since thanks to the coating it will not be able to evaporate. It is recommended to shake the resulting condensation on the film onto the ground. Onions sprout in about 10–14 days.
Lighting
To achieve a good harvest, with the emergence of seedlings, the boxes with seedlings should be moved to a well-lit place. It is advisable that the temperature regime be maintained. During the day it should not be lower than 17 °C, and at night it is reduced to 15 °C.
If the days are short, the seedlings must be illuminated, bringing the daylight hours to 12 hours, so that they turn out strong.
In addition, it is necessary to monitor soil moisture and ventilation of the room; to do this, regularly open the windows, but avoid drafts.
Picking is not carried out, so you can sow Exhibition onion seeds in separate cups of 2 seeds over a period of one season. Only one should grow, so a strong plant is chosen and the other is removed.
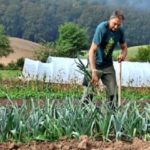
Care
After planting the seedlings or once the seeds have sprouted, you need to create the right conditions for care.
This won't be difficult:
- To maintain moisture, the soil must be mulched. To do this, the beds are covered with straw, peat or moss.
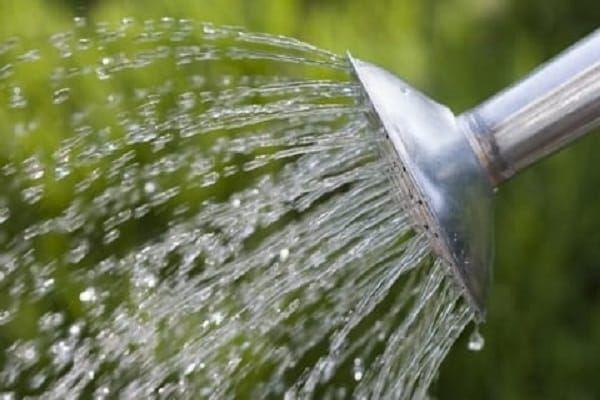
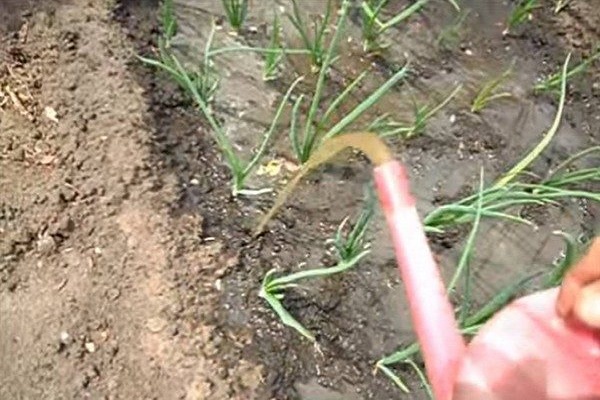
- Do not let the soil dry out. Carry out regular watering with settled water. At the end of July, watering is stopped so that the bulbs become stronger and not loose. Since in this case the crop is poorly stored.
- After watering, it is recommended to loosen between the rows.
- Be sure to carry out fertilizing onions Exhibition of fertilizers in open ground.
- To prevent onion feathers from falling off, they are fixed to a peg or cut to 10 cm.
- To prevent onions from being damaged by the onion fly, it is recommended to plant a bed of carrots nearby.
Feeding
You can count on a good harvest only by growing Exhibition onions with the necessary care. Do not forget about monthly fertilizing, using potassium, nitrogen, and phosphorus fertilizers when watering.
It is best to fertilize with complex mineral fertilizers. They are added every other day, with the expectation that 1 gram is diluted with 2 liters of water.
It is also important to keep the beds clean from the presence of weeds: they need to be removed while loosening the soil, which is best done after each watering.
It is important to remember: in July there is no longer any need to feed the Exhibition onion with anything. The bulbs go dormant, and excessive feeding can only damage the harvest.
Disease and pest control
Unfortunately, Exhibition onions are as susceptible to disease as they are to attack by pests. If diseased plants are detected, it is advisable to immediately begin therapy.
Onions can be affected by the following diseases:
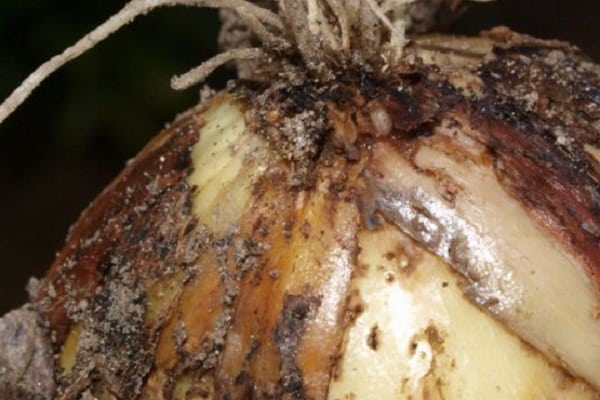
- Rot. It is very difficult to recognize, you can only notice that the tops have turned yellow and lay on the ground. It spreads right to the bottom. The root part of the onion acquires a white coating. As a result, it stops growing and cannot be cured.
If there is a disease, the bulbs should be pulled out of the ground. Cut off the affected area and eat; they cannot be stored.
- Smut. Identified by detecting gray stripes on onion leaves. The disease is fungal in nature and there is no cure.
If diseased plants are found, it is necessary to remove the affected onion feathers.
- Gray rot. It affects the neck of the onion and is of fungal origin. Since the neck rots, no food is supplied to the feathers, they begin to turn yellow.
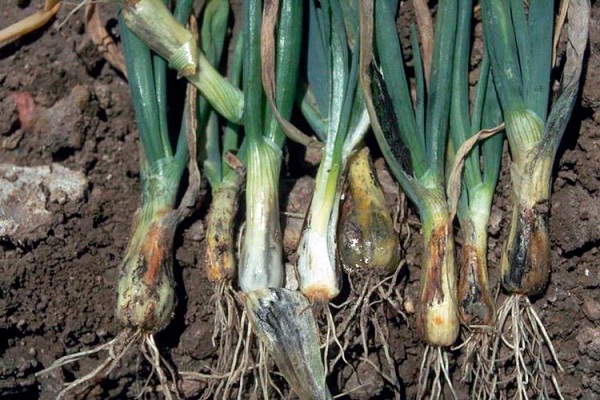
These bulbs must be pulled out; the disease cannot be cured.
- Stem nematode.The cause is small worms living in the ground. The affected onion stems acquire a light shade and then curl. The bulb itself begins to rot. There are special chemicals to combat this disease, but they are toxic and dangerous to use on plants when they are almost ripe and will soon need to be harvested. It is better to remove diseased bulbs.
The most dangerous pest is the onion fly.
In addition to carrots, you can plant flowers with strong odors nearby, which will repel pests and get rid of diseases.
These include:
- calendula;
- marigold;
- geranium;
- petunia;
- lavender;
- nasturtium.
Wood ash, which is recommended to sprinkle onion beds, protects onions well from pests.
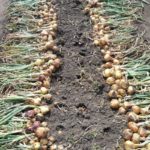
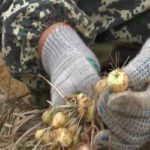
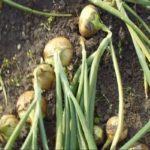
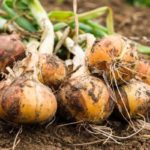
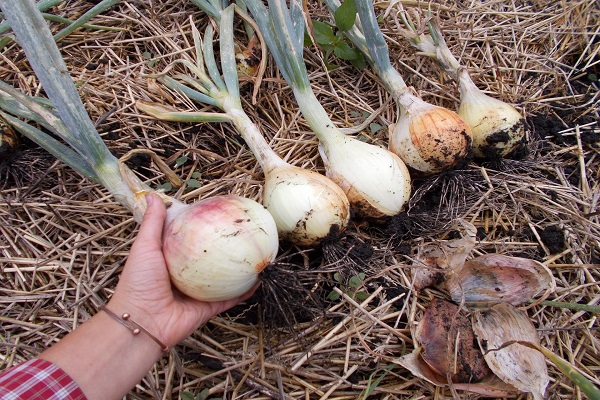
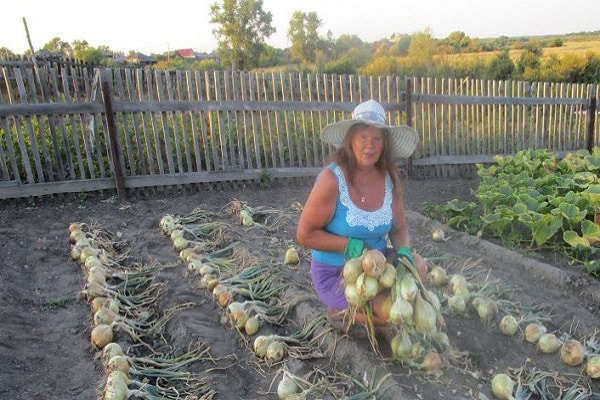
Onion harvesting
It is necessary to accurately determine the harvest time of Exhibition onions. A sign of ripening is the fallen tops, which indicates that the roots have also begun to dry out and the nutrition of the plants is becoming worse. This means that the time has come when it’s time to dig Exhibition onions from the beds. If this is not done in time, new roots will begin to grow, which will reduce the shelf life of the crop.
To harvest onions, it is recommended to choose a dry, sunny day, preferably with a slight breeze. The bulbs should be removed from the ground using a shovel or carefully pulled out. Place in rows on dry soil or cardboard and dry a little. It is then recommended to dry it on the veranda, in a barn or other well-ventilated area.
As soon as the neck of the onion dries, it is ready for winter storage. This will take about 14 days. Then it is necessary to sort the crop, examining each bulb, and select healthy ones for storage. Additionally sort by fruit size.If there is even slight damage, the heads are set aside and consumed first.
Onions must be stored in a dry place. It can be braided or made into bundles. When storing in boxes, it is recommended to sprinkle the heads with onion peels, which can be collected after drying and sorting the product.
Useful tips and reviews
Many people are interested in how to purchase Exhibition onion sets. Unfortunately, it is impossible to obtain it, since it has a very short shelf life - only 4 months.
However, it is possible to grow turnips for seeds if you can save the bulb at least until February. It is best to place it in the refrigerator, in the vegetable department. Large onions spoil very quickly, so you need to set aside an onion that weighs no more than 300 grams. And then:

- When feathers appear, the bulb is planted in a small container not exceeding 2 liters. Instead of soil, take a little turf soil, river sand and sawdust, and ash.
- The bulb is immersed 2/3 into the ground. Monitor soil moisture, lighting and temperature.
- If the bulb splits into three parts, then plant each one separately, the main thing is that they have roots. Planted in open ground in early May. It is advisable to keep it away from other onion varieties so that they do not cross-pollinate.
Many are also concerned about the question of when is the best time to harvest Exhibition onions, for example, in Siberia it is mid-May, but in the southern regions it may be April.
The variety is increasingly gaining popularity and value. Basically, all reviews about the Exhibition bow are only positive. The variety is especially appreciated by salad lovers. The product is large, juicy and sweet.