Using a brooder for quails makes it possible to achieve the most comfortable conditions for their normal development. There are many options for ready-made devices on sale. If desired, and in order to save money, you can make a brooder for poultry with your own hands. The process is not complicated, the main thing is to prepare the material, tools and follow a certain algorithm of actions.
What is it for?
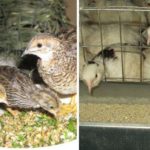
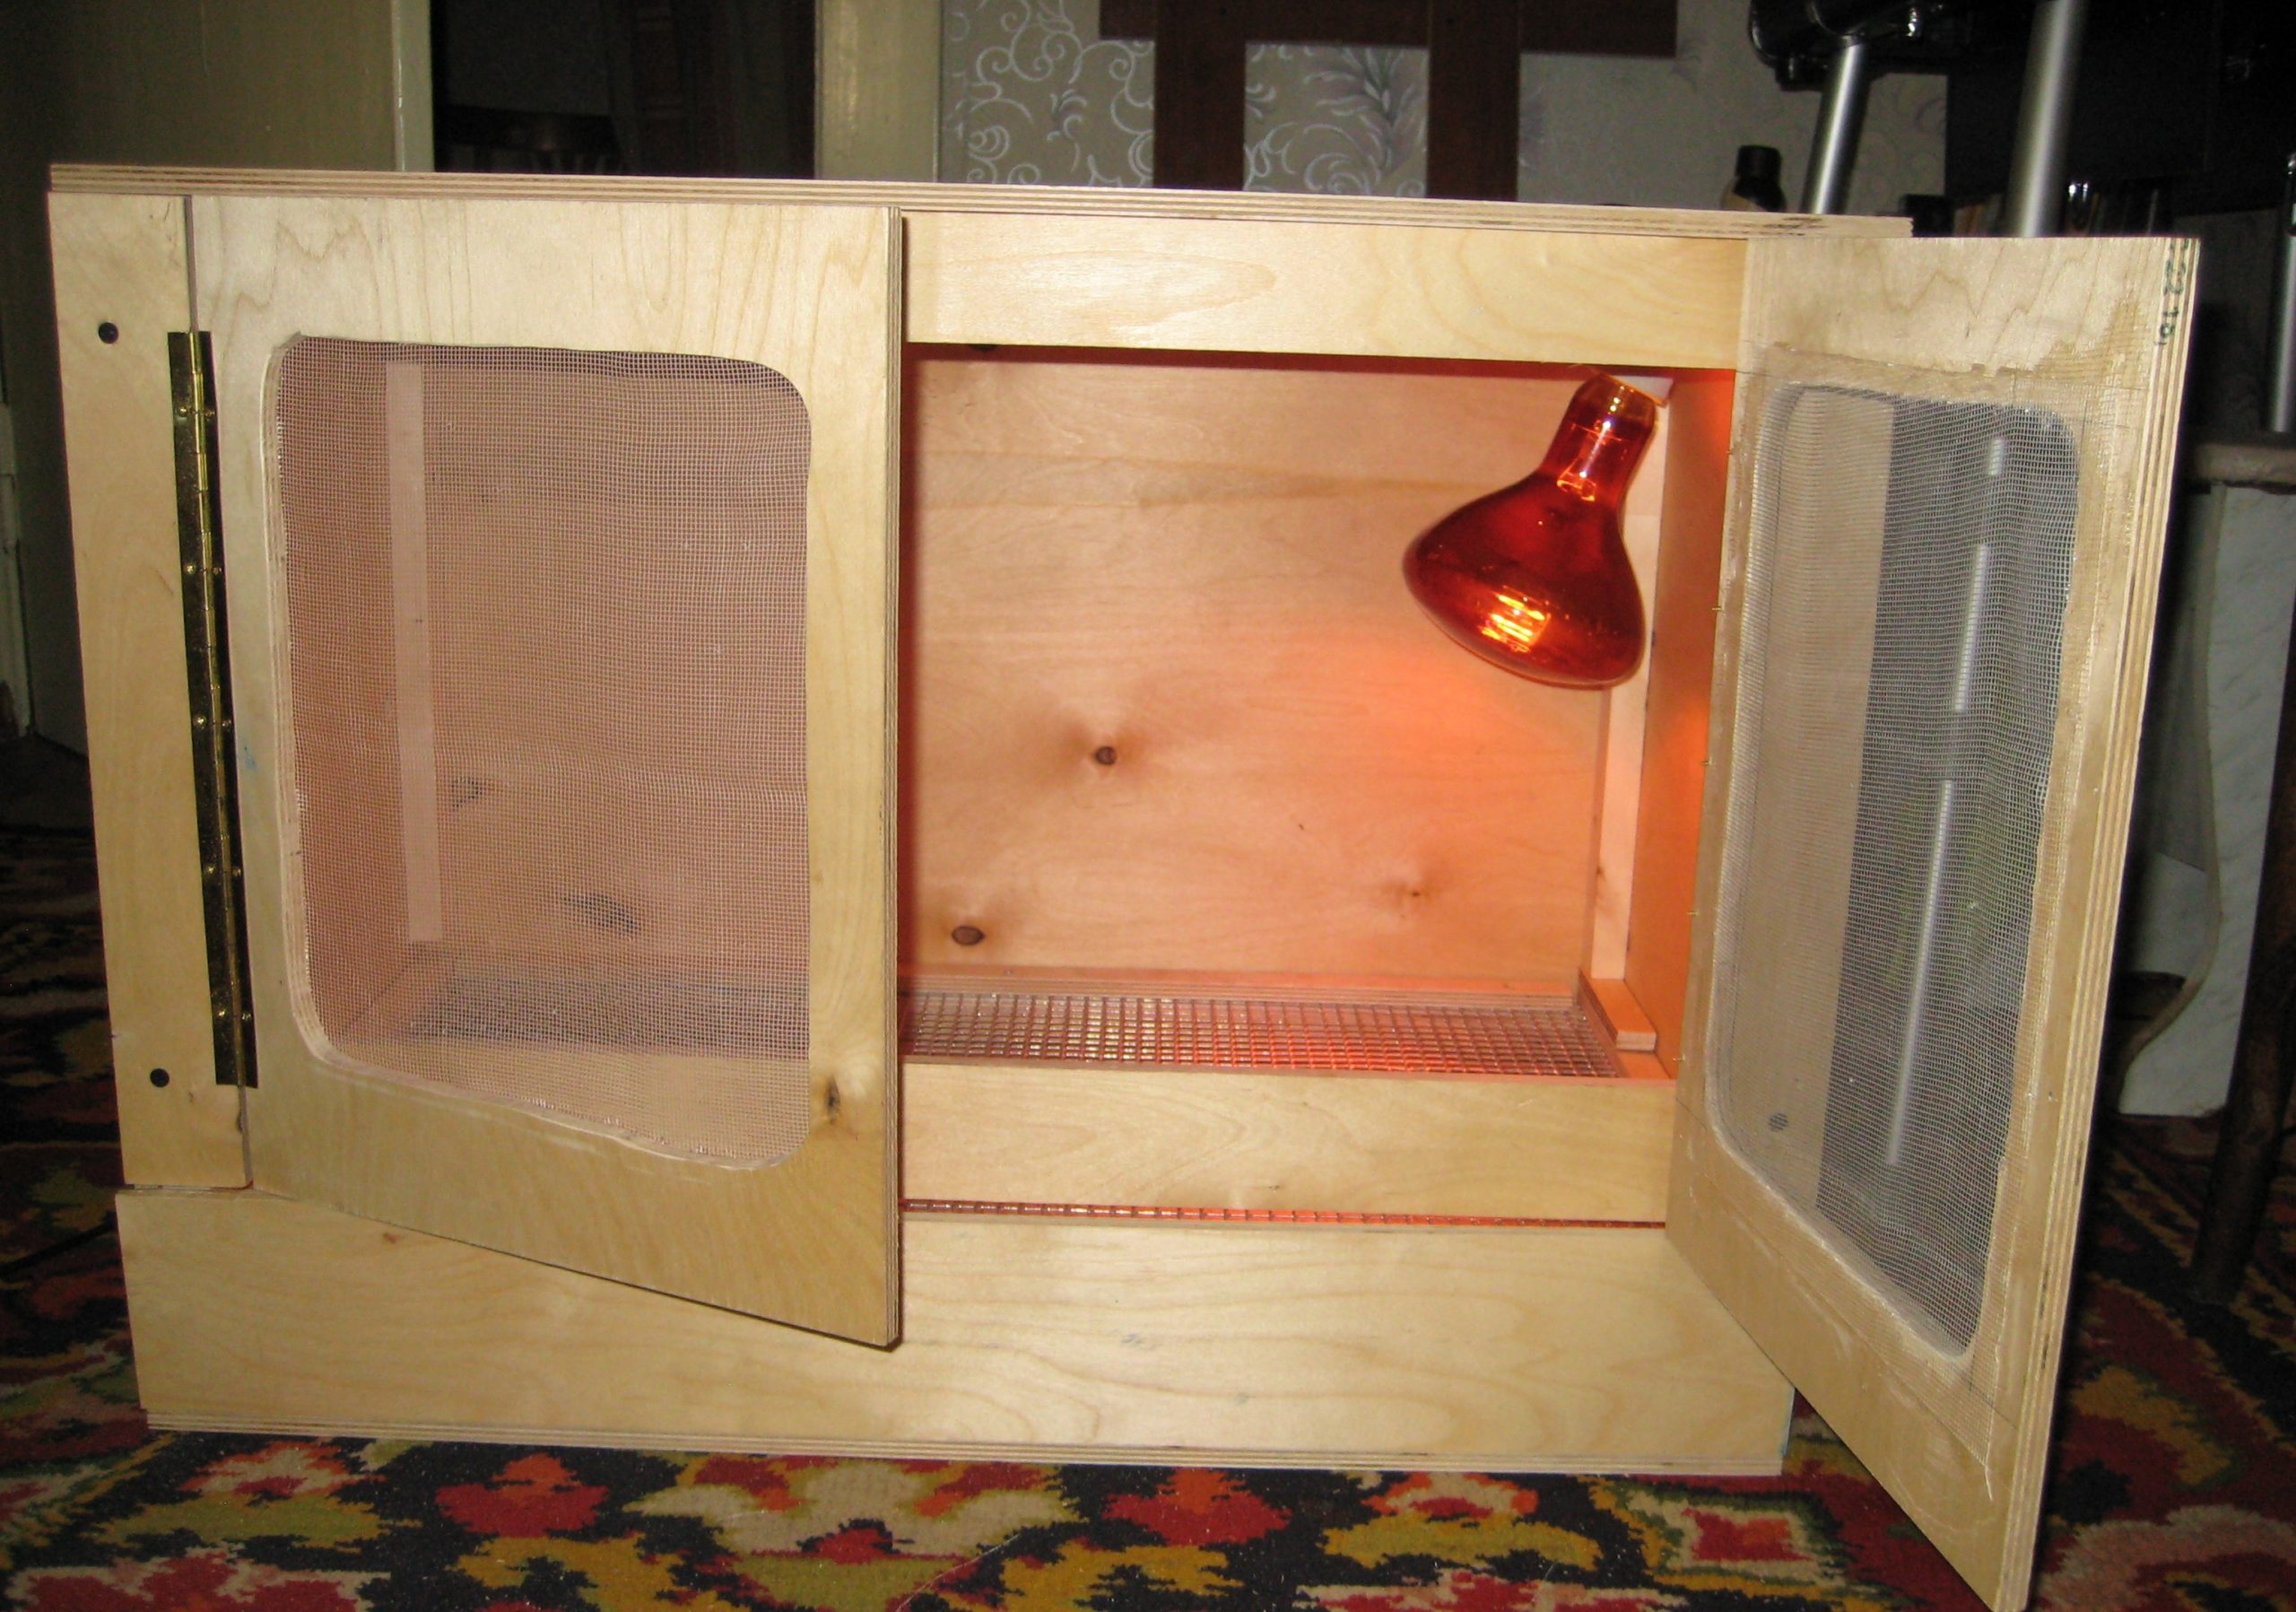
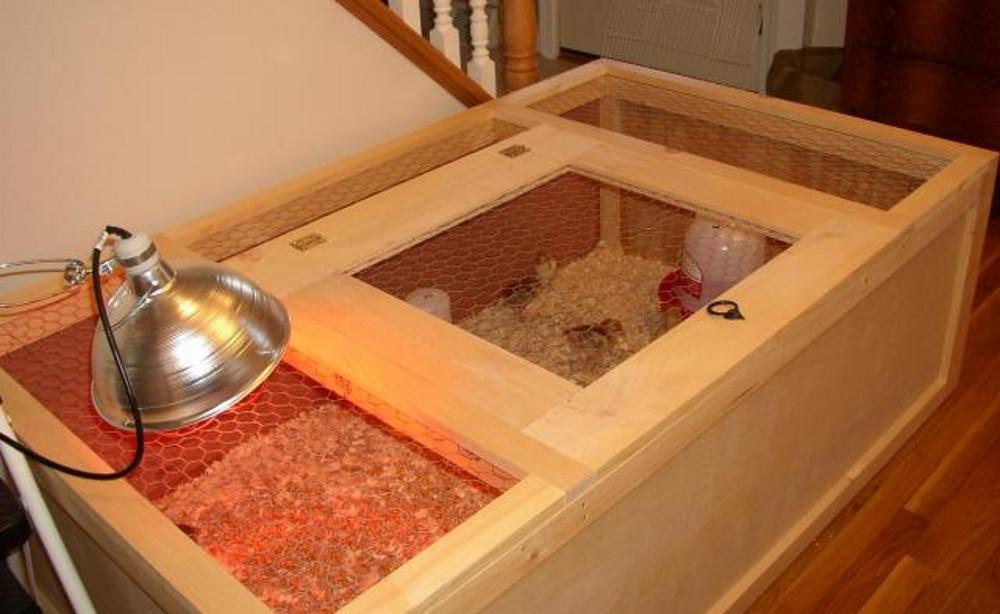
A quail brooder is a wooden structure in the form of a rack or box.Both polycarbonate and fiberboard sheets can be used as materials. Inside this miniature poultry house there is equipment to maintain an optimal microclimate for the birds. Both heating and lighting are provided here to eliminate the possibility of hypothermia in newborn quails.
Important! In order for the chicks to quickly adapt to the external environment and not get sick, darkness or very bright light or dirt inside the brooder should not be allowed.
Pros of a homemade brooder
You can purchase a ready-made brooder either at the market or at a pet store. Self-made devices for keeping quails fully meet the requirements of a high-quality poultry house, if the assembly technology has been followed and materials that are safe for the chicks have been selected. Among the positive aspects of using a homemade brooder it is worth noting:
- Budgeting. Assembling a rack for keeping poultry at home is not difficult and inexpensive in terms of finances. Almost everyone on the farm has the necessary materials: boards, fasteners.
- Possibility of optimizing the poultry house for specific conditions. Depending on the number of heads, the owner himself decides what size device is required. It is also easier to equip a brooder with drinkers and feeders yourself, based on the convenience for the quails and the owner. Issues of lighting and heating are also decided at your personal discretion.
- Possibility of reducing stress for quails by equipping the house with drinkers and drip feeders.
- Easy to make at home.
- No need for specific skills to assemble the device.
Keeping quails in bunkers made by yourself is just as promising as in factory-made poultry houses. They completely provide comfortable conditions for the chicks to live in them.
Primary requirements
For normal growth and development of young animals, you need to use brooders that are able to maintain an optimal microclimate for them inside. High-quality devices meet the following requirements:
- Stability and reliability. The poultry house should not tip over during operation, so as not to injure the young animals.
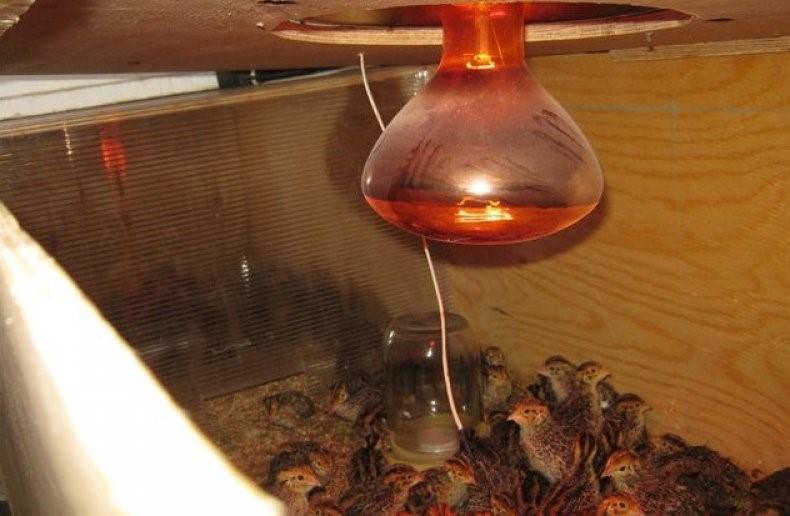
- Sufficient lighting. If there is a lack of light, the young animals will not be able to develop normally and will begin to get sick. In the first weeks of life, chicks are especially sensitive to the duration and intensity of the light flux. For rapid growth and rapid adaptation to the external environment, quails need red light.
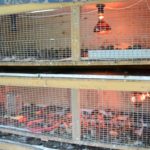
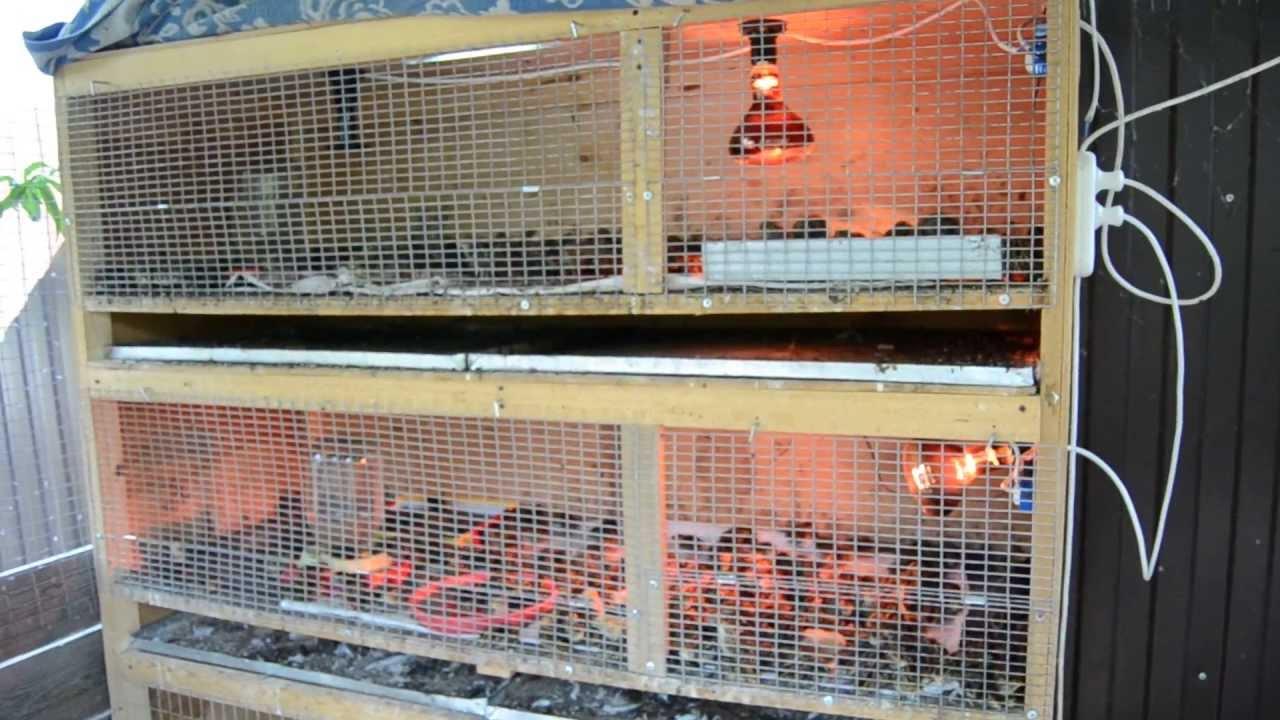
- Heating. Thanks to efficient heating, an optimal microclimate is maintained in the poultry house. Infrared heating devices are best suited for these purposes. Their main advantage is the absence of burns for the younger generation.
- Proper ventilation. In order for fresh air to enter the brooder, moisture to evaporate well, and the smell to go away, it must be provided with effective ventilation. The presence of drafts has a detrimental effect on the health of young animals.
By using devices that fully meet the requirements, you can count on the prospects of the younger generation.
Materials used
Considering that the brooder will be used for a long time, when assembling it you should pay special attention to the choice of materials. The design should be strong and durable, for:
- It is not rational to use sheets of cardboard for housings.This type of material does not allow wet cleaning of the poultry house or treatment with disinfectants. In addition, cardboard is not fireproof and does not have proper physical strength. Wood is perfect for assembling the body; the thickness of the boards is 2.5 cm. If plywood is used for the brooder, then its thickness should be 7-10 mm. All components of the structure must be treated with wood preservatives. If you plan to use fiberboard, then first of all the frame and base are assembled, and then the finishing is done with slabs.
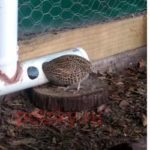
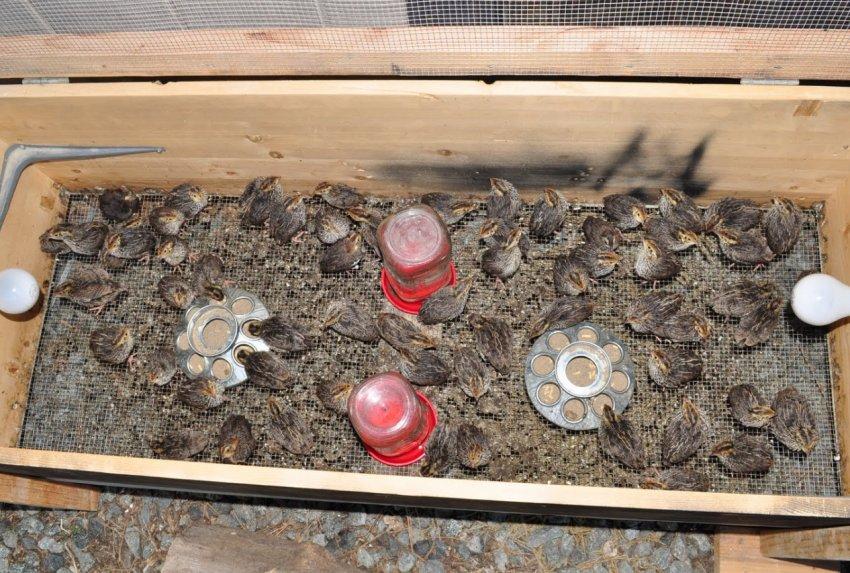
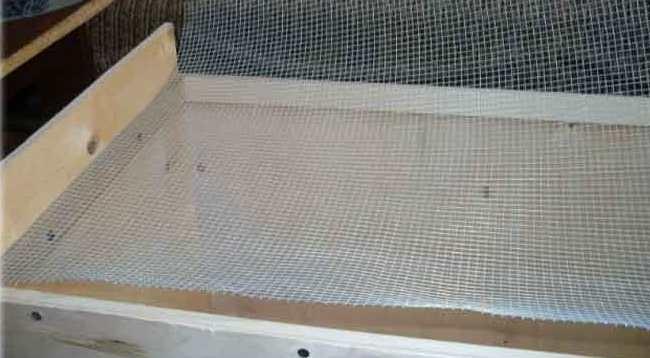
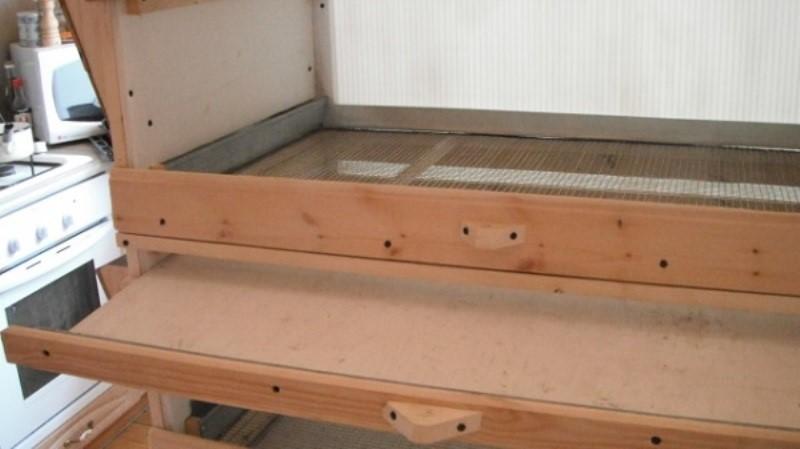
- The bottom is made of fine mesh galvanized mesh. After two weeks, the chicks can be transferred to a common enclosure, where the mesh size is 10x10 mm. For a removable bottom, it is better to use a mesh with a cell size of 5x5 mm when keeping newborn quails.
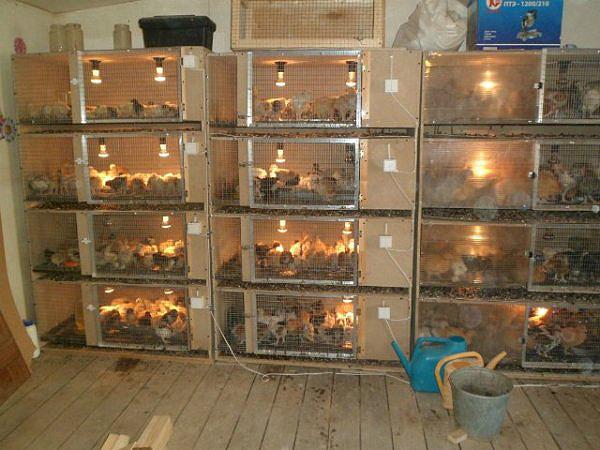
- Heating. To heat the young animals in the brooder, it is worth installing infrared devices. Mirror lamps are often used. For the convenience of adjusting the temperature regime, an electronic thermostat is used.
- The pallet should be plastic or galvanized. These materials are easy to clean, easy to use, and reliable. Sheets of plywood can be used here, but removing droppings from them will be extremely difficult. The main problem is the persistence of an unpleasant odor that cannot be removed by anything.
How to make a brooder with your own hands
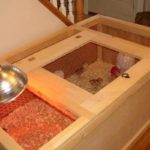
The optimal dimensions of the device for keeping chicks are 70x50x70 cm, internal height is 40 cm. The manufacturing process consists of the following steps:
- Preparing a plan and cutting out parts for the brooder. You need to make two sides from wood (48x50x1 cm), a rear partition, a roof and bottom (70x50x1 cm), and doors (40x44.5x0.5 cm). Sand the workpieces with sandpaper.
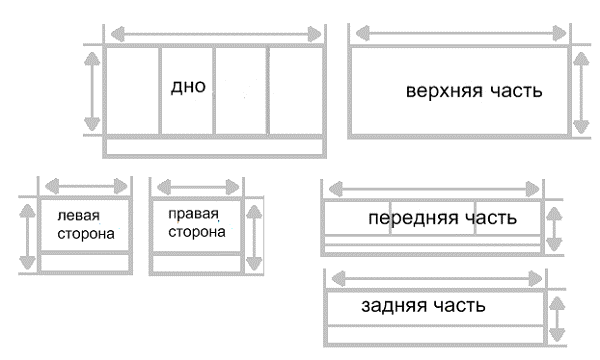
- According to the diagram, make an opening in the roof for the lighting fixture. It should not be in the center, otherwise there will be burns; it is better to plan it closer to one edge.
- Join the roof, bottom, sides and rear wall using corners and fasteners.
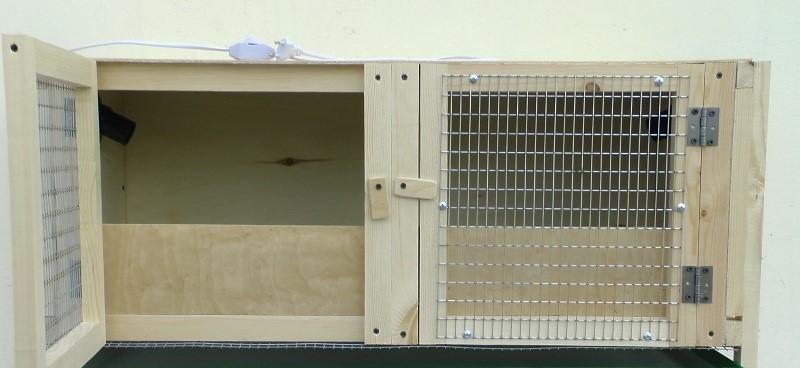
- Assemble the doors by cutting 2 blanks from the mesh according to the dimensions of the door frames. It is better to connect with self-tapping screws.

- Make a floor using 2 slats measuring 66x48x2 cm and 68x46x2 cm. The connection principle here is the same as in the previous case.
- Install the doors using the hinges.
- Fix the front wall and floor from the mesh. The pallet is assembled in a similar way to a mesh floor. A sheet of metal is used for it. Attach a plywood strip and a handle to the outside.
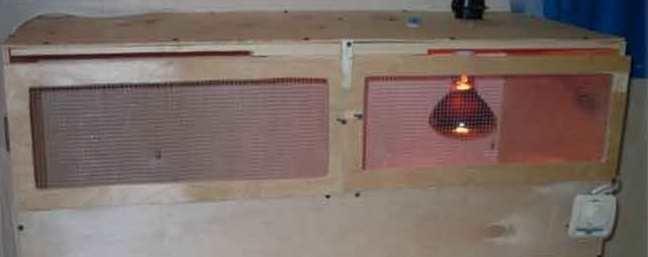
- Equip the brooder with lighting and heating devices. An infrared type lamp is mounted in a hole in the roof.
- Clean the finished poultry house from debris, check the lights and heating.
More details on how to make a poultry house can be found here:
Having prepared a drawing, the necessary materials and tools, anyone can assemble a poultry house. The sizes are determined according to the number of heads that are planned for home keeping.
Installation of heating and lighting systems
An effective heating and lighting system in a brooder is the key to quail health. Everything must be done correctly and with safety precautions.
Infrared lamp
To adjust the light and heat, it is convenient to use infrared lamps with a thermostat in the brooder. Often, breeders install devices with a power of 500 W. In the first days, the chicks require a temperature of 36 °C. If 250-300 W lamps are used, then 7 kW of electricity is consumed per day. To heat 9 poultry houses, it takes up to 63 kW per day, 2000 kW per month.An advantageous heating solution is to install a heated floor.
Film elements of heated floors
This type of heating is effective if there are more than 500 quails on the farm. When using heated floors, energy consumption is reduced by 3 times. The film elements are installed on the rear wall of the poultry house. A manual thermostat is used for connection here, forming an electrical circuit.
Creating a microclimate
In order to provide the young generation with normal conditions in the brooder, you should know the main points of their maintenance. Follow the temperature table in the first days of their life:
| Parameter | Implementation |
| Temperature | In the first days after newborns are removed from the incubator, the temperature must be maintained at 36 °C. Then it is reduced to 30 °C. |
| Lighting | At first, the lights are not turned off either day or night. From the 8th day it is reduced by 3 hours per week. Recommended - up to 12 hours for meat breeds and up to 8 hours for egg breeds. Brightness on the first day is 20-25 lux, and from days 2 to 21 – 5-8 lux. |
| Ventilation | Near the poultry house, any drafts should be minimized, and ventilation should preferably be done through screen doors. |
| Humidity | At first it should be 60-70%, then its level is reduced to 50-60%. |
| Feeder | Use automatic/hopper type attachments. For the second option, you can manually attach an auger from a corrugated tube to simplify filling the tank with the feed mixture. If you fix a metal mesh on top, the quail will eat the feed mixture through it without scattering it. |
| Drinking bowl | It is not recommended to install shallow containers, otherwise the liquid will often become contaminated. In addition, the water will splash a lot.So, it is better to use nipple/vacuum type drinkers. |
The quail brooder is made from environmentally friendly materials and in compliance with assembly requirements. It’s not difficult to make it yourself; all the materials and tools are on the farm.