Currants are a healthy berry that every person should have in their garden. Ripe fruits are red, black and even white. If there are still plantings on the site, the question arises of how to propagate a currant bush.
- Methods for propagating currants
- Layerings
- Dividing the bush
- Cuttings
- Green cuttings
- Seeds
- Reproduction by green or woody ones - what to choose?
- Green cuttings
- Lignified
- Features of currant propagation
- Red
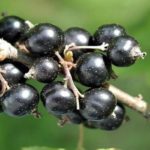
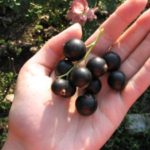
- Black
- White
- Rules for cutting blanks
- When is the best time to take cuttings?
- Nuances of work in the autumn period
- Selection and preparation of autumn cuttings
- Storage rules before planting in spring
- Rooting methods
- In water
- In a specialized substrate
- In the open ground
- Root formation stimulants
- Planting cuttings in the ground
- Selecting a location
- Soil preparation
- Preparing planting material
- Technology for planting currant seedlings
Methods for propagating currants
The main method of growing berry bushes is vegetative. Involves the use of cuttings, taps and dividing the bush. Currants can also be propagated by seeds.
Layerings
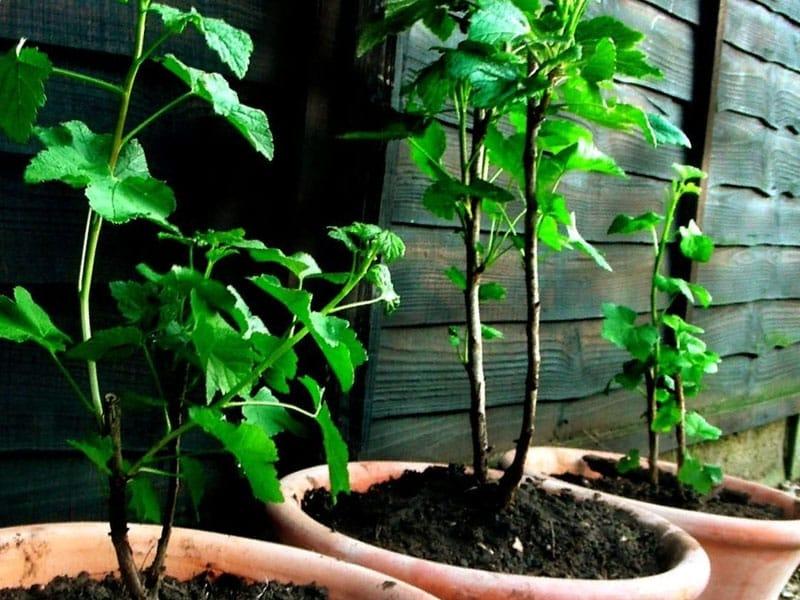
This method is considered the most suitable for gardeners, especially those who do not have experience in such activities. By choosing this propagation method, after a year a person receives a strong seedling with a good root system. In early spring, the bush is inspected in search of a healthy two-year-old branch growing obliquely.
This is the option that can be easily bent to the ground and subsequently grown as a full-fledged bush.
Dividing the bush
The propagation option is relevant if there is a need to move the shrub to a new location. After digging up the bushes, they are inspected. Young branches with developed roots are to be planted.
Planting takes place in autumn or early spring. In the first case, the period is selected when all the leaves fall from the bush - October or November. In spring, these are the first weeks of March before the buds open.
Cuttings
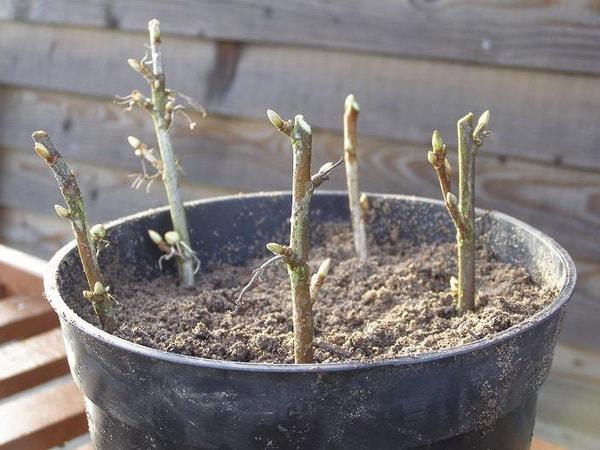
This propagation method is suitable not only for grapes, but also for currants. Cuttings are made from one-year-old root shoots. The first varieties to be taken from cuttings are those that have a short growing season. Later they begin to work with varieties with protracted growth.
Green cuttings
If a person is late in propagating from woody cuttings in the spring, green twigs are a suitable option. Young and flexible shoots that have not yet had time to become covered with rough bark are subject to rooting.Cuttings are usually called green because the part of the bush with leaves is used.
Seeds
This method is used by breeders when developing new varieties of currants. In practice, propagation by seeds is not recommended. If a bush is grown in this way, there is a chance that the new plant will not inherit the best qualities of the variety.
Reproduction by green or woody ones - what to choose?
To answer this question, it is worth studying the advantages and disadvantages of one and the other methods.
Green cuttings
Advantages:
- rapid flowering and fruit formation for the next season;
- do not require long-term storage of planting material.
Among the shortcomings, there is only one factor. The bark of green cuttings is flexible and thin. Moisture quickly evaporates through it, so a person must constantly monitor the humidity level.
Lignified
Advantages:
- Preparation of cuttings is carried out at any time of the year;
- before planting, a person has the opportunity to select healthy branches among all specimens;
- dense bark prevents moisture from evaporating.
The main disadvantage of the propagation method is maintaining a suitable level of humidity and temperature when storing cuttings. Planting material must be protected from mold and rot. There are two ways to obtain seedlings for planting in the soil, if you organize the work correctly.
Features of currant propagation
Each variety of shrub requires separate care from the gardener. The propagation of white, red and black currants is distinguished by small nuances. Some are easy to work with by cuttings, others appear as a result of dividing the bush.
Most currant varieties do not require planting a partner. This is explained by the fact that the plant is a self-fertile crop.
Red
Most often, shrubs with rich red berries reproduce from woody branches. In summer these are layerings and cuttings with green leaves. Gardeners who do not want to complicate their work choose horizontal layering.
When propagating red currants, you will have to work hard, unlike black ones. But if you approach the task correctly, anything is possible. Varieties are harvested in early August. Kidney development stops at this time.
Black
All varieties propagate quite easily. If a person wants to get a bush with the same varietal qualities, it is recommended to choose propagation by cuttings, layering or dividing the bush. Each of the proposed methods does not require much effort from the gardener, but basic knowledge will come in handy. Blackcurrant cuttings are harvested in early autumn.
White
Lignified cuttings are the recommended propagation method. The cutting of annual shoots occurs in the fall. Preference is given to parts from the middle of the shoot.
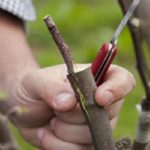
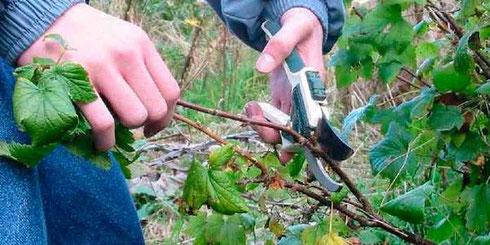
Rules for cutting blanks
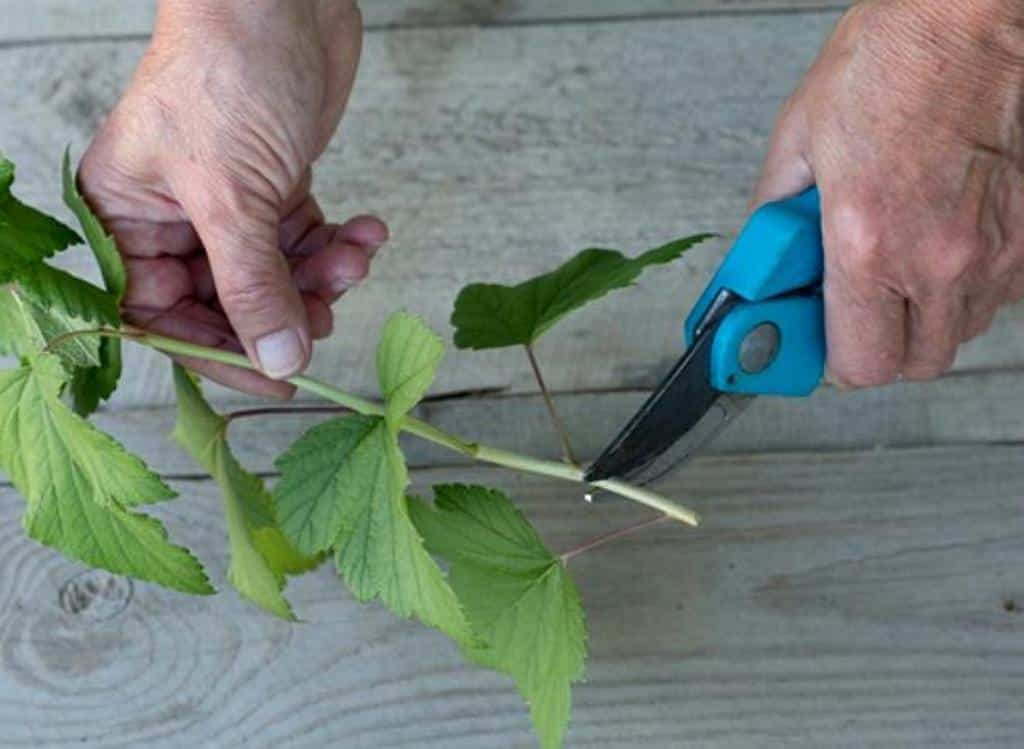
Disinfected tools are used to harvest currant branches. This technique will protect the bush from infection. To cut cuttings, use sharp pruning shears. Before work, it is sharpened so that the cut is even and smooth.
An incision is made above the bud at the top of the cutting. There should be at least 1 cm of distance from the bud to the edge of the branch. In the lower part of the cutting, the cut is made at an angle of 45° below the bud.
When is the best time to take cuttings?
The timing of cutting branches for currant propagation depends on the chosen cutting method. Pruning shoots with green leaves is carried out in the summer. The pruning period begins in the second half of July and continues until mid-August.
Nuances of work in the autumn period
The favorable period for harvesting seedlings is September.It is permissible to carry out cuttings in early October. Before planting the cuttings in the ground, they are kept in hot water for no more than 25 minutes.
Selection and preparation of autumn cuttings
In order to select high-quality currant preparations, which will later turn into new bushes, attention is paid to preparatory work. To do this, bushes that have not been attacked by pests or damaged by diseases have been inspected since the summer. Such specimens should have many good-looking berries.
For cuttings, main or root shoots cut close to the soil are suitable. Cuttings are cut from the cut shoots, the diameter of which should be within 5-7 mm. It is the middle part of the shoot that has the dimensions that are preferred.
To ensure that the quality of the cuttings does not suffer when cutting the blanks, they are prepared in the morning.
Warm, slightly cool weather is acceptable. During the rainy season, cuttings are harvested throughout the day.
Storage rules before planting in spring
If the gardener does not plan to plant cuttings, he is engaged in rooting autumn harvests. The best storage method is to put them in boxes and cover them with snow. In order to achieve rapid germination of cuttings in the spring, 3 days before planting in the ground they are placed in a container with water.
Rooting methods
Amateur gardeners know only two things - water and soil. When faced with the proliferation of currants, they discover new ways of rooting. One of the effective ones is a specialized substrate.
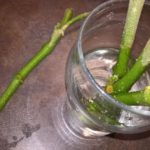
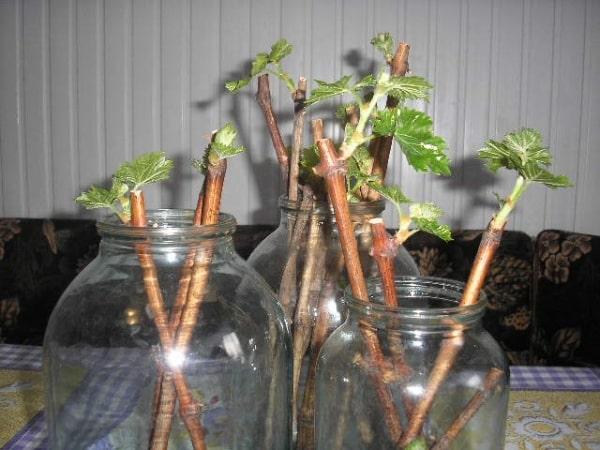
In water
It is considered one of the simplest cutting methods, especially if done in the spring. Despite the simplicity of implementation, it accelerates fruiting by 1 year. It has 2 undeniable advantages - there is no need to dig up branches in the fall and work in a greenhouse.
How cuttings occur in water:
- Two branches are placed in a plastic container.
- Water is poured inside so that it covers the cuttings by 2 buds.
- With the appearance of roots, each cutting is given a separate container.
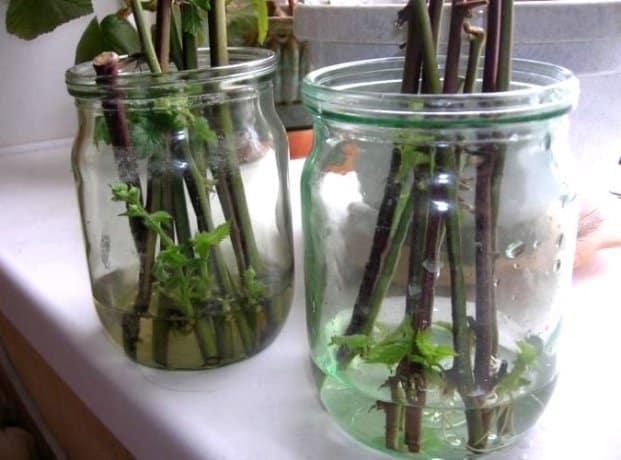
The process of rooting cuttings in water lasts from 1.5 to 2 months. You should constantly add water to the glass so that the seedlings feel comfortable. If it stagnates, it is completely changed. The containers are located in a shaded place. The appearance of flowers on cuttings is unacceptable. At the first signs of appearance they are cut off.
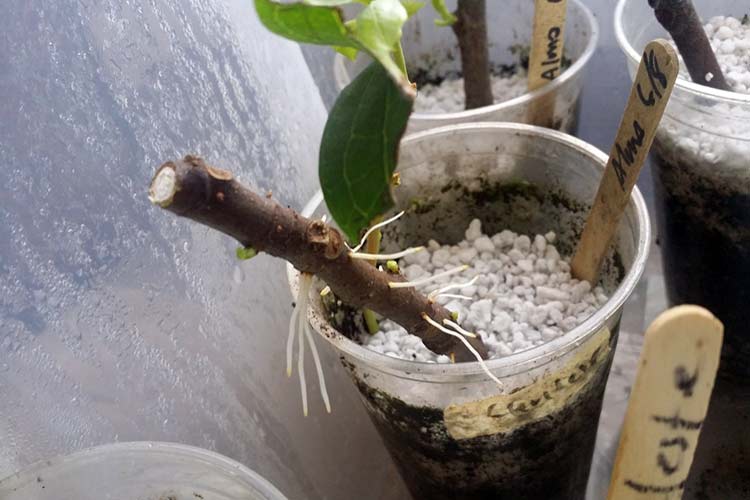
In a specialized substrate
The nutritional base may consist of fine sawdust, coconut fiber, peat, perlite, sphagnum moss or sand. The substrate should remain moist, and the temperature in the room where the cutting is located should be at 20 °C.
Scheme for preparing conditions for rooting:
- The containers are filled with substrate and moistened with water.
- The cuttings are planted in the ground at a distance of 12 cm from each other.
- The bed with the planted cuttings is covered with a polyethylene film and placed in a sunny place.
- In the first days, watering is quite plentiful. It decreases over time.
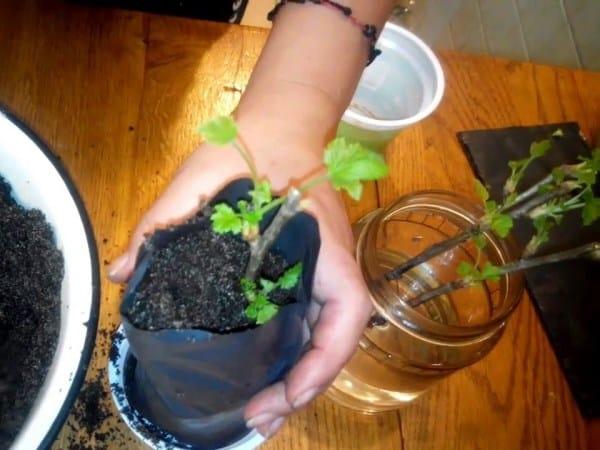
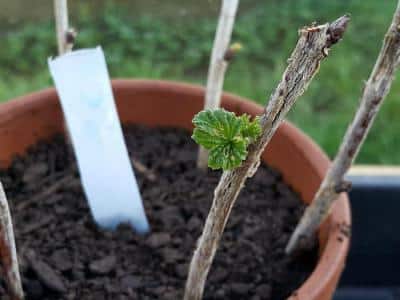
The time for rooting cuttings in this way takes from 3 weeks to a month. If the seedling has taken root, the color of the buds and their shape change - they swell. Dark and dry “eyes” indicate that the sprout has not taken root.
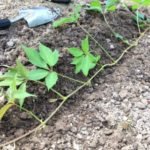
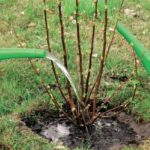
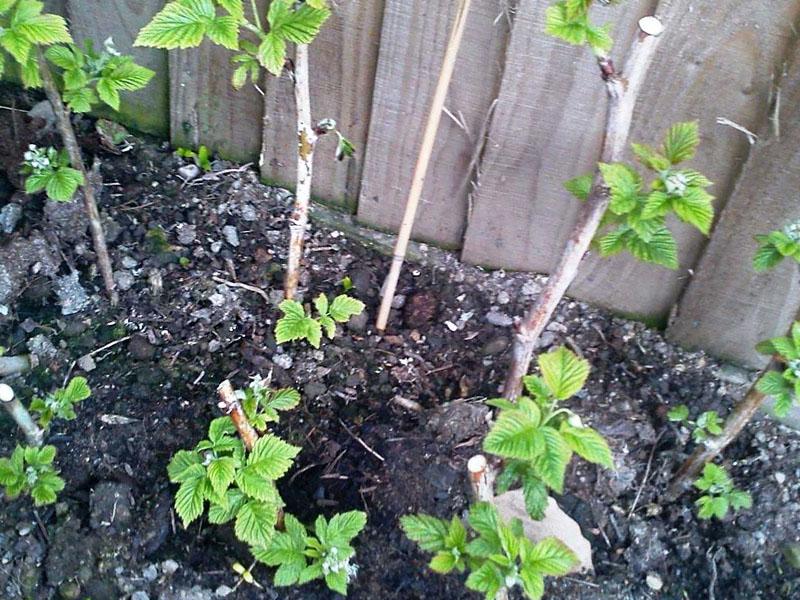
In the open ground
For rooting cuttings, choose a sunny place. The plot of land should not be located above groundwater. Currants love fertile soils with fertilizers, humus and ash. After abundant watering, planting begins.
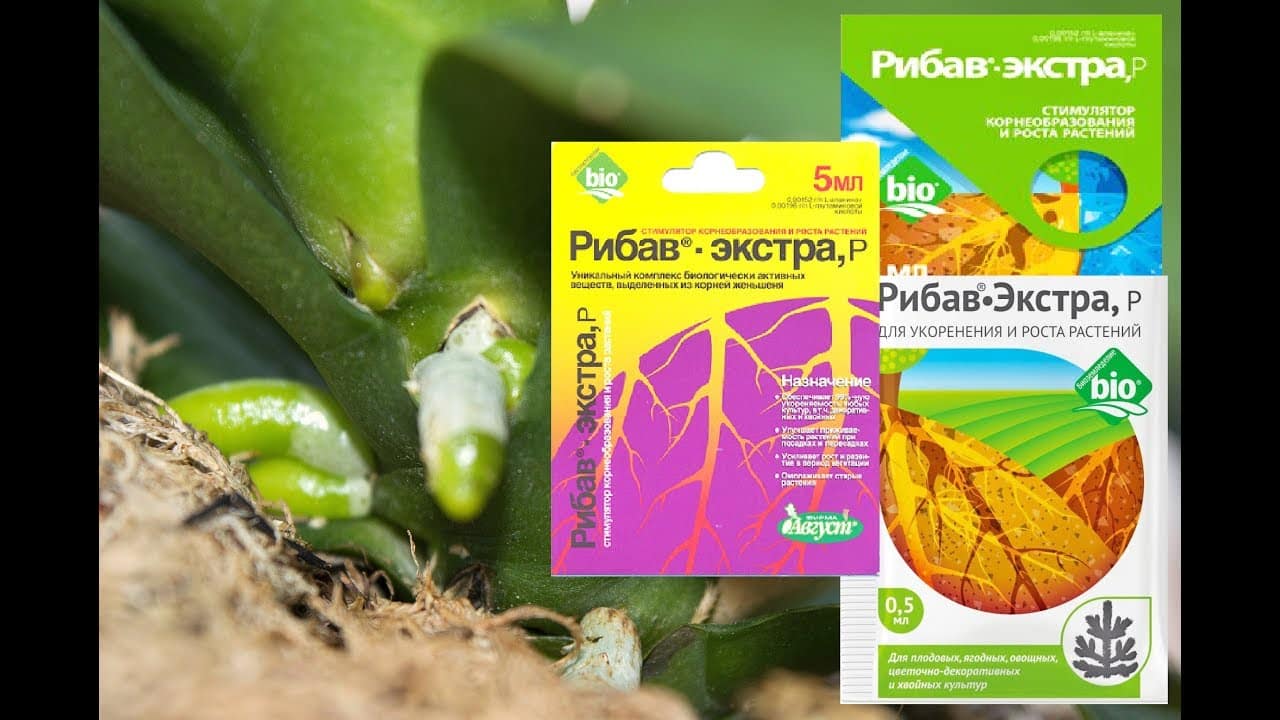
Root formation stimulants
Treatment of shoots with special preparations accelerates the formation of roots. List of the most popular:
- "Kornevin".It is diluted with activated carbon, since a high concentration is detrimental to a young plant. The cut is treated with the prepared powder, and the sprout is immediately planted in the ground.
- "Ribav-extra". It has the form of a liquid. Before use, dilute with water. Not only stimulates root growth, but also heals damaged areas.
- "Epin." Currants are soaked in the solution before planting in open ground. Protects seedlings in cold weather, reducing the likelihood of bush infection by aphids.
Compositions to accelerate root formation after contact with a cut irritate the receptors of the shoot. In turn, this provokes the formation of callus. Experienced gardeners recommend using the listed drugs whenever possible.
Planting cuttings in the ground
Harvesting, cutting, soaking and storing cuttings are not all the “tests” that a person will have to face. The next step is to plant the branches in the soil in a permanent place. In this case, the actions performed must be correct and performed without errors.
Selecting a location
Selected depending on the type of currant. It is recommended to plant black in open areas in partial shade. Water should not stagnate in well-moistened areas. White and red currants tolerate arid climates more easily, so they can be safely planted on hills with good lighting.
Soil preparation
Black currants prefer soil with medium to high levels of sand. Red is also capable of producing crops on loamy soils, but develops better on light and super-sandy soils. White has the same requirements.
Stages of preparing the landing site:
- The soil area is cleared of weeds. If this is not done, they will oppress the young seedlings.
- The place is leveled, which plays a big role when watering.
- Fertilizers are scattered over the surface. Compost or humus is suitable for this.
- Next, the soil is dug up to the depth of a spade bayonet.
The holes for currants are prepared 2 weeks before planting the seedlings. This applies to autumn planting. If the currants are planted in a permanent place in the spring, the holes are prepared in the fall.
Preparing planting material
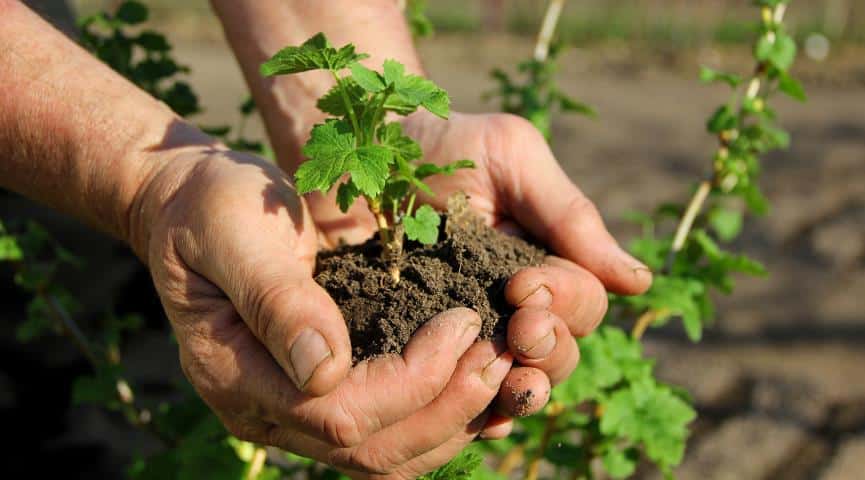
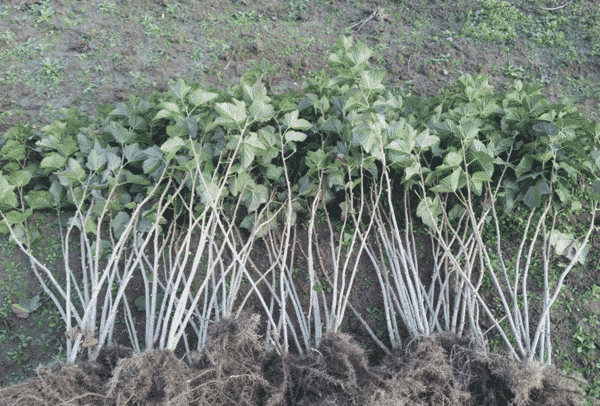
Seedlings are rooted cuttings and are carefully examined before planting. Shoots with damage, broken and dry roots are not suitable. The part that will be above the soil is cut off, and the seedling itself is soaked in a root-stimulating preparation.
Trimming the above-ground part of the seedling is a mandatory procedure. In this way, the development of the root system is achieved. This is very important, since a weak root will not provide the shrub with the normal formation of the upper part of the plant.
Technology for planting currant seedlings
The culture needs space, so there should be at least 1.5 m of free space around the bush. The dimensions of the hole vary from 30 x 30 to 40 x 40 cm. The initial depth is 35 cm. The final formation of the hole occurs under the root system of the seedling. The bottom of the hole is sprinkled with fertilizers containing phosphorus and potassium. The soil mixture should also contain humus. Light soils require fertilizers with a different composition.
The sprout, placed in a hole, tilts 45° and is covered with earth. The soil is dug in and compacted by hand to prevent the formation of air gaps. If the root collar is placed 6-7 cm below ground level, this will ensure the appearance of additional shoots on the crop.