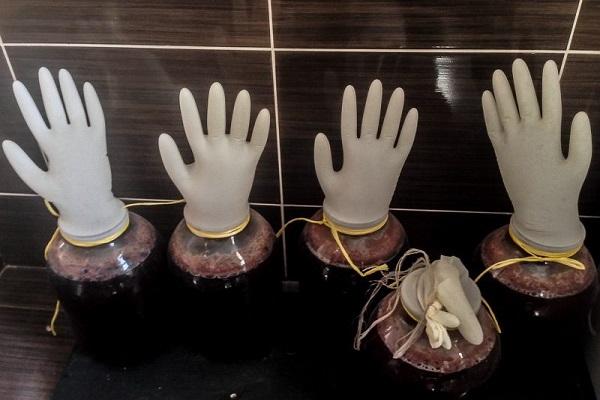
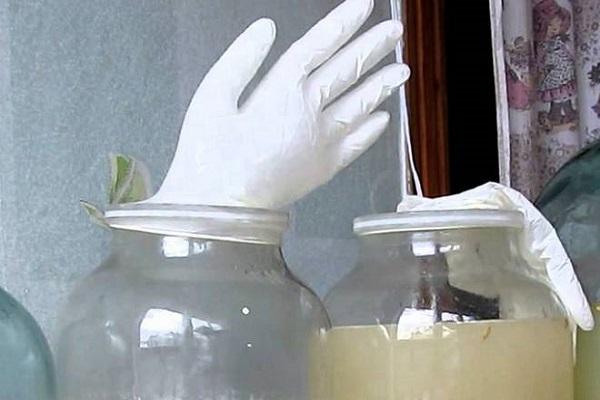
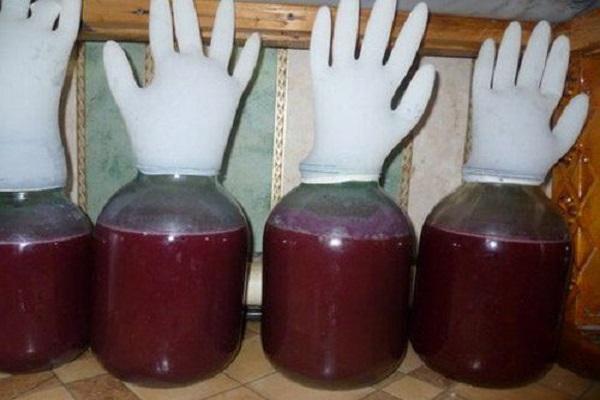
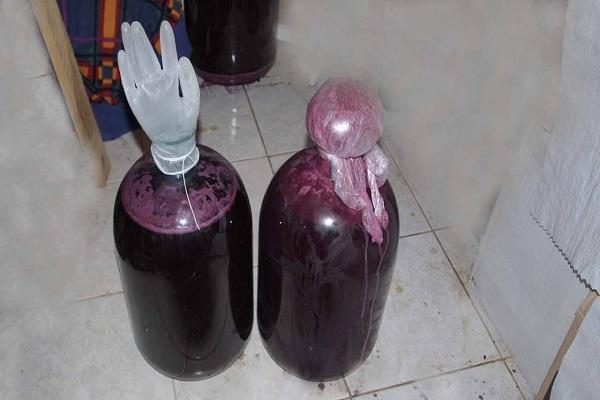
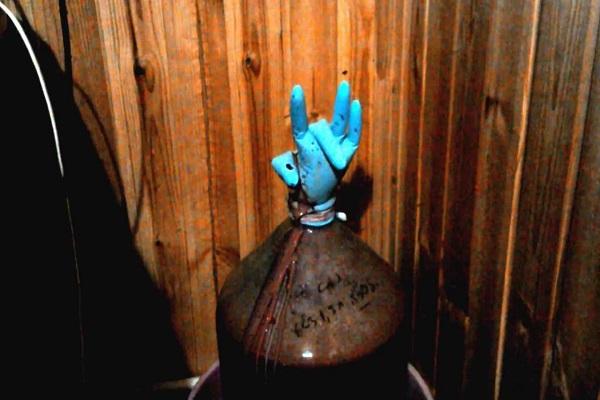
Beginners and experienced winemakers wear a glove on a jar of wine. This is the easiest way to limit the flow of oxygen into the fermentation tank. They put it on the neck. The intensity of fermentation of the wort is determined by its appearance. Gloves are used when making grape, apple, plum, and cherry wine at home.
- Why do you need a glove when making wine?
- Preparing grapes and dishes
- How to properly put a glove on a jar
- Making wine with a glove at home
- Popular questions
- Do I need to pierce the glove?
- Does oxygen penetrate through the holes?
- What to do if the glove on the can is very inflated?
- Why was the glove pulled in?
- What to do if the glove on the wine bursts or falls off?
Why do you need a glove when making wine?
During the fermentation of grape, fruit and berry must, carbon dioxide is produced. If you cover the fermentation container with a lid, it will rupture the container. If you do not close the neck, oxygen will flow into the jar (bottle).
It will trigger oxidative processes in the wort and create favorable conditions for the proliferation of pathogenic microorganisms. The result will be disastrous. Homemade wine will turn into acid. Harmful bacteria will take care of this. They will convert the alcohol into acid.
Putting a glove on the fermentation tank solves these problems:
- it limits the supply of oxygen;
- does not allow infection to pass through;
- when inflated, it releases carbon dioxide.
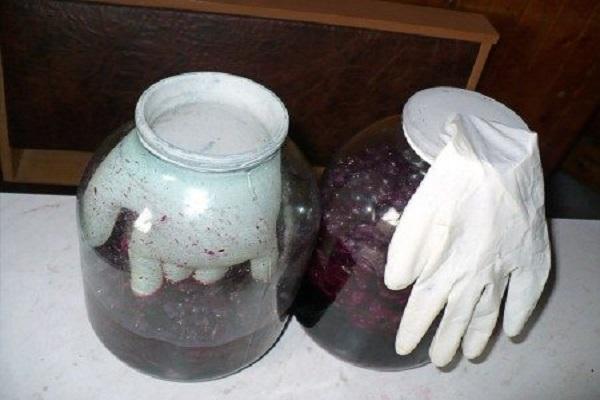
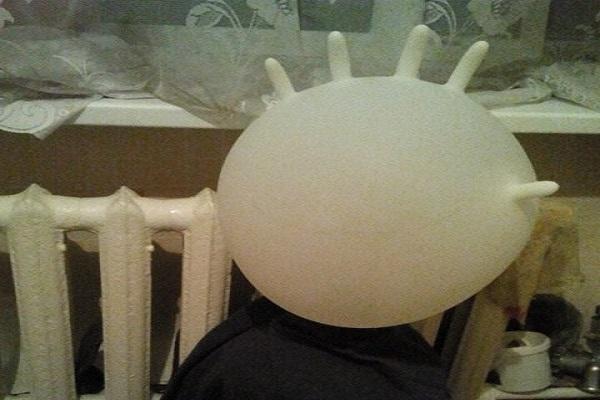
The intensity of fermentation is assessed by the appearance of the gloves. It is active if it is inflated, all 5 fingers are raised up. It fades if it becomes limp. It stopped when the glove deflated and the fingers dropped down.
Preparing grapes and dishes
The list of what is required to make homemade wine is not long. It includes:
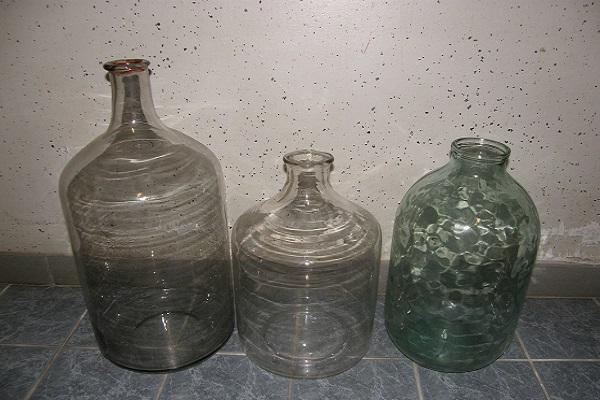
- glass bottle (jar) - fermenter;
- buckets, cisterns made of food-grade plastic;
- medical gloves;
- gauze;
- thin, long tube.
It is better for a novice winemaker to start with glass fermenters. They are easier to process before adding raw materials; they do not emit odors that spoil the finished product. It is convenient to observe the fermentation process.
Cleaning fermentation tanks is difficult. After making wine, dead fungi (sediment) remain at the bottom of the bottle, and plaque (tartar) forms on the walls. Experienced winemakers clean the container as soon as they pour out the new wine.
Processing nuances:
- the container is rinsed with clean water;
- pour 2-3 liters of warm clean water, add dishwashing detergent;
- rinse, completely remove any remaining detergent;
- pour 1 tsp. soda (with a slide), fill the bottle with water, rinse.
The plaque at the top of the bottle is removed with a kitchen brush. The lower part is cleaned with a rag tied to a wooden stick. Wheat grain removes stubborn sediment well. 2-3 glasses are poured at the bottom. Clean containers are dried. Preparing berries:
- the grapes are not washed, natural yeasts are retained on the skins, and during their life processes they convert fruit sugar into alcohol;
- the brushes are cut in dry weather; at least 2-3 days must pass after the rain for the concentration of sugar in the juice to increase;
- berries are separated from the ridges, spoiled (rotten, broken) are thrown away;
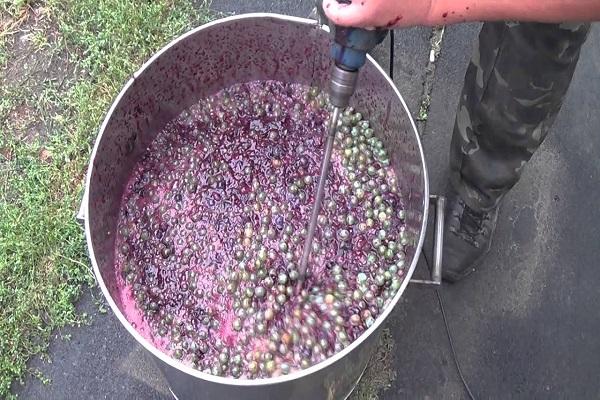
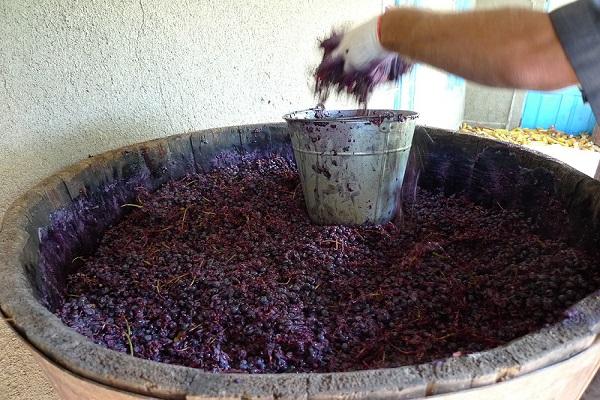
- the raw materials are pressed with a wooden masher or a construction attachment (mixer) onto an electric drill.
How to properly put a glove on a jar
They take new gloves and buy medical ones. The aroma of the drink will suffer if you wear a rubber product for household purposes. The material from which it is made has a strong smell.
To prevent the glove placed on the bottle from bursting from the pressure of carbon dioxide, it is pricked with a needle. The number of punctures depends on the volume of the fermentation tank.
| Volume (l) | 1-2 | 3-25 | >25 |
| Number of punctures (pcs.) | 1 | 2 | 3-5 |
Make a puncture with a thin sewing needle. Fingertips are pricked. The operation is carried out when the glove is inflated and the fingers are spread out in greeting. To ensure a tight seal, the area around the neck is secured with tape or tied tightly with string.
Making wine with a glove at home
Apples grow in Siberia and southern Russia, so a simple recipe for apple wine is especially relevant:
- Grind the cored fruits in a meat grinder;
- pour the puree into a bucket;
- for every kilogram of mass add 150 g of sugar;
- pour the puree into the fermentation container, filling ⅔ of the volume;
- tie the neck of the bottle with a napkin;
- Shake the container for 4 days, mixing the mass and the foam formed on it;
- on the 5th day, strain the juice through cheesecloth, pour into a prepared bottle, and add the juice squeezed from the flesh there;
- for 1-1.5 months, place the bottle in a dark, warm place, put a glove on the neck;
- when the glove deflates, remove the liquid from the sediment using a thin tube;
- Pour the young apple wine into bottles and store in a cool place for 3 months.
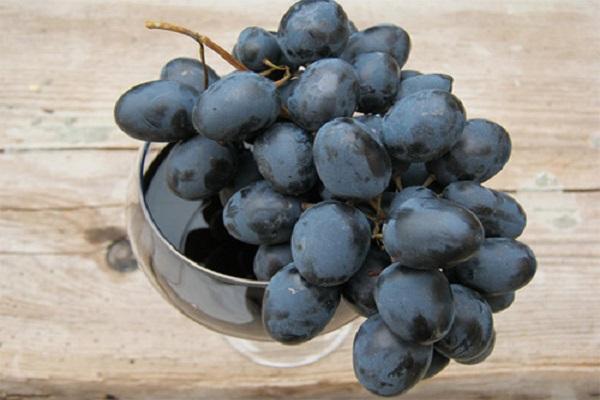
In regions where grapes grow, a recipe for a delicious grape drink is popular. Sweet varieties are used for homemade wine, and sour berries are used to brew moonshine. How to prepare raw materials is described above.
The juice, along with the skins, is poured into a plastic container. It should stand in a warm place for about 4 days and ferment. A cap will form on the surface. It needs to be heated 2 times a day. Mix the mixture by hand or with a wooden stirrer.
On the 5th day, important work is done - the juice is separated from the cake. Use colanders, funnels, plastic and glass containers, and gauze. As a result, you get wort. For every 10 liters add to it:
- water - 2 l;
- sugar - 2 kg.
The water taken is not boiled, without foreign impurities. All of it is poured into the wort, and sugar is added to half the total volume. Mix everything well. The sugar crystals should dissolve completely.
The billet is poured into fermentation containers, filling them to 70%.
A medical glove, prudently pierced with a needle, is put on each bottle of wort. Containers with fermenting wort are kept in a room where the air temperature is 20-28 °C.Wild yeast works well in this temperature range.
The active fermentation process lasts about 3 weeks. On the 10th day, you need to add a second portion of sugar to the wort - 1 kg for every 10 liters. By the end of the third week, the active fermentation phase will end. External signs will indicate this:
- the wort will lighten;
- sediment will appear at the bottom;
- the glove will deflate.
In order not to spoil the taste of the young wine, it is drained from the sediment. Use a thin silicone tube. The bottle is placed on a raised platform. The tube is lowered into the container. Its end is placed 2-3 cm from the sediment. The lower end is lowered into the container below. The wine collected in a clean container is taken to a cool room (10-16 °C).
Winemakers use a cellar to ripen young grape wine. It stays there for 2-3 months. Sediment will inevitably appear at the bottom. The wine is removed from him twice:
- a week later;
- a month later.
By the New Year, you can try a drink prepared at the end of summer. But it’s better to delay the tasting until spring.
Homemade grape wine tastes better if it sits for 6 months.
Popular questions
In the process of making homemade wine, new winemakers have questions. They are standard. The answers are below.
Do I need to pierce the glove?
If the wort is small (1-2 l), and the glove is size XL, then it is not necessary to pierce it. For fermentation, no more than 70% of the container volume is poured into the container, so the volume of the glove and the free space in the jar are enough for the carbon dioxide released.
Does oxygen penetrate through the holes?
During fermentation, air does not enter the hole due to the pressure of carbon dioxide. It is higher than atmospheric. After the process is completed, the small hole shrinks, oxygen does not pass inside.A properly worn glove will rise after 4-12 hours.
What to do if the glove on the can is very inflated?
Remove the elastic closure for 2-3 minutes to prevent it from bursting. During this time, oxygen will not start oxidative processes in the wine. Quickly make additional holes in the glove, return it to its place and fix the area where the glove is attached to the neck.
Why was the glove pulled in?
The situation requires analysis. There are several reasons why the elastic shutter pulls inward:
- there is a gap between the glove and the neck;
- unstable room temperature;
- the fermentation process is weak;
- the wort is infected with mold fungus;
- the wine has matured and fermentation has stopped.
What to do if the glove on the wine bursts or falls off?
It’s not a big deal if the fermentation tank has been open for less than a day. You need to put a new glove on the bottle. It flies off due to excess pressure during active fermentation and the lack of additional fastening. If there is increased pressure, a strong seal at the neck, or the absence or insufficient number of holes, the glove bursts.
Problems with the elastic shutter do not arise if the winemaker regularly monitors the processes occurring in the fermentation tank.

