A perch for keeping chickens provides convenience, allows the birds to rest and gain strength for a new day. Several options have been developed for chicken saddle. Depending on the number of individuals and the area of the chicken coop, the breeder chooses a specific design. Each of them has its pros and cons.
Why do laying hens need a perch and a nest?
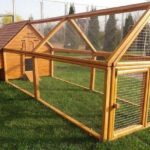
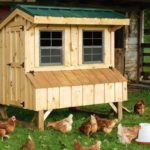
Roosts and nests are created in artificial chicken coops so that the birds have a place to rest and hatch eggs.The long-time relatives of chickens arranged their resting places in exactly this way.
Placing chickens on the floor contributes to the development of infectious and fungal diseases. Viruses and fungi multiply in dirty floor conditions.
For the design of the saddle, it is necessary to correctly calculate the distance between the tiers where the required number of nests are placed.
During the cold season, birds huddle close to each other, thereby providing additional heat to each other. In summer, on the contrary, chickens move further away from each other to keep it cooler.
This is also taken into account when placing them in roosts at different times of the year.
Perch options
There are several design options. Each breeder chooses a suitable roost for his chicken coop, taking into account the size of the chicken coop, the breed of birds, and the characteristics of the keeping.
One tier
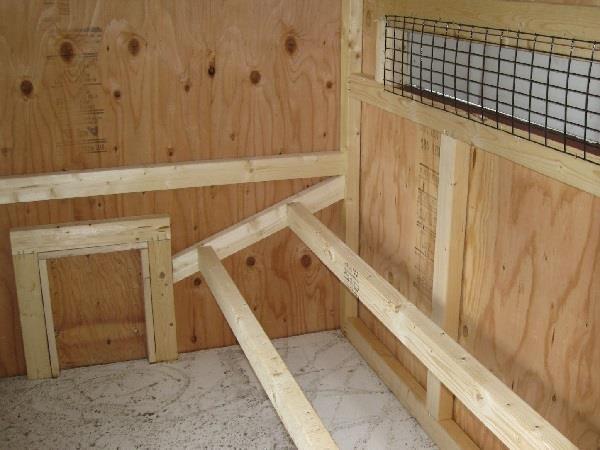
The simplest design. It can be completed in 1-1.5 hours. Suitable for small indoor chicken keeping. The block is fixed along the wall on wooden fasteners, which are attached to the wall. Does not require installation of a waste tray.
Multi-tiered
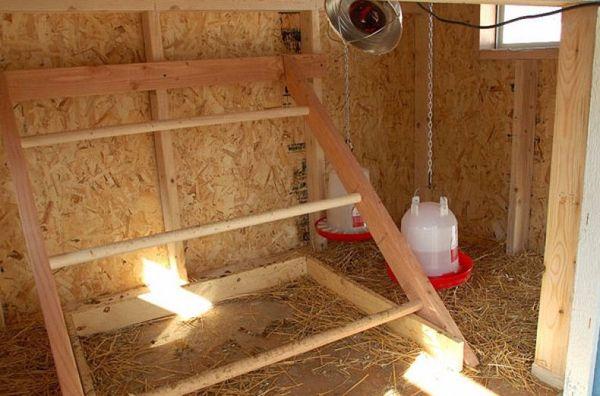
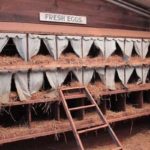
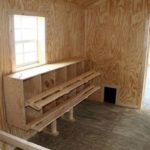
Arrange the poles in the form of a ladder. This is done so that the chickens do not dirty each other by leaving droppings. This placement also has one advantage. In such a chicken coop, a clear hierarchy is formed. On the upper tiers there are strong, healthy individuals, and on the lower tiers there are sick and weak ones.
Angular
For the corner option, both single-tier and multi-tier perches are suitable. Attach poles between touching corners. You can equip all four corners of the room. There is a minus, the multi-tiered option will contribute to the pollution of the chicken coop. Therefore, one pole is installed permanently, and the rest are made removable.
Portable
Externally it looks like a table. A tray is installed on the countertop to remove litter. Poles are attached to the table. The size of the table must fit the doorway so that it can be moved. Wheels are screwed onto the table legs, this makes it easier to move the perch.
Important! When making a portable perch, the pallet is equipped with sides, and the surface is sanded with a grinder.
Above the nests
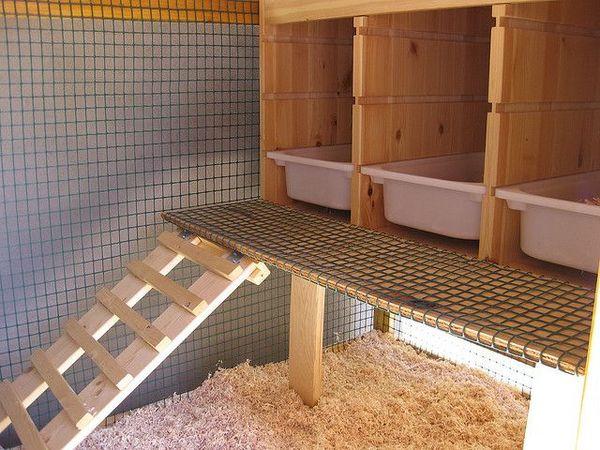
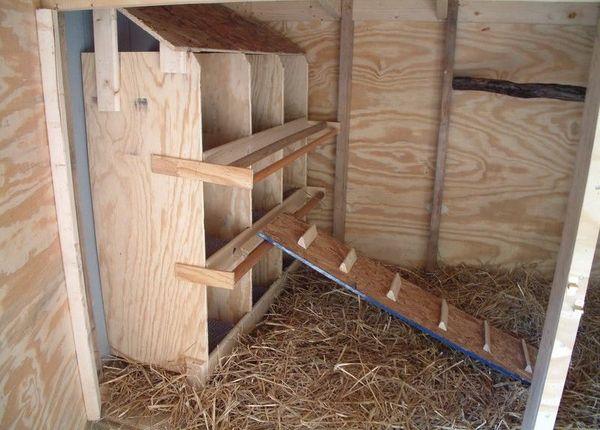
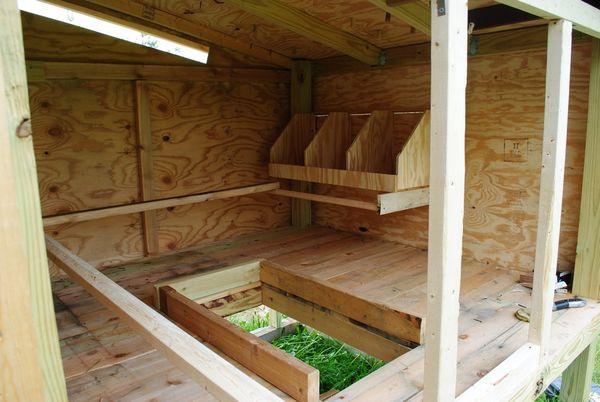
Install the structure against the wall opposite the door. Prepare several plywood boxes for nests. A bar is attached above them, 30 cm higher. This helps save space. A tin tray is installed on the roof to collect droppings and keep the chicken coop clean.
How to make a perch with your own hands
Making a perch with your own hands is not difficult. It does not take much time and does not require the development of special skills. Every breeder should know how to properly make a saddle for chickens with their own hands.
Tools and materials required
For production you will need:
- wooden blocks;
- sandpaper;
- wood saw;
- hammer;
- nails;
- plane.
Drawing
After preparing the material, they begin to create a drawing. Prepare it following the instructions:
- Measure the size and area of the chicken coop. Take into account the location of doors and feeder windows.
- Choose a suitable place to create a perch.
- The bars for the crossbars are processed and made smooth.
- Cut out the bars of the required size.
- Fastenings for bars are installed on the walls.
- The poles are attached to the supports.
- Manufacture of pallets for manure.
- A ladder is installed next to the perches to make it easier for the chickens to climb up and down.
Placement
The roosting location is chosen as far away from doors and windows as possible.It should be well shaded and constantly warm. During the cold season, chickens should not freeze. When installing, the number of individuals is taken into account; in winter they sit closely together, in summer, on the contrary, they move away from each other.
Important! In small rooms, multi-tiered structures are most often used.
Manufacturing and installation of a perch
The perch is made according to the diagram. Prepare the necessary material in advance. For each chicken coop, they prepare their own individual project plan. Manufacturing takes place in several stages:
- The prepared bars are polished using a grinder so that there are no protruding sawdust left.
- Then they are checked for bending.
- The pole mount is screwed into the wall.
- Install the slats and secure them so that they do not scroll.
- Then a wooden ladder is installed in the corner to make it easier for the koopas to move around.
Installation occurs using wall attachments. Then the support beams are installed. During installation, nails and screws of different sizes are used. The wood material is chosen to be of high density so that it does not sag when chickens roost.
Removable litter trays
Bird resting areas are equipped with removable trays. This helps to remove droppings in a timely manner and maintain hygiene in the chicken coop. Mostly moisture-resistant material is used; galvanized sheet metal is suitable for perches.
Optimal pallet size:
- width 50 – 60 cm;
- length for the first floor – 60 – 70 cm;
- multi-tiered perch – 60 – 120 cm.
After installation, sawdust is poured onto the pallet, it absorbs chicken droppings and eliminates unpleasant odors. A side up to 8 cm high is formed on the structure to prevent the contents from spreading. The back wall of the tray is installed at an angle to make it easier to remove waste.For multi-tier placement, the pallet is tightly attached to each tier.

