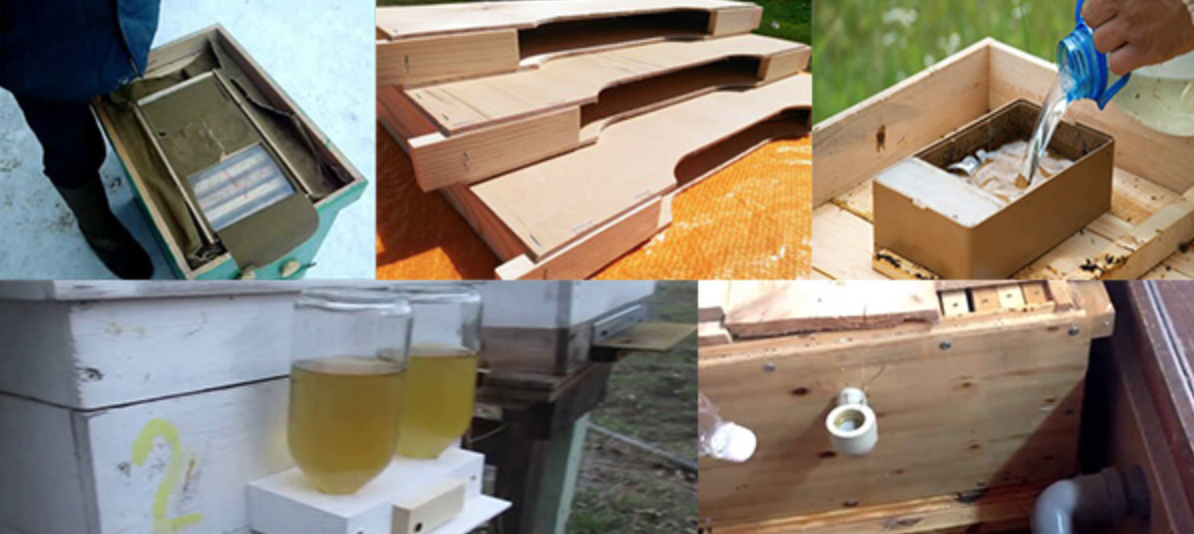
Bee colonies need regular feeding. This must be done at least twice a year to stimulate brood. The insects are fed for the first time in the spring - before the honey plants begin to bloom. This is done the second time in the fall - before winter food supplies are replenished. For the procedure to be effective, it is important to use special bee feeders. They differ in variety and can be made from improvised tools.
Requirements for the feeder
Designs for feeding bees vary in shape and size.However, there are a number of standard requirements:
- Capacity should be up to 4 kilograms.
- Insects need access to food at different times of the day, regardless of the weather.
- Bees should not drown in syrup while feeding.
- When feeding food there should be no contact with insects.
- The beekeeper should be able to see the remaining syrup. This allows him to add a new portion if the need arises.
- The design should be easy to maintain, since it subsequently needs to be systematically washed and cleaned.
- Bees from neighboring hives should not have access to the feeder.
If you make a feeder incorrectly, it poses a real threat to insects. They will begin to drown in the syrup. There is also a risk of injury and hypothermia to the bees. This will result in a decrease in the yield of the hive.
Varieties
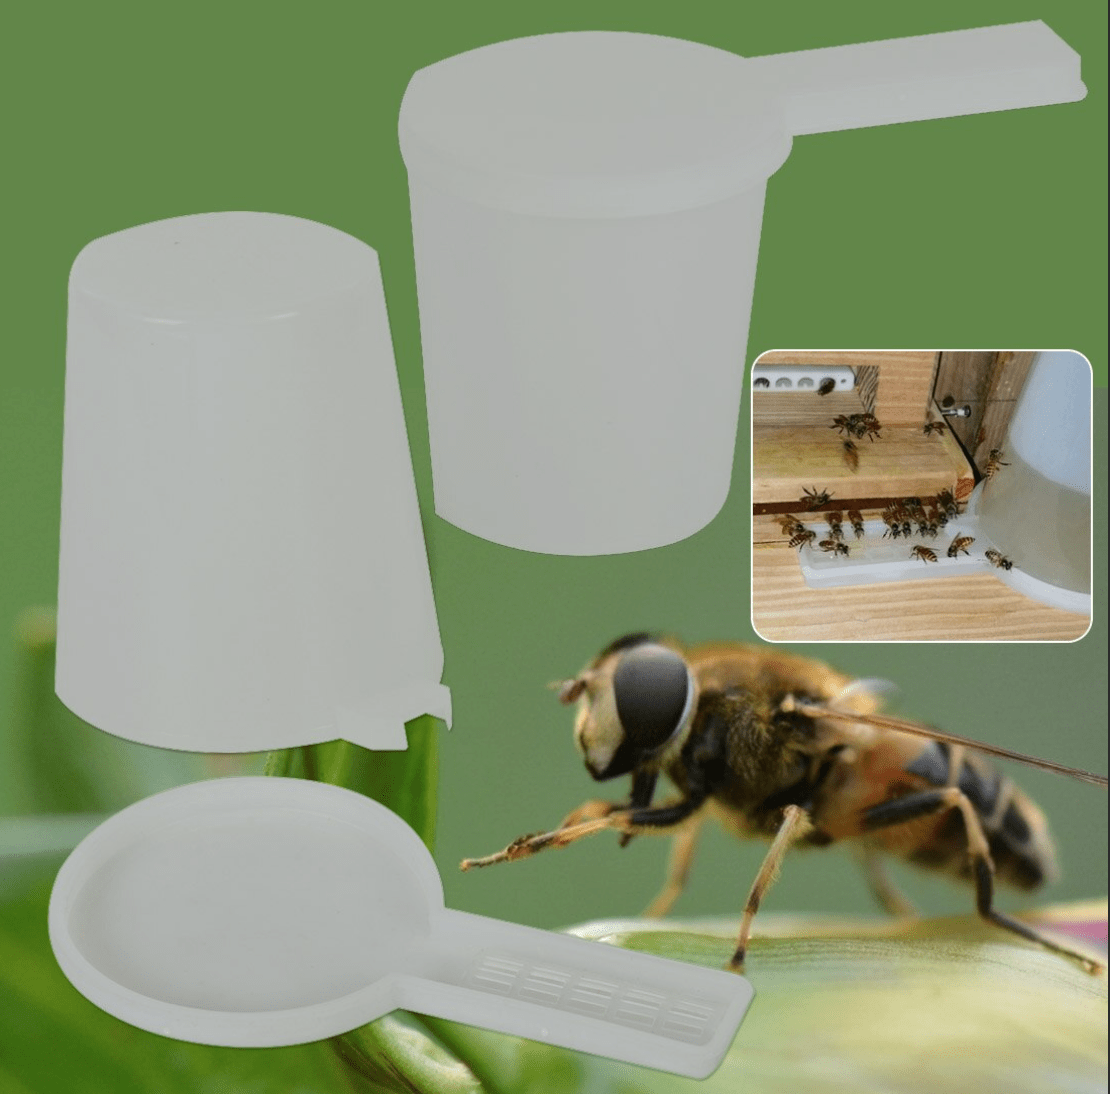
Today there are many types of bee feeders. They differ in design features.
Ceiling
The box model is considered a universal design in this category. It needs to be fixed in folds or placed on a shelf, in which a hole must first be made. Thanks to this, the bees will be able to get to the food. The box should be long enough to fit between the back and front walls of the hive.
The container for bees includes 3 sections:
- chamber for syrup;
- aft section with a bridge for insects - it is made of foam or plywood;
- a small compartment through which the bees enter the feeding compartment.
A dividing partition is installed in the aft section, which does not reach the bottom by about 3 millimeters. In the third compartment, the partition does not reach the top by 8 millimeters. There is no bottom at the bottom, which creates a gap for bees to access the compartment with food.
Framework
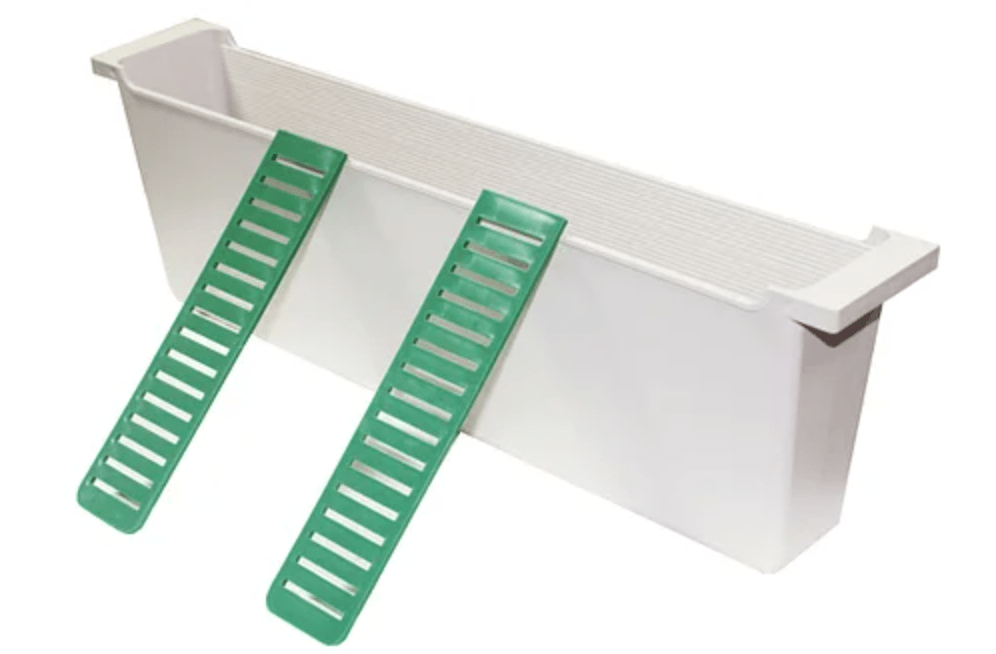
This is the most common intra-hive model. The dimensions of the container coincide with the frame with honeycombs. The design is a box with an open top through which syrup is poured inside. A floating bridge is installed inside, which prevents insects from drowning. Such a feeder should be placed instead of a frame on the side of the nest. In this case, it needs to be hung from the wall using hooks.
Overframe
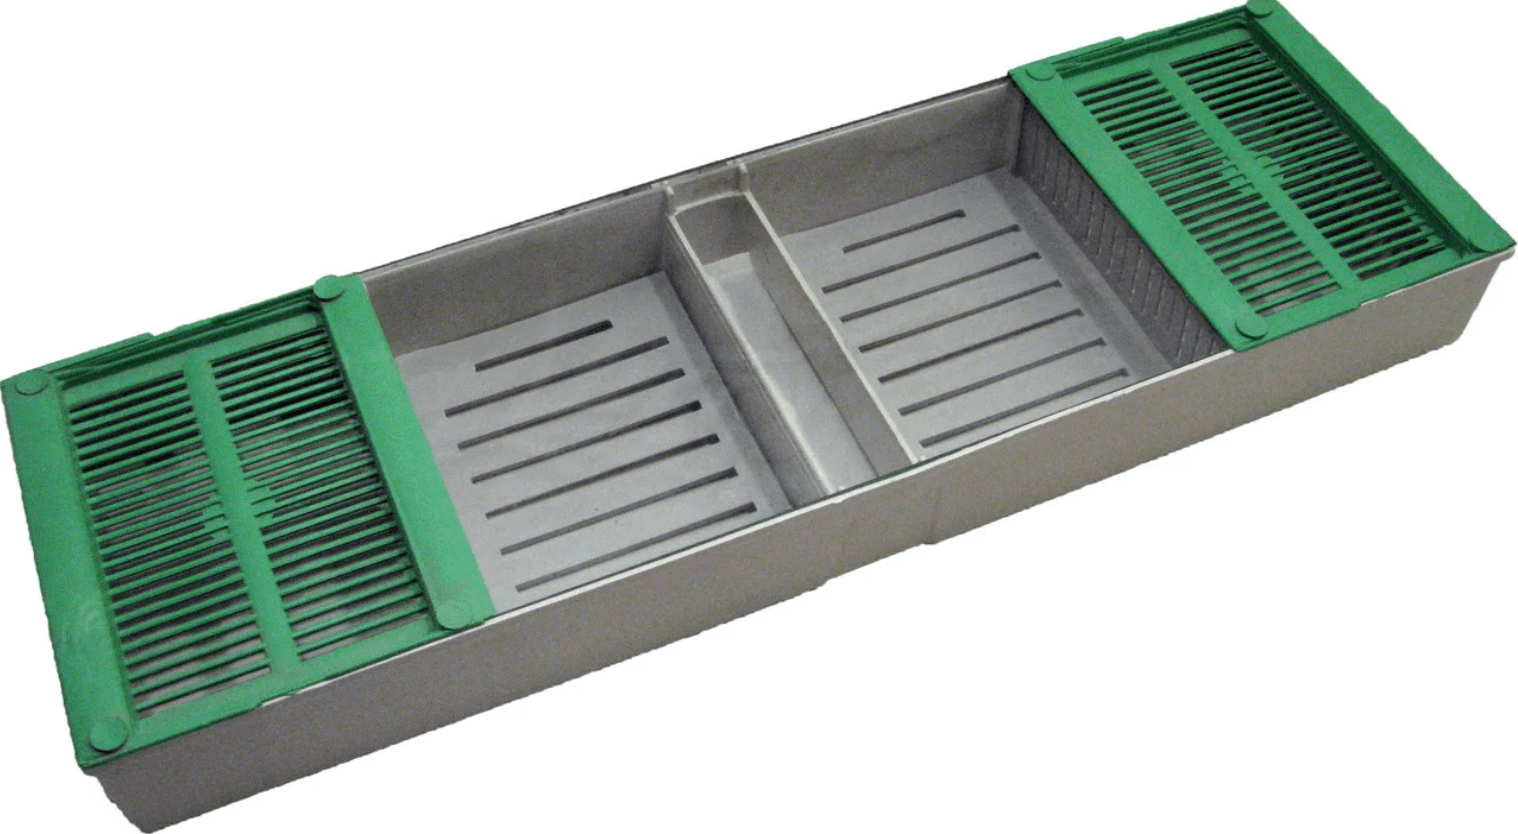
This design is of the box type. In this case, it is installed in the hive above the frames. The design completely covers the nest, so insects cannot leave it while feeding. The structure consists of 2-3 compartments. One serves as a passage, and the rest are filled with syrup or honey.
This feeder is made from corrosion-resistant materials. These include, in particular, plastic, aluminum, and wood. The box can be rectangular and have a volume of 0.5-2 liters.
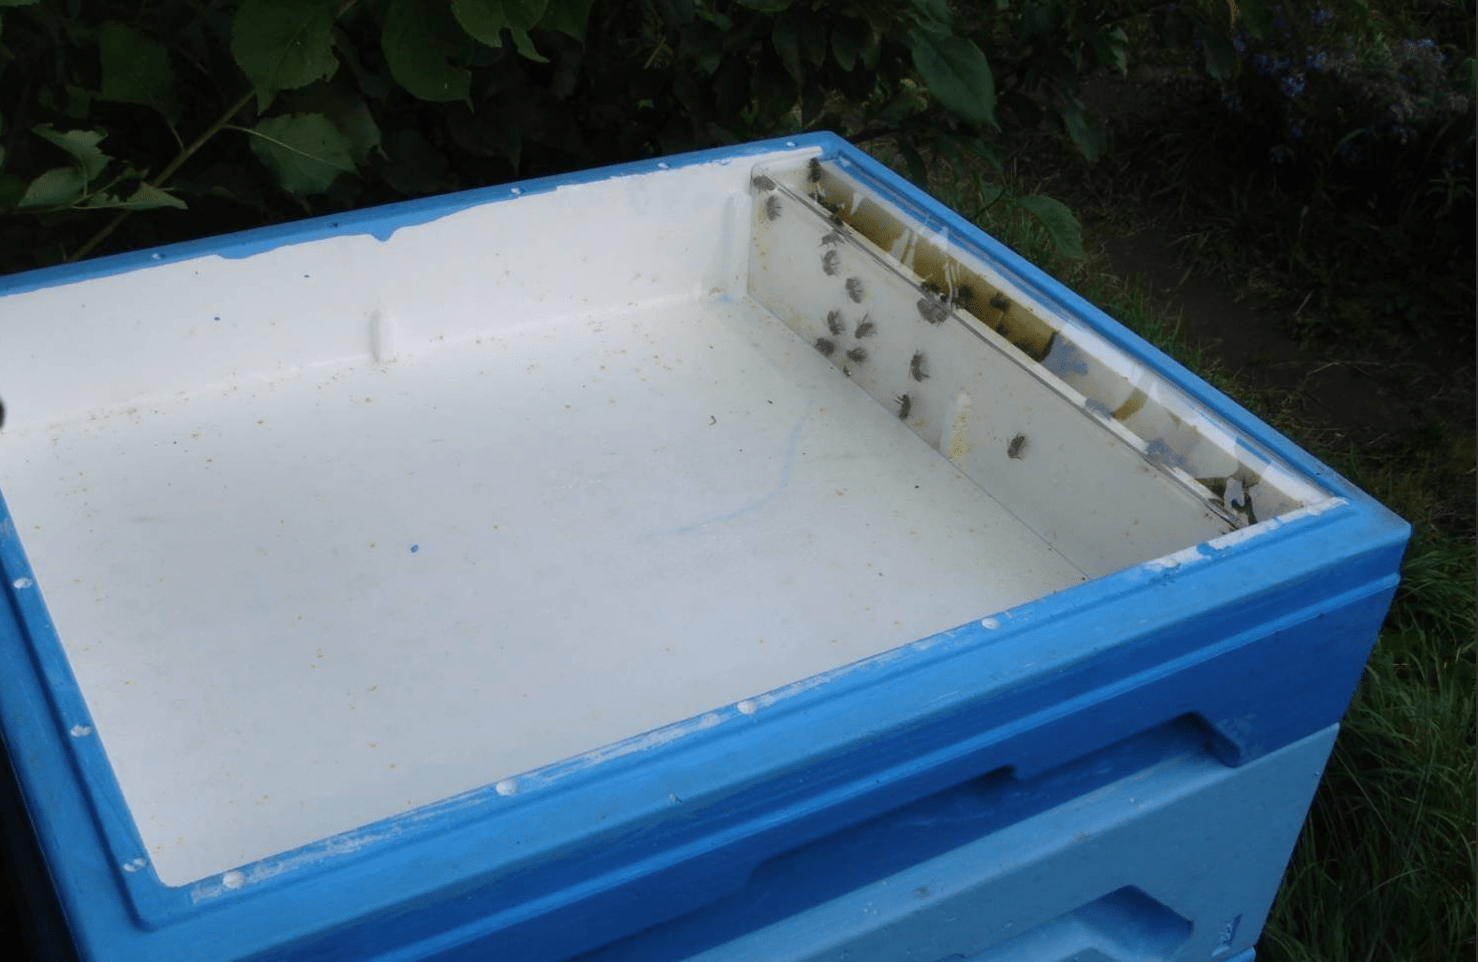
Outdoor
This option is considered very convenient for beekeepers and insects. The external feeder is a sturdy box with a hinged lid that attaches to the back of the hive. A container with food is placed in the feeder and a special raft is attached. To make it easier for bees to get inside, a small gap is made at the back of the hive.
The main disadvantage of the design is the rapid cooling and freezing of food. Also, an incorrectly constructed structure can lead to theft.
How to make your own bee feeder
To make your own bee feeder, you can use various available devices.
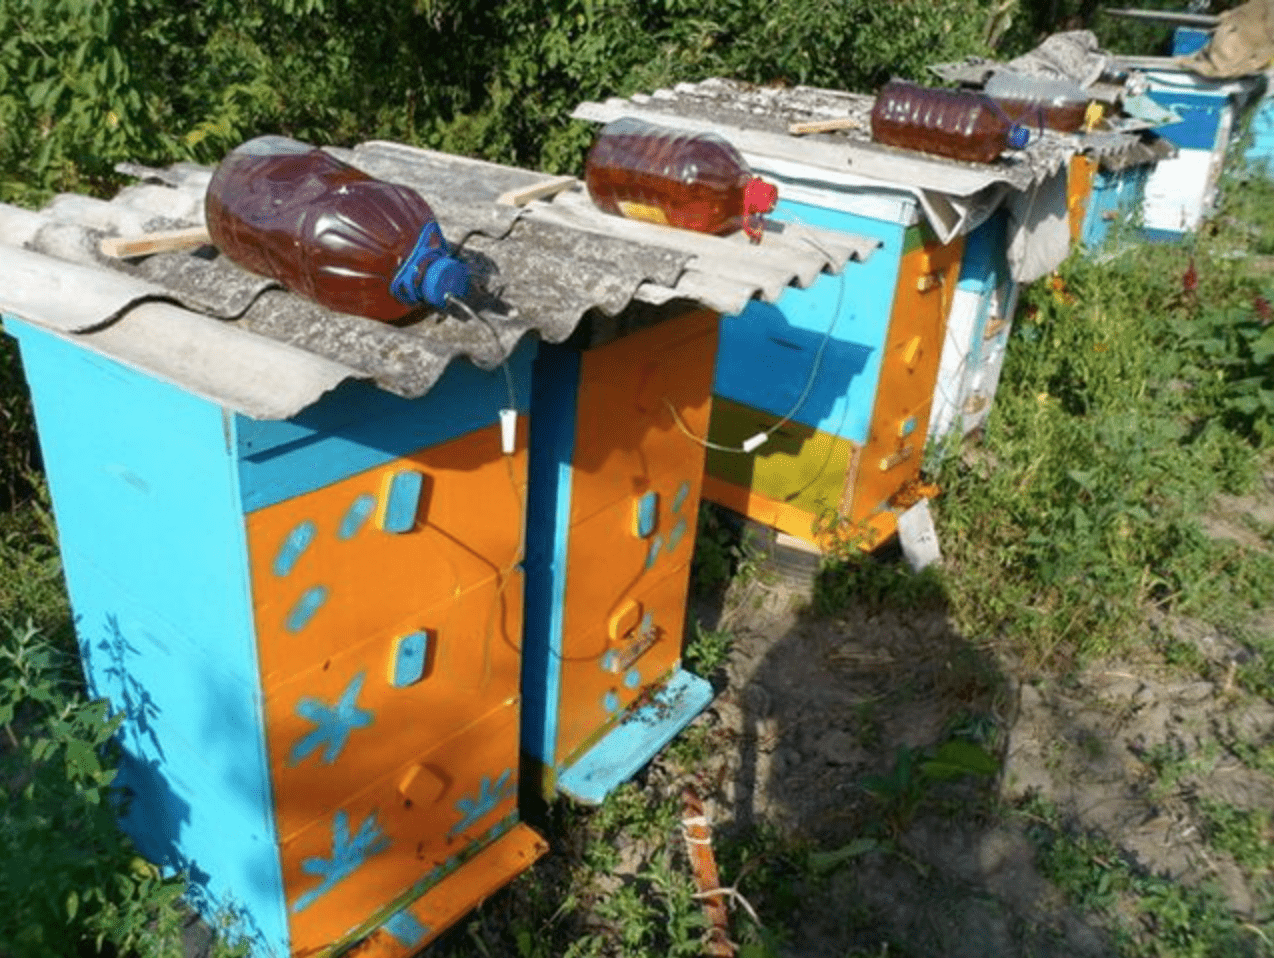
From a plastic bottle
Making a feeder with your own hands from a plastic bottle is not difficult. In addition, this structure will have an affordable price. To get a feeder, you need to draw a straight line on the side wall of the bottle from the neck to the bottom and make 7 holes with an awl.
Cut 2 holders from bars or chipboard sheets. They must have recesses for the bottle. The elements should be attached to the wall of the hive. The side holes must be sealed with tape. After which the container is filled with syrup and closed with a stopper. Then the tape is torn off and the bottle is placed on the holders. In this case, the holes should be located at the bottom. The rate of syrup flow depends on the viscosity of the mass and the size of the holes.
From a tin can
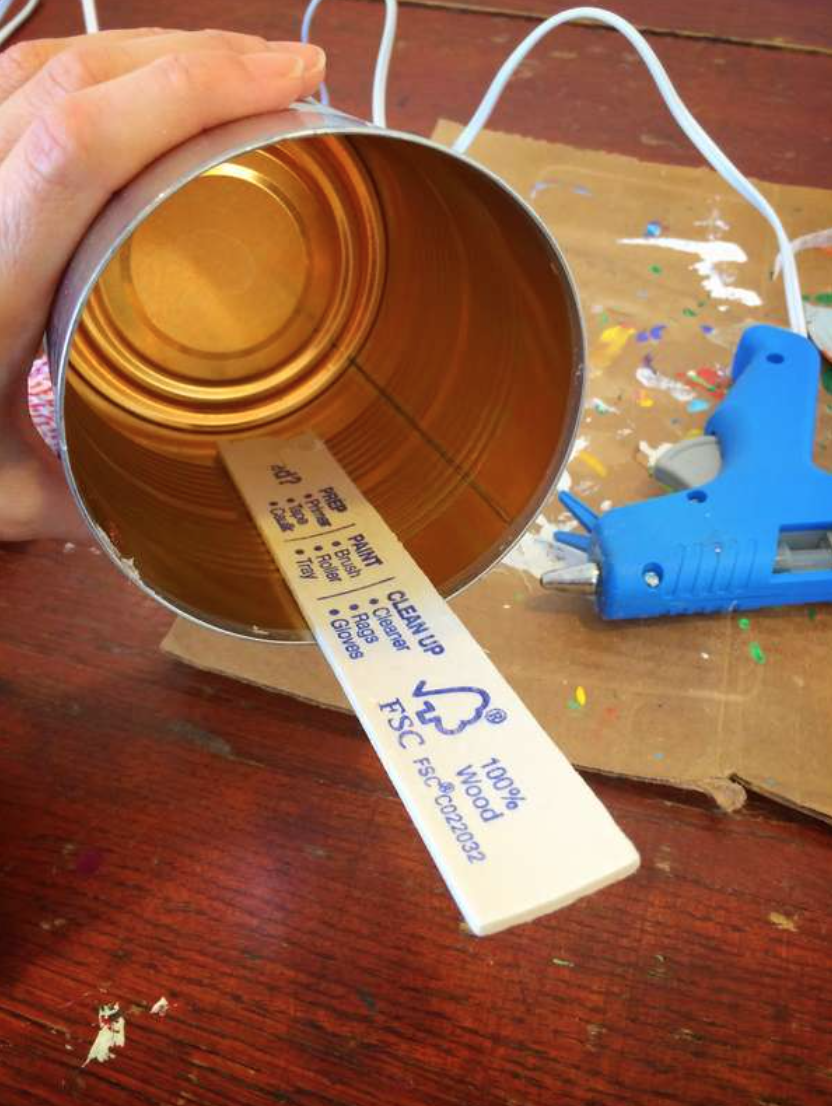
It is not difficult to make a feeder for a hive from a tin can. In addition, the building has many advantages. It has thin walls that conduct heat well. Therefore, the food in the tank does not harden for a long time. The design is also easy to clean, making it easy to care for.
To make a feeder you will need small and wide jars. In this case, you should do the following:
- Wash the jar with detergent. Then you need to wipe it dry and add fertilizer.
- Cover the top with a cotton cloth so that its edges reach the middle. You can also use gauze folded in several layers.
- Secure the material with an elastic band.
- Turn the container over and place it above the nest, higher than the frames. To improve access to feed, the container can be raised slightly by placing bars down. In this case, you should definitely leave gaps.
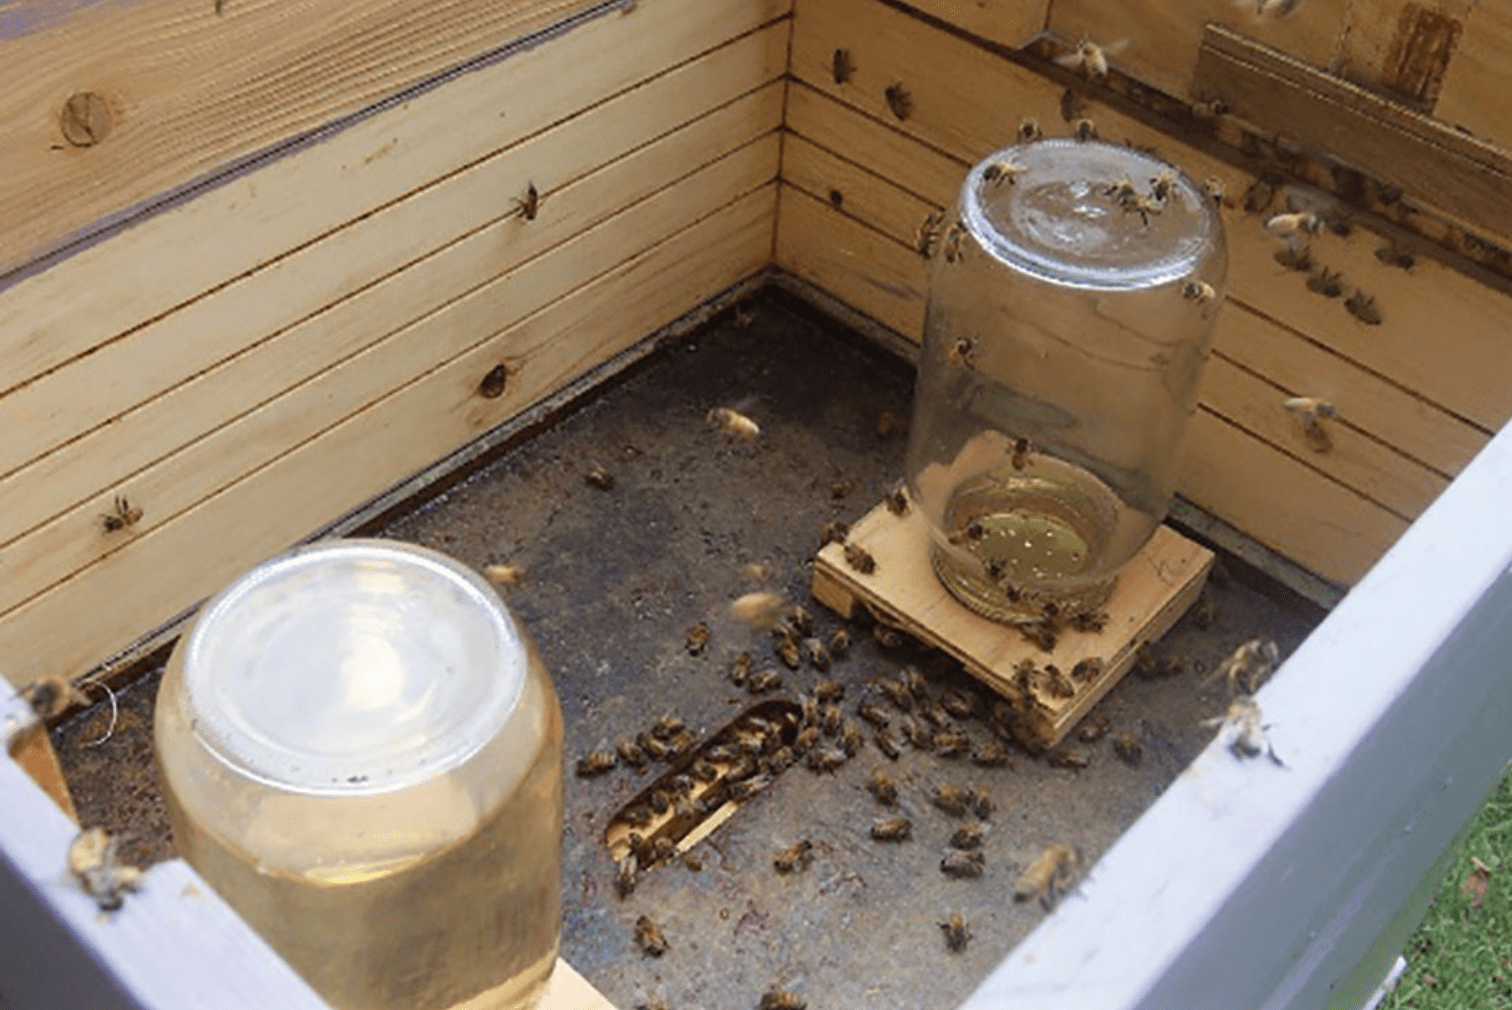
From a glass jar
Excellent homemade feeders are made from glass jars. To do this you should do the following:
- Take a glass container with a capacity of 1 liter and pour nutritious syrup into it.
- Fold the gauze into 8 layers, moisten it with water and wring it out. Then attach the cut to the neck of the jar and secure with an elastic band.
- Place plywood on top, then turn the jar over and place it in the hive on the top platform. The plywood can then be removed. The syrup will gradually seep through the fabric, and the bees will begin to eat it.
From foam plastic
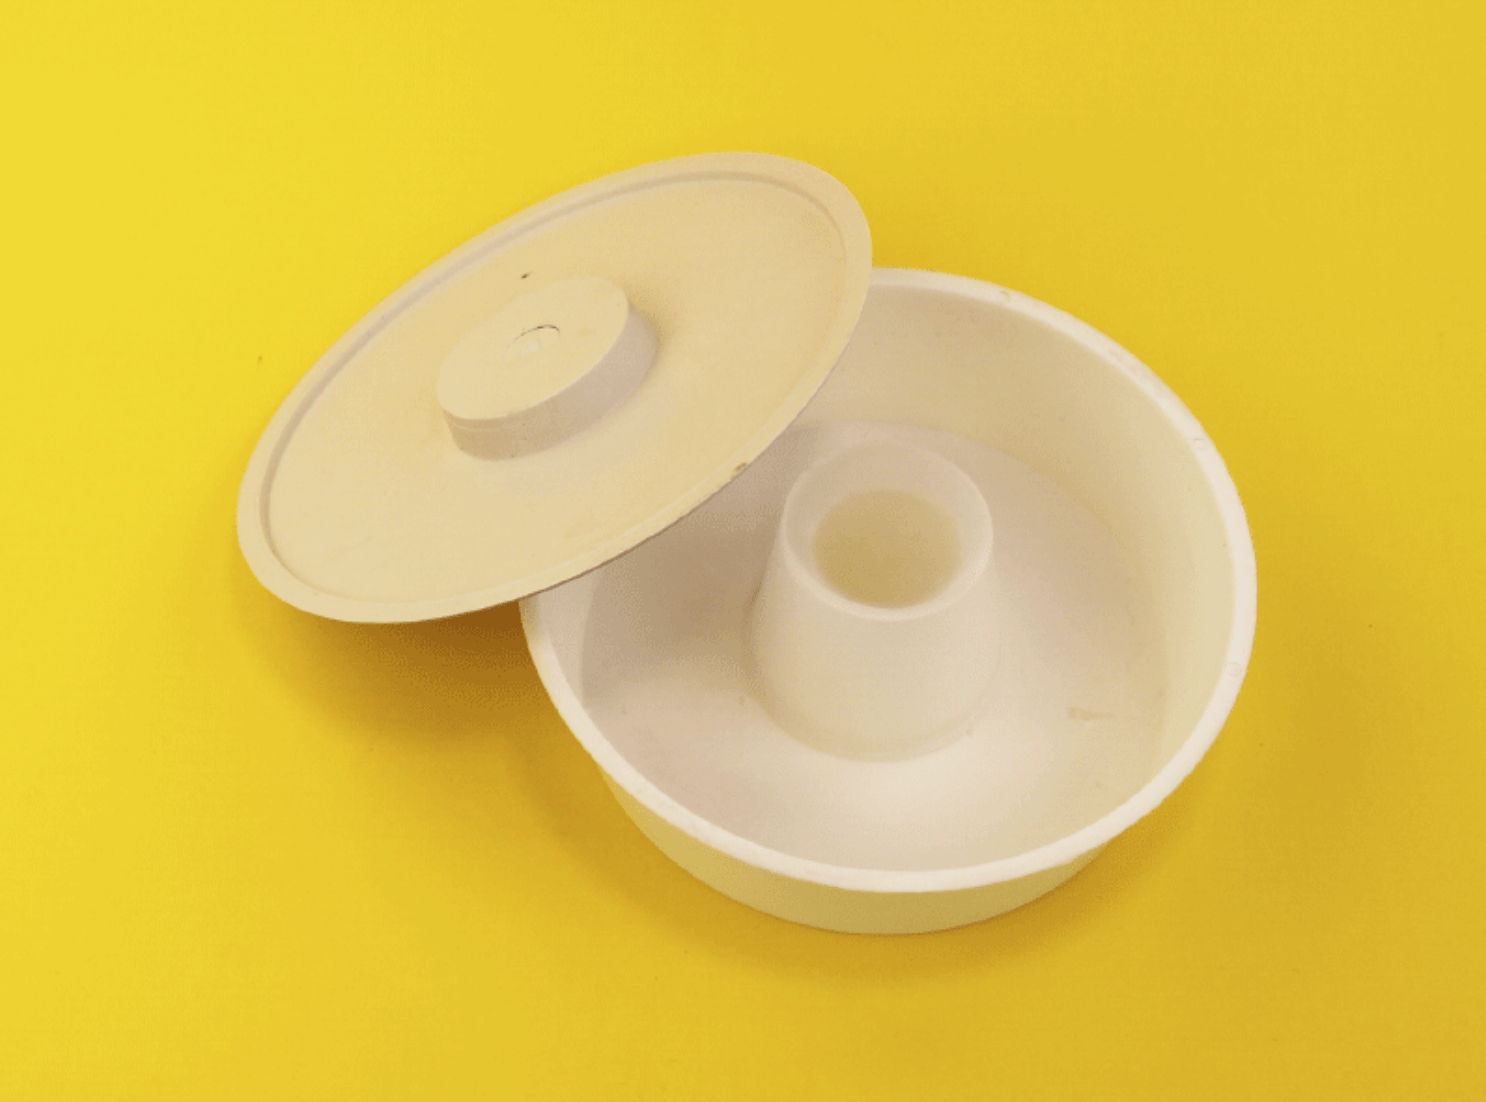
For feeding, you can use ready-made foam feeders. They can be easily glued together from sheet foam. You can also take a conical PVC container with a diameter of approximately 200 millimeters for this purpose. You will also need elastic, chintz and a foam board. Its thickness should be 30 millimeters.
- You need to cut a circle out of foam plastic. This should be done with a sharp knife. In diameter, it should fit tightly into the neck of the conical container.
- You need to punch a hole in the center of the disk. Its thickness should be 7 millimeters.
- It is worth making furrows on the outside.
- It is necessary to cut 4 grooves on the sides of the disk. The depth of each of them should be 5 millimeters.
- Pour syrup into the cone and cover the container with a foam disc.
- You need to pull the chintz on top and turn the cone over. If the syrup flows out quickly, add 1-2 more layers. As a result, it is important to achieve uniform mass distribution.
- Finally, the feeder should be secured in the hive with grooves made on the side of the disk.
Today there are many different types of bee feeders, made from different materials. This allows each beekeeper to choose the best option.

