A novice beekeeper needs to study a lot of different information - the characteristics of breeds, the principles of breeding and caring for insects, the design of various bee houses. The lounger type hive is used in most regions and has significant advantages - this option is often recommended for beginners. It is important to study the features of its structure, positive and negative aspects in advance.
Features of the hive bed
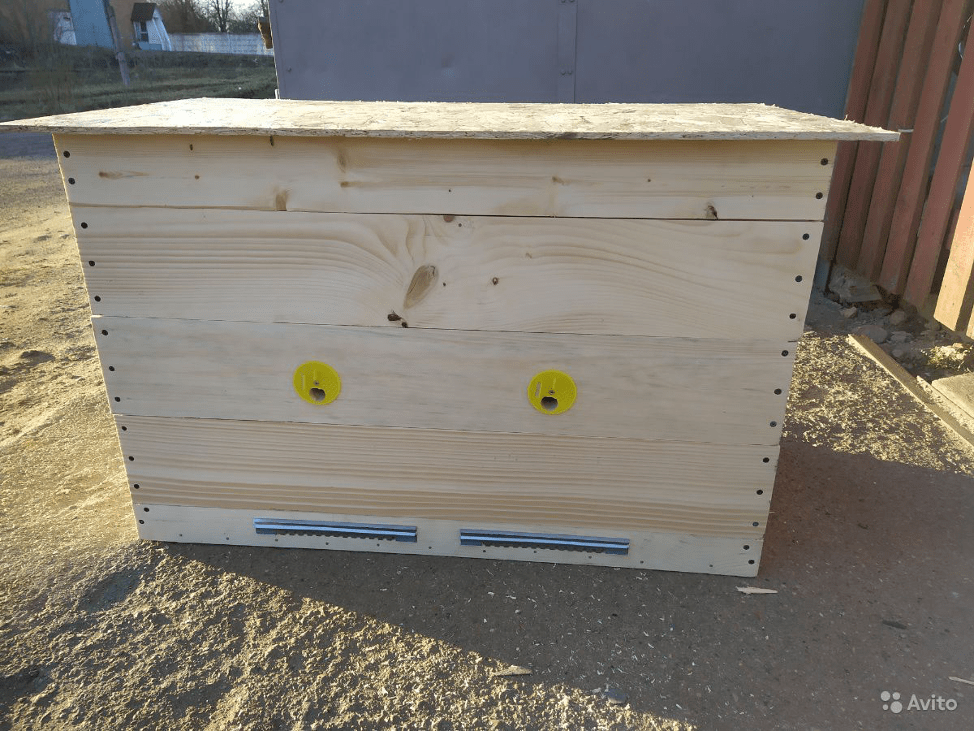
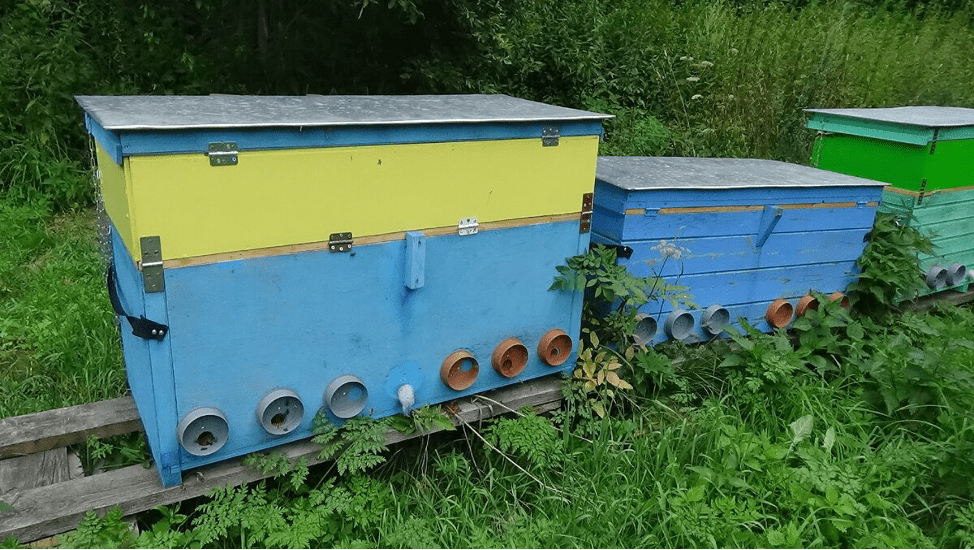
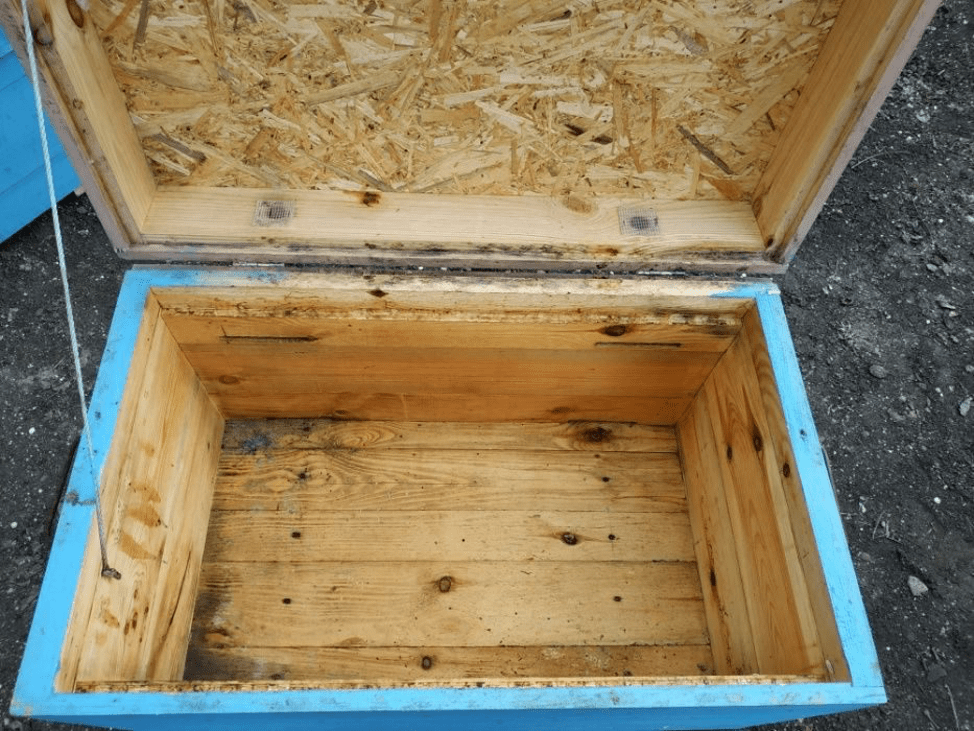
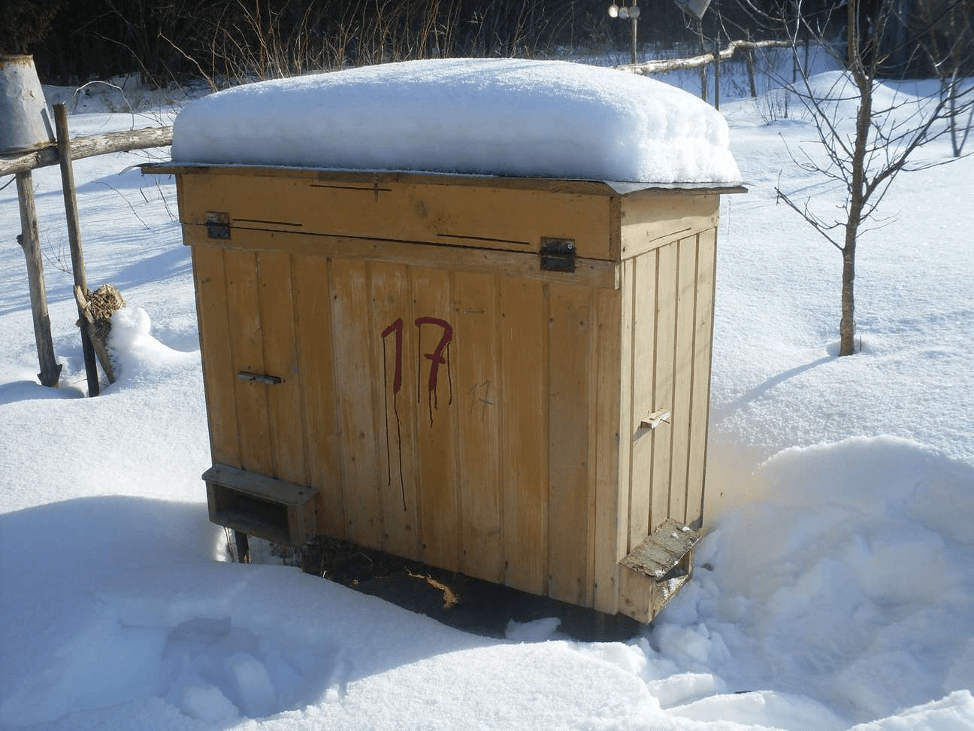
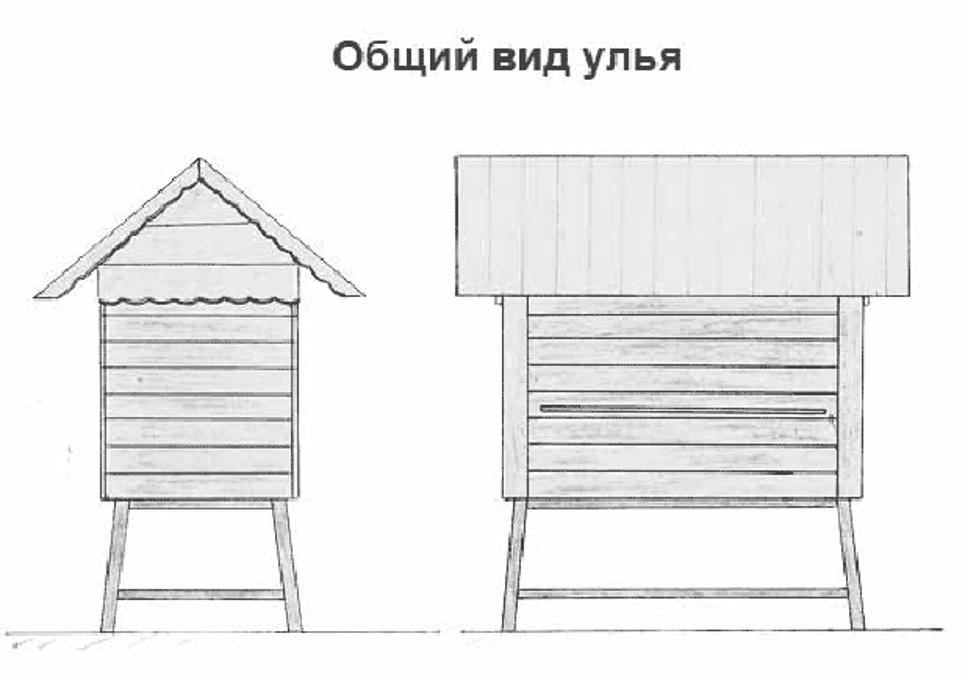
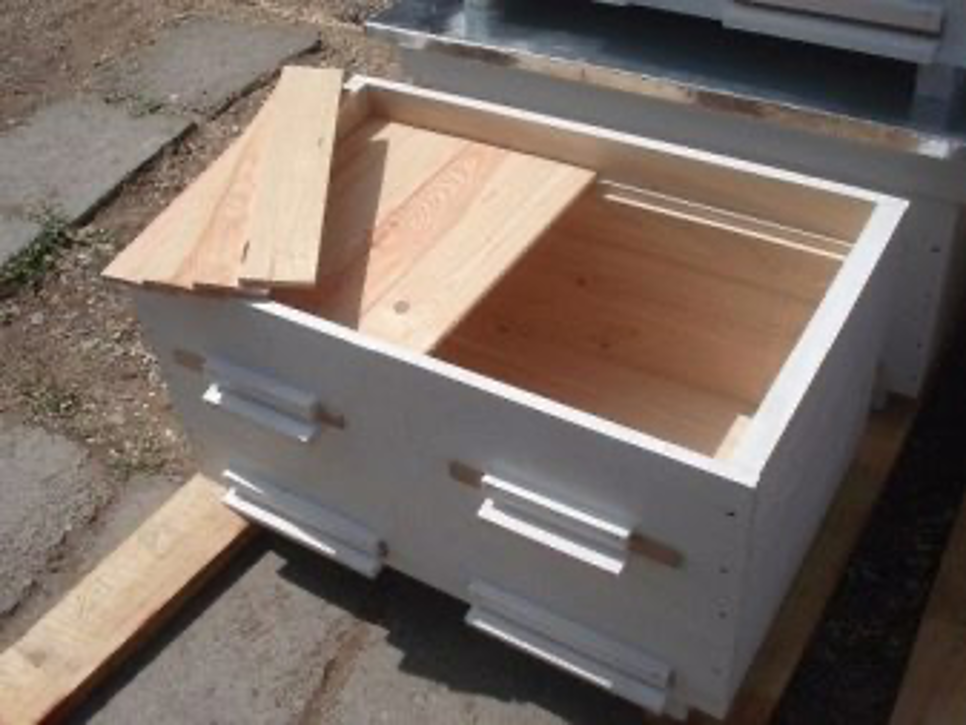
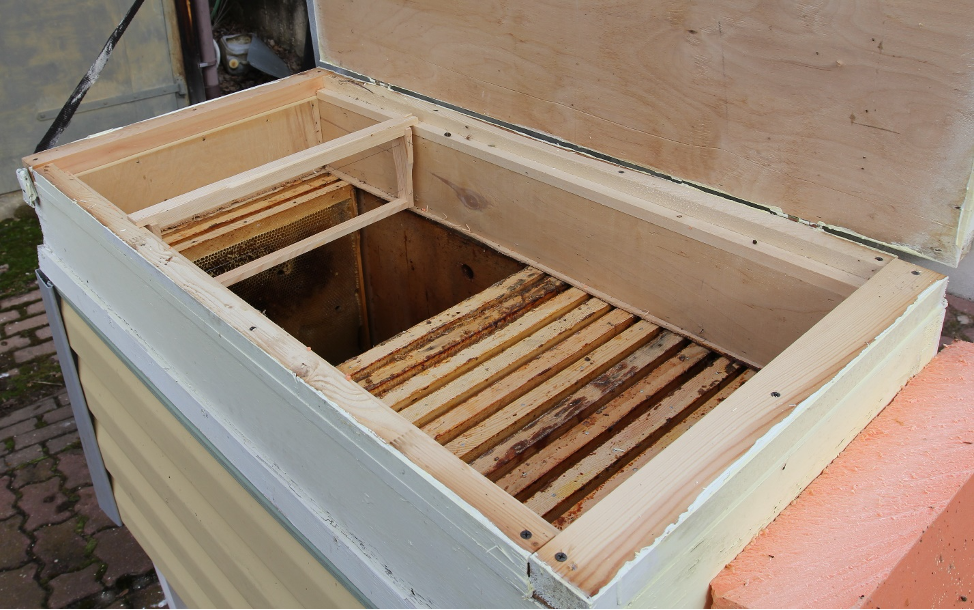
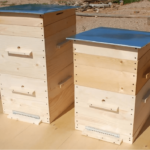
The appearance of such a bee house resembles an old chest - it is a horizontally built rectangular box, the lid of which opens from the top. Thanks to this arrangement, the hives are called loungers - unlike others, they seem to “lie.”
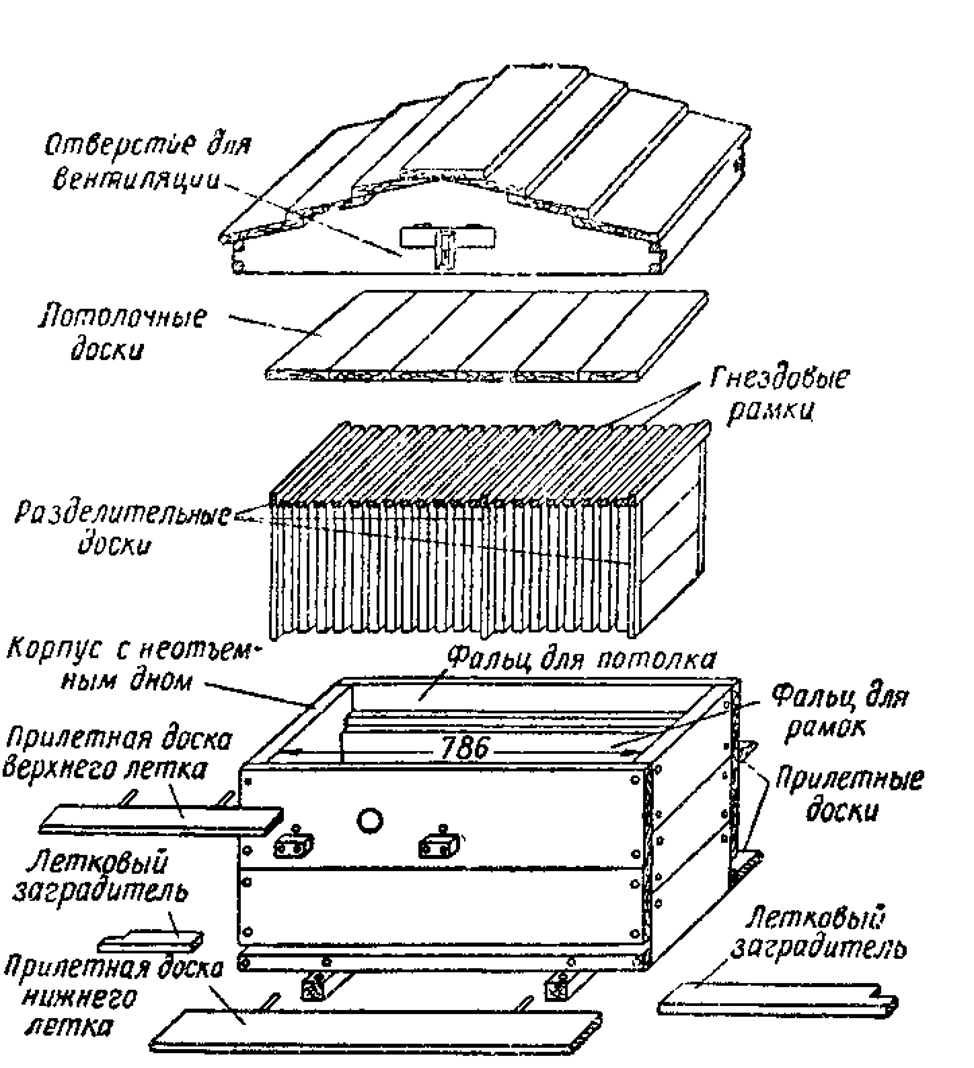
There are several variations of the same type of design. House structure:
- lower block - made without additional holes;
- the upper part is a hinged lid;
- two entrances for bees - above and below;
- several internal divided blocks;
A detailed review of the 24-frame sunbed in the next video.
Varieties
Beekeepers often modify the usual hive designs, and therefore several additional options may appear on the basis of one.
The following types of horizontal bee houses exist:
- standard, another name is reverse Dadan (a different number of frames can be installed, from 16 or more);
- Kenyan - a lightweight version, the appearance is shaped like a trapezoid (often used in countries with hot climates);
- Belarusian - an insulated house, which is considered suitable for novice beekeepers.
Attention! Few beekeepers know that insects do not sleep. At night, bees are stationary, which allows them to accumulate and store energy for the next day's flight.
Advantages and disadvantages
Beekeepers prefer lounger type hives for the following reasons:
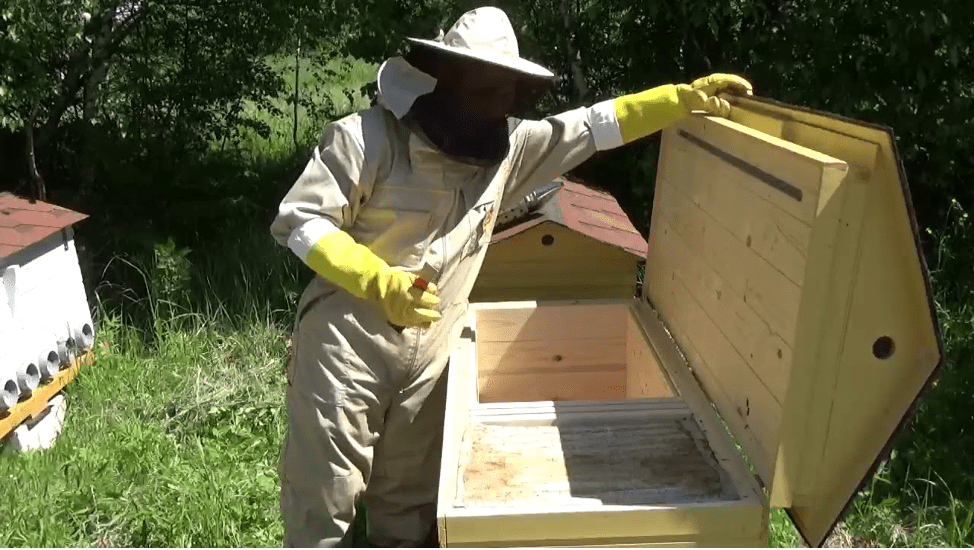
- It is easier for a beekeeper to work with such a structure due to the fact that the buildings are easy to move around the apiary.Attention! One of the main advantages of horizontal bee houses is the ability to inspect the home from the inside. At the same time, the family in the hive is practically not disturbed;
- such buildings are easy to maintain - clear debris, rearrange frames, and perform other necessary actions;
- the size of the dwelling allows two families to be placed in one block at the same time, but the queens do not overlap;
- the increased size of the house allows the bees to hatch brood faster;
- the owner of the apiary can independently increase the size of the home if this turns out to be necessary for the family;
- experience of breeding insects in such structures confirms that you can get more honey in such houses;
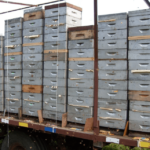
- the structures can be stacked on top of each other, which greatly facilitates transportation, which is sometimes necessary at the end of the honey-bearing season or when changing the apiary area due to flowering plants.
The wintering of two families takes place in comfortable conditions - the insects will warm each other. The frames are easy to install even for a novice beekeeper. The disadvantages include the following points:
- hives take up more space than other options;
- with an increased bribe, it will be necessary to start collecting honey and other products earlier;
- In such structures, bees are prone to swarming.
To prevent the latter process from starting, several proven options are used that are worth exploring if you decide to start working with sun loungers.
Dimensions and drawings
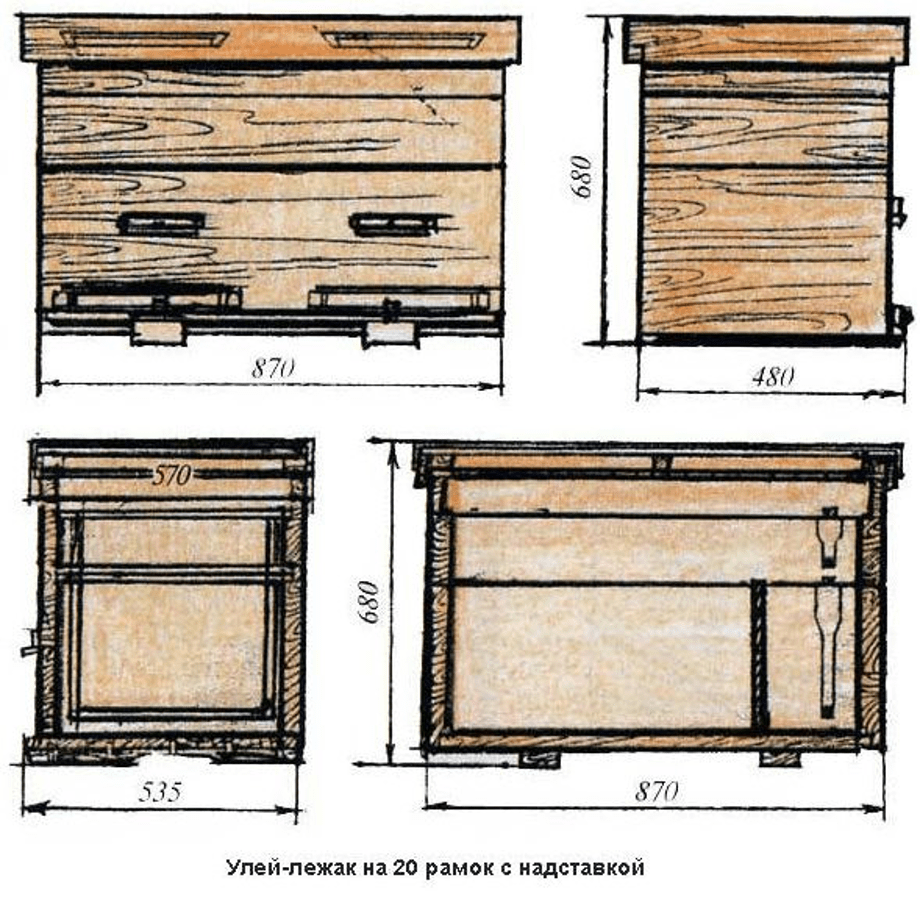
You can assemble the buildings yourself, having previously studied the features and dimensions. The parameters differ due to the number of frames. Standard hive sizes:
- case width – 56.5 cm;
- height of the dwelling – 63.5 cm;
- cover - the dimensions are calculated independently, the top block should cover the structure, a few allowances should be left on the sides;
- lower entrance – 1.2 cm by 14 cm;
- the top one is made round, a suitable diameter is 2.5 cm.
Manufacturing
If it is not possible to purchase a finished product, you can assemble the hive yourself. A novice beekeeper will need some carpentry skills, attentiveness and preliminary study of information on assembling buildings. You will need to prepare some materials and tools:
- boards with a thickness of at least 4 cm (the quantity is calculated from the number of hives and the dimensions of the bee houses);
- hammer;
- nails or screws (for securing parts);
- plane, sandpaper (to make the wood smooth enough). Attention! It is not allowed to leave nicks, chips, protrusions, marks, etc. on the surface of the boards. Small irregularities can damage the legs and wings of insects (including the outside);
- wooden tongues;
- sampler, electric drill, shtuntgebel, drying oil, varnish, paint;
- handles and other additional devices that will be needed for the lid of the product;
- auxiliary tools - ruler, pencil, saw, square, level.
Experienced beekeepers may not use or replace some elements - but for a beginner it is better to prepare each of the presented elements in advance.
Assembly is carried out as follows:
- in accordance with the selected drawings, make markings on the boards;
- saw and process the surface with a plane and sandpaper to smooth out any roughness;
- assemble the box according to the diagram, make sure that there are no gaps or discrepancies (if you leave gaps, the bee colony may freeze in winter);
- apply markings on the inside of the box;
- secure folds for frames;
- install a landing board near the lower entrance;
- attach a 1 cm thick board to the folds fixed at the top;
- take measurements, calculate the dimensions of the cover taking into account the protrusions;
- install ventilation holes.
It is necessary to install separate handles on the sides, thanks to which it will be possible to move the buildings. An additional base is fixed below on which the body of the bee’s home will stand. Detailed description of the assembly in the next video.
You also need to take into account the characteristics of the hives depending on the number of frames.
For 16 frames
Such a house can accommodate only one family - there is not enough space for a second queen and a working swarm. The dimensions chosen are small (they are often used as a starting point when planning for large houses).
For 20 frames
The middle option is suitable for beginner beekeepers. This one is easy to make with your own hands. It is used in beekeeping more often than others because it can already accommodate two colonies, but the parameters remain small (suitable for transportation).
For 24 frames
This option can be done independently, based on the characteristics of a standard lounger hive. Dimensions according to GOST:
- height – 63.5 cm;
- length – 87 cm;
- cover along the enlarged part – 93.5 cm;
- dwelling depth – 56 cm.
Dimensions are drawn on each board separately, based on the selected drawings.
For 32 frames
This type of lounger is often called Vladimirsky. Inside the house, 32 frames of an unusual format are installed - 43.5 cm by 45 cm. Often the hives are divided into four sections of eight frames.In some cases, the design allows you to accommodate 4 bee colonies at the same time.
Maintenance and development of bees in hives
The beekeeper should take into account some features of the development of bee colonies in beds:
- the home must be insulated for the winter (if the nests remain outside);
- For wintering it is worth leaving more bee bread, honey or other food (at least 20 kg);
- Possible and appropriate methods of preventing swarming should be explored;
- In the process of laying eggs, the installation of separate light-colored combs will be required.
During the winter, families should be separated by a thick partition. If the colonies are not divided, by spring there will be one bee colony per queen.
Small hives are suitable for beginner beekeepers and experienced beekeepers. You can keep two bee colonies in one dwelling. In addition, you will be able to collect more honey and other products. But you need to study the shortcomings in the content in advance in order to prevent possible negative consequences.

