Almost all gardeners and summer residents are engaged in growing currants. 3-4 years after planting currant seedlings, it is necessary to do tying. Before this, you need to familiarize yourself with how to properly tie currants.
- Why is it necessary to tie up currants?
- Advantages and disadvantages of strengthening bushes
- When to tie up currants
- What materials and devices are used for fastening
- Clothespins and clips for fastening
- Garden straps
- DIY ways to strengthen currant bushes
- Installation of supports and garter on trellises
- For a single frame
- On a pipe support
- On a triangular support
- On the standard
- Nuances of garters for winter shelter
- How to properly fence a currant garden
- The main mistakes gardeners make when tying currants
- Conclusion
Why is it necessary to tie up currants?
It is recommended to understand in advance the main reasons for tying currant bushes to supports.
A few years after planting, blackcurrant bushes begin to grow strongly. The lower branches of the plant begin to touch the surface of the soil. Due to constant contact with soil, currants develop viral and fungal diseases that negatively affect yields. To prevent the branches from touching the ground, they are tied to support posts.
Another reason for gartering bushes is to accelerate the ripening of berries. Tied berries are better illuminated by the sun, which speeds up the process of fruit ripening by 2-3 times. Also, tying prevents the bush from growing too wide.
Advantages and disadvantages of strengthening bushes
Shrub garter has some advantages and disadvantages that you should familiarize yourself with in advance. The main advantages include the following:
- Protection against the appearance of fungal diseases, the causative agents of which are found in the upper layers of the soil. Even careful pinching of bushes does not protect them from contact with the soil. The most effective way to prevent currants from contacting the ground is with a garter. Bushes tied to supports get sick several times less often.
- Simplifying access to berries. Harvesting from untied bushes is not easy. Tied branches do not bend to the ground and therefore picking ripe berries is much easier.
- Wind protection. It is no secret that currant branches can break due to gusts of wind. If you tie a bush to a support, its branches will not break even in strong winds.
The only serious disadvantage of growing tied currants is that you need to spend a lot of time creating and installing a support.
When to tie up currants
People who are planning to start tying planted berries are wondering when they should start tying bush branches to supports.
Experienced gardeners recommend tying planted berries to supporting elements 3-5 years after planting the seedlings. During this period, the bushes grow up to one and a half meters, and their lower branches, under the weight of ripe berries, begin to reach towards the ground. There is no need to do the garter before, as there is no point in doing so.
The currant support can be installed both in spring and autumn. If you do this in the fall, it is better to finish everything before mid-October. In the spring, gartering is carried out at the end of April and early May, when the soil warms up well.
What materials and devices are used for fastening
It is recommended to figure out in advance what devices and materials will be needed to make fastenings for supports for currant bushes.
Clothespins and clips for fastening
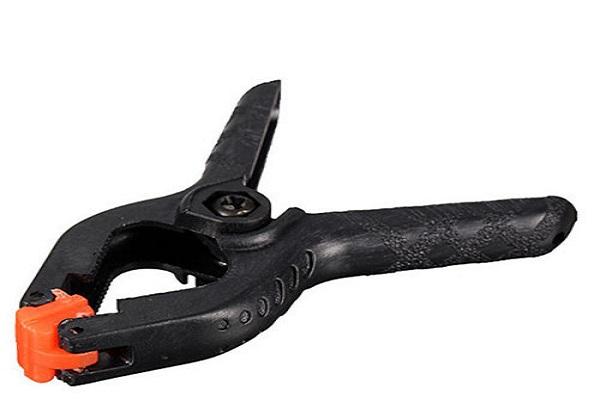
Quite often, plastic clips or clothespins are used to tie up vegetable and garden crops. The appearance of such devices resembles ordinary clothespins, which are used when hanging washed clothes.
The main advantage of clips is that they can be used repeatedly. The disadvantages include the small size of the devices, due to which they are used only when attaching branches to thin supports.
Garden straps
Many gardeners consider garden straps the most convenient device for securing currants.They are equipped with special fasteners that allow you to tighten the straps on supports of any diameter.
Such products, like clips with clothespins, can be used repeatedly for many years.
DIY ways to strengthen currant bushes
There are several ways to garter currant bushes, the features of which should be familiarized.
Installation of supports and garter on trellises
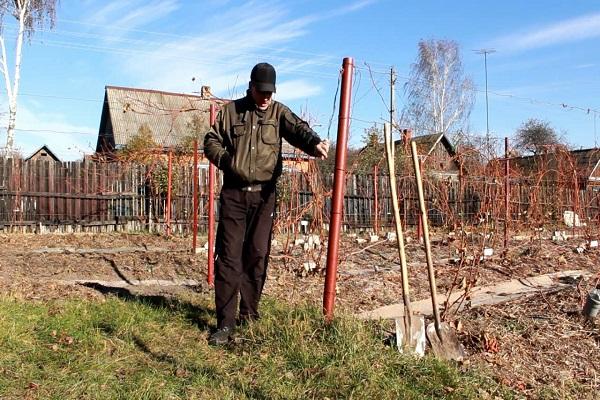
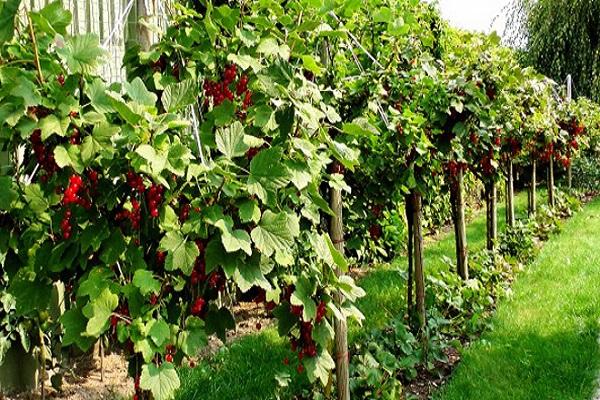
Many gardeners who grow berries use trellises. Before attaching the bushes to the trellis, you need to make a special frame. To do this, pegs are driven in at the ends of each row of berries, and a tight rope is secured between them. It is to this that the branches will be tied.
This method is very convenient, as it allows, if necessary, to add several top ropes to which the top currant stems can be tied.
For a single frame
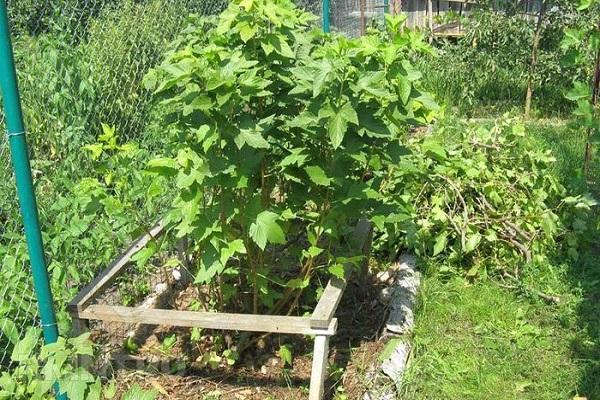
Sometimes currant bushes are planted not side by side, but separately. In this case, it is better to tie the plants to a single frame made of stakes.
To build such a structure, four pegs are placed around the plant to form a square. The installed tubes are connected by horizontally installed boards, to which the lower branches are attached.
On a pipe support
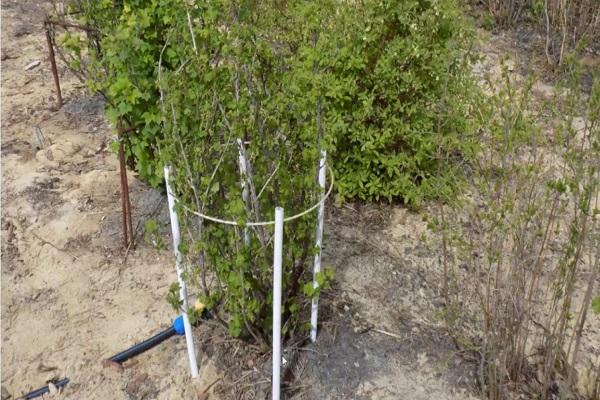
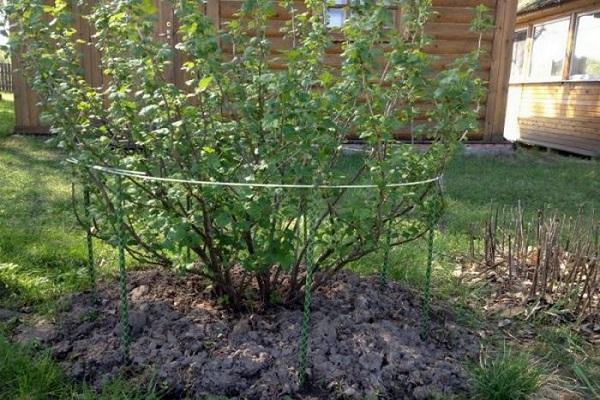
Some gardeners make a frame from polyvinyl chloride pipes. They are dug in near the currants so that a circle is formed. Then a rope is pulled between each pipe in several rows at a distance of 50-60 centimeters.
On a triangular support
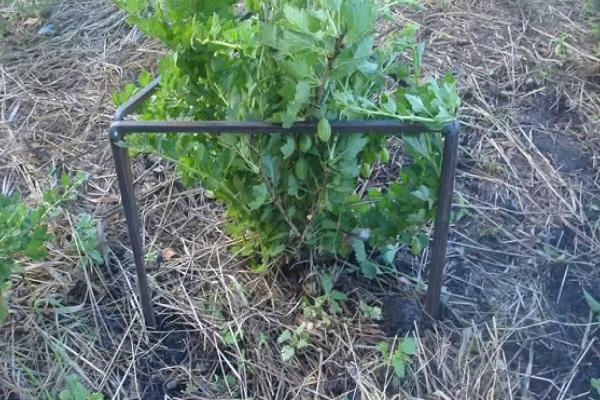
A triangular stand for currant bushes is popular among gardeners. When using such a support, you will have to install three strong pegs around the plant. They are installed so that they form an equilateral triangle.
On the standard
To grow currants using the standard method, immediately after planting you need to tie the seedling to a single pole. During the growth process, all excess shoots that have grown in the lower part of the bush are removed from the plant. In this case, the upper shoots are not touched.
Nuances of garters for winter shelter
Some people believe that tying is done only to speed up ripening and simplify the care of currants, but this is not so. The garter is carried out to insulate the planted plant and protect it from winter frosts.
For this purpose, a frame insulating metal support is created. 3-4 pipes one and a half meters high are installed around the bush. The top is covered with covering material. The bush must be covered very carefully so that there are no cracks through which cold air could enter.
How to properly fence a currant garden
Gardeners often create special fences for currants with their own hands. They are made not only for decorative decoration of the garden, but also for additional protection of currant seedlings from animals.
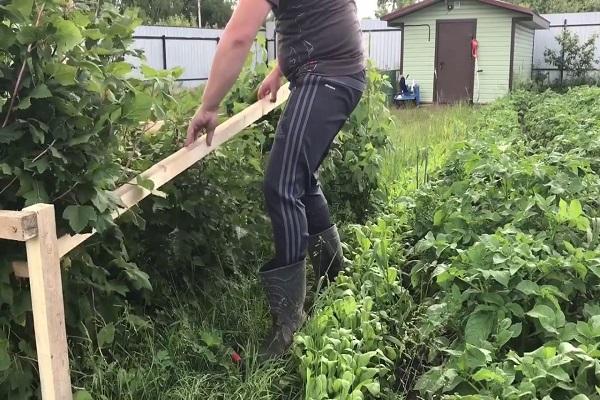
The easiest way to fence bushes is with wooden supports. To do this, a main support is installed near the currant, to which the main stem is tied. Then a wooden fence is made around the bush from small boards 90-120 centimeters high. It is recommended to varnish or paint the installed fence so that it does not begin to rot prematurely.
The main mistakes gardeners make when tying currants
People who make supports from scrap materials and tie currant bushes to them often make mistakes. The most common mistakes include:
- Use of low-quality materials. Sometimes people skimp on materials when building a support structure, which causes it to break down quickly.
- Choosing the wrong garters. Do not use natural fabrics that can damage the shoots.
- Pulling tied branches. Sometimes gardeners tie currant branches too tightly. This not only slows down its development, but also leads to drying out of the branch.
- One-time garter. Experts recommend regularly tying up currants as they grow.
Conclusion
When growing currants in the garden, you will have to tie them to supporting structures. To properly tie the bushes, you need to understand the timing of the procedure, select suitable materials and become familiar with the basic methods of strengthening the planted berries.

