Many Russian summer residents have experience in planting garlic, but not all of them can boast of results. Despite many efforts, it is often not possible to grow large, tasty heads with numerous cloves. To avoid disappointment and save effort, it is enough to find out what features of agricultural technology exist and how to properly grow garlic crops.
When to plant garlic
The time for planting seeds depends on the type of plant and the climatic characteristics of the growing region. There are two varieties of garlic - spring and winter. It is the variety that determines the time of planting and the taste characteristics of the crop.
The winter species can be sharp and non-shooting. These varieties are planted in the fall. Compared to spring varieties, they yield earlier, but are not subject to long-term storage. Spring garlic can only be bolted. These varieties are planted in the spring. The main advantage of spring varieties is their long shelf life and versatility of use.
Some people practice growing garlic varieties at home to obtain a valuable source of vitamins and minerals. To obtain the proper result, it is important to choose a container of at least 20 cm, use fertile soil and follow the basic rules of agricultural technology for growing a plant.
How to grow spring garlic
The technology for growing spring garlic involves planting in the middle Russian regions from mid-April. An important factor is the selection of high-quality varietal material. Choosing the right planting location and following the pattern has a big impact.
Choosing a place for spring garlic
To grow garlic in the country, choose a fertile plot of land. It is recommended to choose a sunny area, without the threat of stagnant water and without nearby groundwater. High humidity will lead to slow growth and fungal diseases. Creating a high bed will help save you from hassle.
Adding sand or peat to the soil will help increase the looseness and breathability of the soil for better garlic growth.The plant can be planted not only in traditional beds, but also used as a decorative element on the site; landscape design and decor are one of the unusual ways to use the plant.
Spring garlic planting scheme
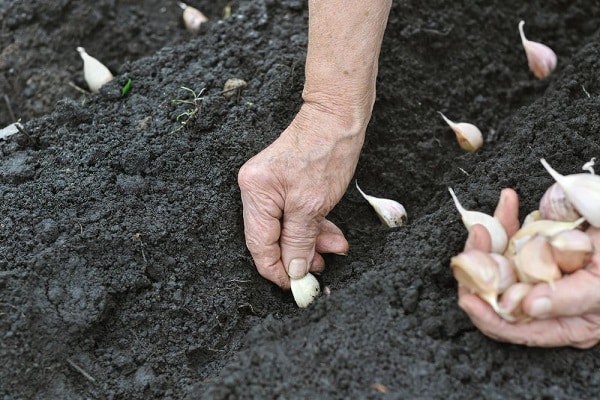
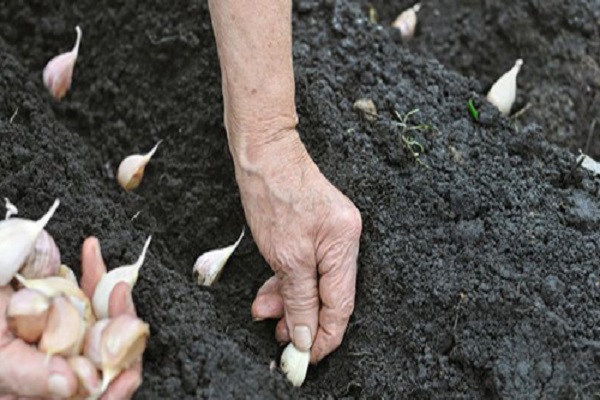
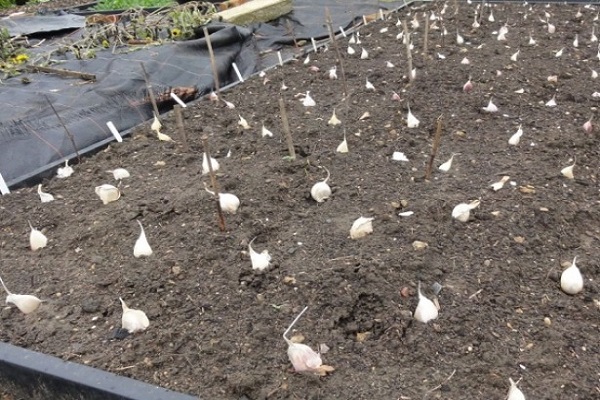
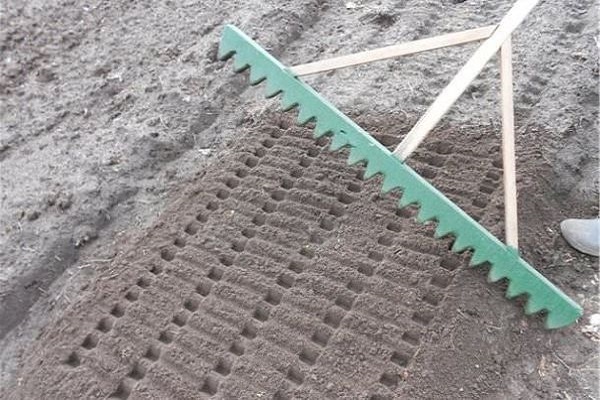
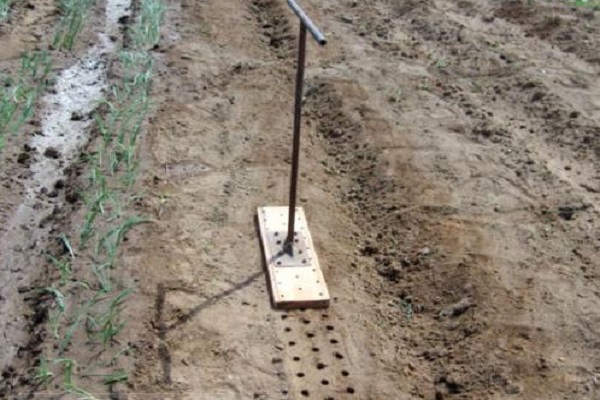
It is possible to obtain high yields only by providing the plant with fertile soil and proper agricultural cultivation techniques. Garlic is planted at a distance between rows of 20 to 25 cm, with 6 to 8 cm between each clove. The maximum depth of planting material should not exceed 3 cm, otherwise there will be problems with plant germination and maturation of the heads.
Some gardeners, in addition to the standard planting scheme, use the following technologies:
- in two tiers - the first cloves are deepened to 10 cm, the second row is planted as usual to a depth of 6 cm, the distance between them is from 10 to 15 cm, between the rows from 20 to 25 cm, resulting in a double harvest;
- sowing - the cloves are laid out in a chaotic manner or simply scattered around the garden bed.
The first method is more often used when there is limited garden space, the second when you want to save time.
How to grow winter garlic
The soil for garlic should be of good looseness and fertility. During the season, the soil is enriched 3 times. In order for the variety to grow and bring a good harvest, the place should not be flooded, since waterlogging negatively affects the growth of the plant.
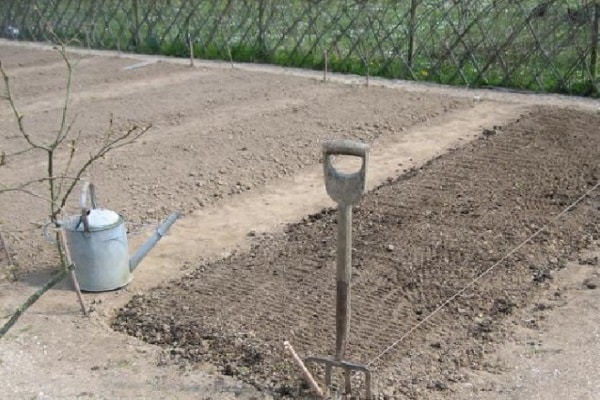
Before planting, the soil is thoroughly loosened and spilled to a depth of at least 30 cm.
Cloves are planted 35 days before the cold snap. In the time before frost, the seeds should form a root system, but the green mass should not appear above ground level. Garlic planted ahead of schedule will germinate, but delay in planting threatens the plant with freezing.
The cloves are planted maintaining a distance between the beds of 20 or 25 cm. The depth of planting the seeds should be from 4 to 5 cm, leaving 6 to 8 cm between them. After planting, after 2 weeks, 2 cm of peat is formed on the beds, which will allow the plant to overwinter better .
Preparing beds for winter garlic
Before planting, the soil is thoroughly loosened and spilled to a depth of at least 30 cm. It is important to consider what kind of soil garlic likes. The soil should not be acidic; if there is such a problem, add chalk or ash to the bed. It is important to follow the rules of cultivation, that is, do not plant a plant for several years in the same place and take into account garden crops that are favorable for the neighborhood. It is not recommended to grow the plant in one place for more than 3 years. The best predecessors are pumpkin, cabbage, and legumes.
Preparation of the beds must begin in August. At 1 m2 soil, it is necessary to add humus or compost, 1 tbsp. l. superphosphate, 1 tbsp. l. nitrophoska, 1 glass of dolomite flour. It is recommended to add peat to clay soils. The bed is dug up to a depth of 20 cm and treated with a solution prepared from copper sulfate at a rate of 40 g per 10 liters. The product is prepared based on the fact that at 10 m2 area required 1 liter.
Caring for winter garlic
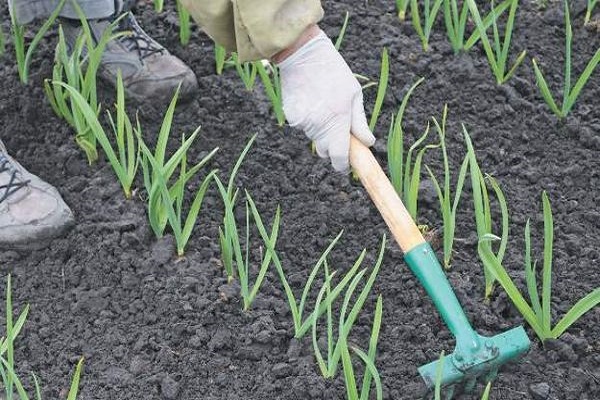
The first shoots appear in early spring; they need to be loosened. Watering is carried out as necessary and stops 20 days before the planned harvest. The rules of cultivation and care establish a watering rate of 10-12 liters every 10 days per 1 m2. If natural precipitation is sufficient, the plant does not require watering. Care consists of timely weeding, fertilizing and, if necessary, loosening.When growing garlic, summer residents resort to mulching the soil, which can significantly save time on watering the plant.
Diseases of culture
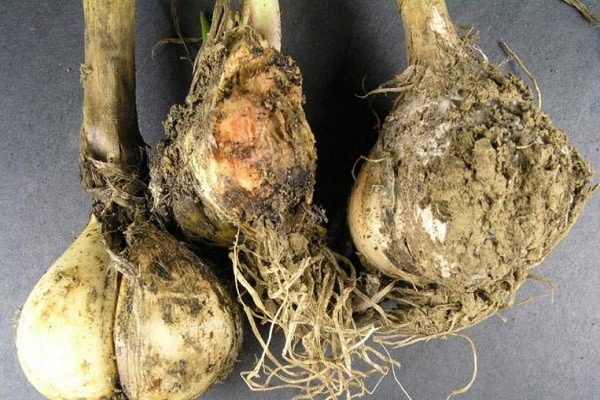
Untimely planting of cloves and non-compliance with agricultural cultivation techniques are often the causes of plant disease and poor growth. The most common is rust when the garlic develops spots. The danger of fungal disease lies in the rapid rate of spread. The reason for its appearance is waterlogging of the soil and high temperatures.
Common diseases include:
- bacteriosis - depressions and yellowish ulcers appear on the cloves;
- green mold - the cloves become soft and covered with plaque during storage;
- fusarium - the leaves turn yellow, the process begins from the top with the gradual death of the root system;
- yellow mold - the above-ground part of the plant turns yellow, the leaf blades take on a crumpled or corrugated appearance;
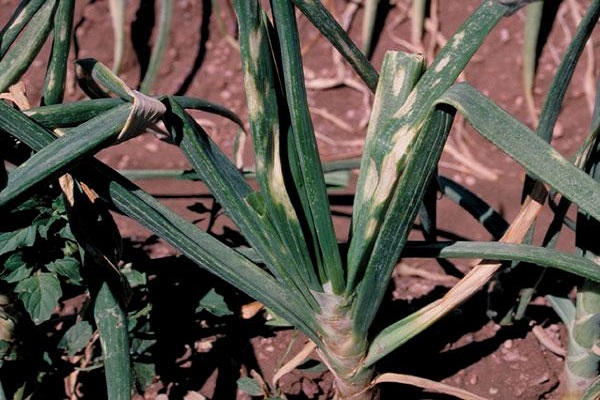
- mosaic - small blotches or wide stripes of light color appear on the leaves, the leaves may begin to creep along the ground and the growth of the plant slows down greatly.
Fungal diseases often occur due to waterlogging and non-compliance with the planting scheme. The plant does not like shading; only garlic likes shade for growing green mass as a seasoning.
Preparation of planting material
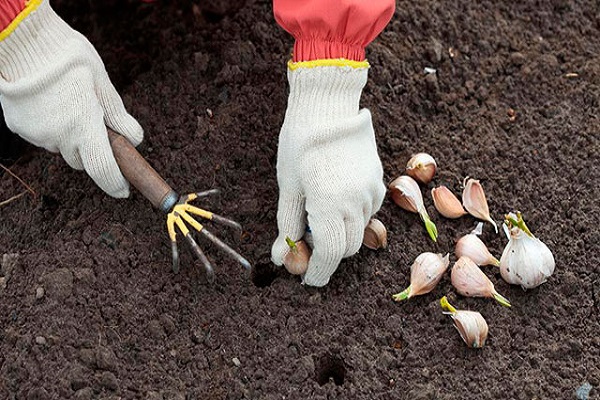
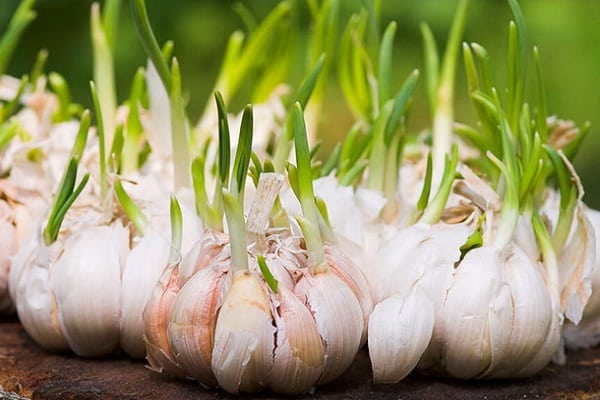
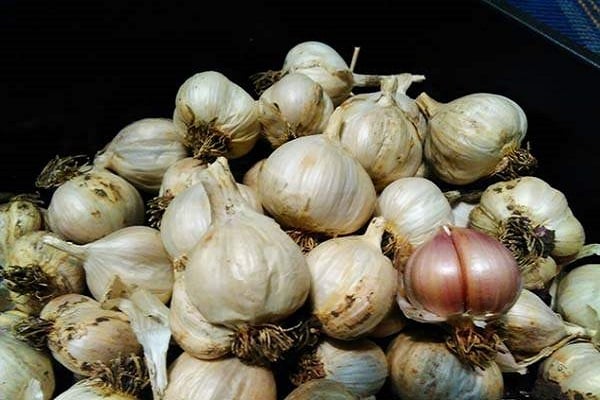
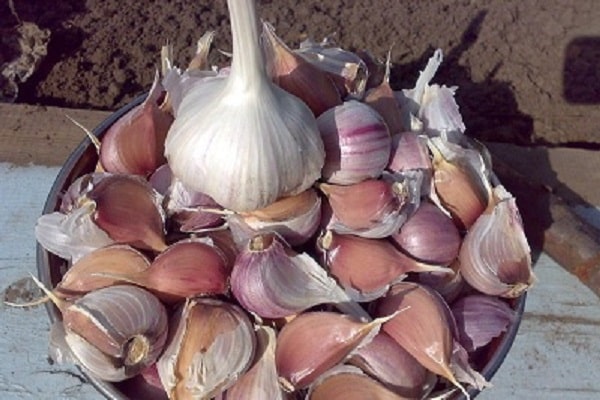
Before planting, only high-quality heads are selected. If there is a defect in even one clove, it is rejected. The cloves are carefully separated and planted, first sorted by size. Planting seeds of the same size will ensure uniform germination and ripening.
Winter and spring garlic are prepared immediately before planting, carefully separating the cloves.
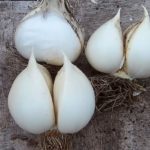
For planting, if possible, it is recommended to choose the largest cloves, which will allow you to get a large harvest. You should not take heads with 2-3 cloves or fused together as planting material, as this indicates degeneration of the garlic. When using such seeds, it is impossible to obtain the desired volume of harvest, and the grown vegetables will be of poor quality.
A month before the intended planting, it is recommended to place the garlic in the refrigerator, the temperature should be at least -3 0C and no more than +2 0C. One day before, it is taken out and a disinfection procedure is carried out. To do this, you can use various methods. The most popular is soaking in one of the following solutions:
- ash, prepared from 2 liters of water and 300 g of wood material;
- 1% potassium permanganate;
- "Fitosporin";
- 1% copper sulfate.
The cloves are immersed in the solution for 30 minutes. After this, it is recommended to place them in growth stimulants, most often "Epin" or potassium humate. For garlic, organic and mineral fertilizers are first added to the soil. During the season, fertilizing is repeated at least 3 times.
Growing Garlic Seeds
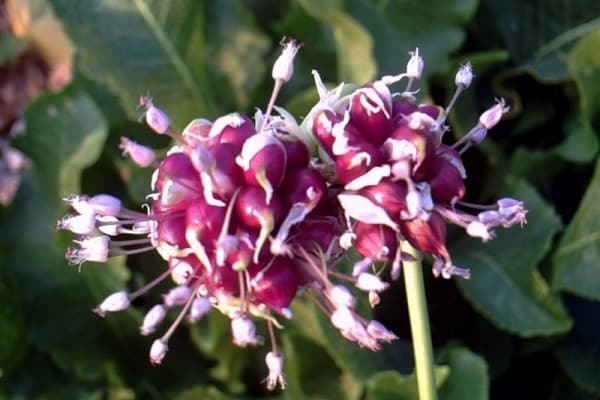
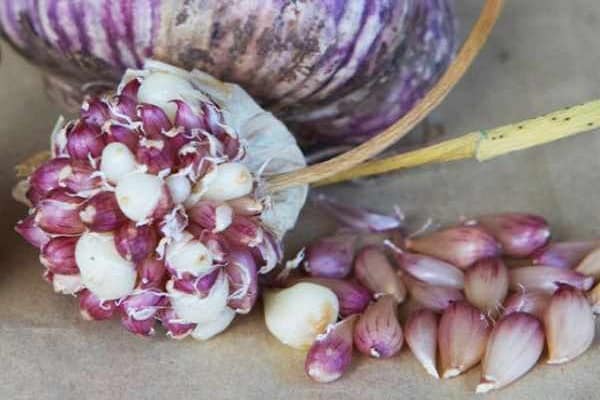
Growing garlic indoors requires a significant amount of seeds, so instead of cloves, garlic is often grown from seeds. In June, winter varieties begin to form arrows with inflorescences, which are called “bulbs”, and it is from them that seed material is collected. In cold regions, a greenhouse can be used for planting.
For harvesting, it is necessary to select healthy plants; at the moment the inflorescence bursts, the crop is removed from the garden bed and dried. To do this, the plant can be completely pulled out or cut off.Before direct sowing, the bulbs are cleaned, completely removing the inflorescence.
Growing garlic from bulbs
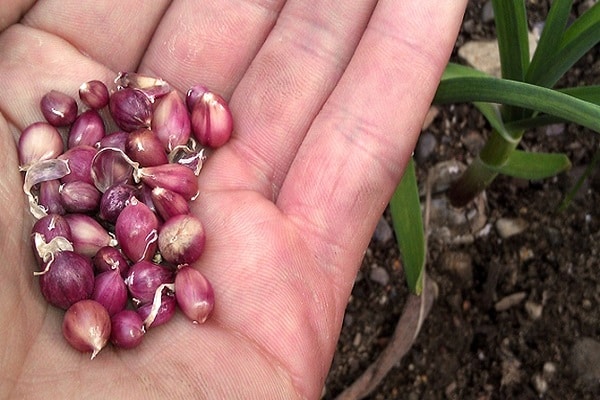
Growing garlic from aerial bulbs allows you to significantly save planting material in the form of full-fledged heads. This method is not typical for spring varieties, but is used for winter varieties. During the period from September to the first week of October, the largest bulbs are sown. By July, each of them will grow into a full-fledged one-toothed one, which is subsequently used as planting material before winter to obtain full-fledged heads in the future.
For planting, pre-prepare the bed, add 1 m2 3 kg of humus and 1 tbsp. l. superphosphate. The optimal width is 90 cm; a larger size will make maintenance more difficult in the future. For sowing, grooves of 2 to 3 cm are formed, the seeds are planted at a distance of 10 cm from each other. The grooves are sprinkled with loose soil on top.
In cold regions, the top of the beds is mulched or sprinkled with sawdust, which is removed when the first heat sets in and the soil thaws. Caring for the plant is standard and consists of timely watering, loosening and removing weeds. Some people grow garlic in a greenhouse using a generally accepted planting pattern.
Useful tips
The first feeding is done in July, at which point the plant should form 4 true leaves. To do this, use a solution of 2 tbsp. l. nitrophoska diluted in 10 liters of water. If desired, you can use special organic fertilizers - “Agricola”, “Fertility”. At 1 m2 accounts for 2 to 3 liters of solution.
The second feeding is carried out after the first, 14 days later. To do this, use the same solutions, but increase the consumption. At 1 m2 use 3-4 liters of solution. The third procedure is done in June. To do this, take 2 tbsp. l. crushed superphosphate per 10 liters of water, using a solution in a volume of 5 liters for every 1 m2.
Caring for garlic in August comes down to standard actions of watering, weeding and loosening the plantings. To obtain large heads of the winter variety in the underground part, it is necessary to break off the shoots before the onset of August.
Basic recommendations for growing garlic:
- choose a sunny, dry place for planting; if the soil is highly acidic, lower the level with chalk or ash;
- use only high-quality material for cultivation, having previously disinfected it;
- observe the timing and planting scheme;
- loosen, feed in a timely manner and do not over-moisten the soil;
- monitor the health of the plant, at the first signs of disease, immediately begin the fight;
- follow the rules of cultivation and do not plant garlic for more than 3 years in one place, choose the right predecessors.
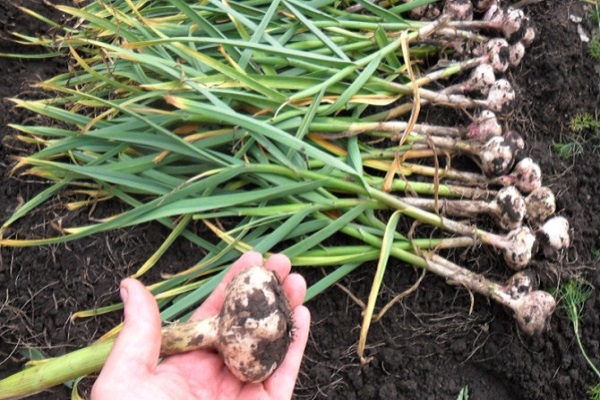
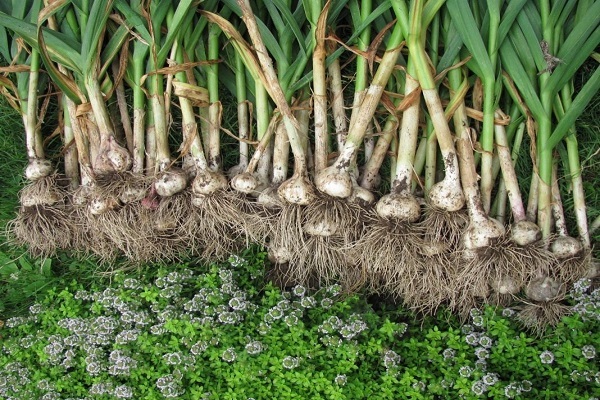
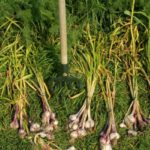
Garlic harvesting is carried out from late August to mid-September. A signal about the possibility of harvesting is the massive lodging of leaves and their rapid yellowing. After digging, the heads must be thoroughly dried for a week and trimmed, leaving the stem at a distance of 6 to 8 cm.

