Garlic culture is demanding in terms of growing conditions. How to grow large winter garlic on a personal plot, how to protect plantings in winter, what to feed, what is the watering regime. The answers to these questions lie in the biological characteristics of the plant.
Winter garlic - biological features
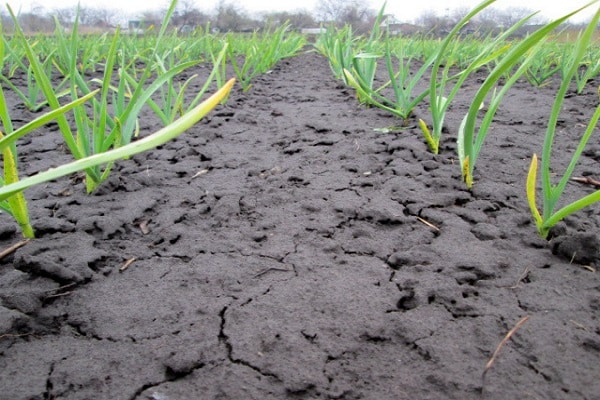
The culture adapts well to climatic conditions, is winter-hardy, and tolerates low temperatures well.Root germination in winter varieties occurs at 0 degrees, and with an increase in temperature to 3–5 degrees, their intensive growth begins. The plant requires moisture in the periods immediately after planting and in the spring, when active new leaf formation begins. Growing winter garlic in open ground allows the plant to form sufficient root mass in the autumn and make maximum use of soil moisture reserves in early spring.
The thin root system of the plant is very demanding on soil fertility and is located at a depth of 10–20 cm. This must be taken into account when preparing the beds. Light, well-fertilized, slightly acidic soils are suitable for the crop. To get a good harvest, it is necessary to create conditions under which winter garlic has time to take root before the onset of cold weather. Wintering and the intensity of growth with the onset of spring depend on the formation of the plant in the autumn.
How to grow a good harvest of garlic?
The needs of the plant form the list of work that needs to be carried out in autumn, spring and summer. The extended growth period affects planting rules. It is necessary to provide protection for plants in winter and to support young shoots with additional fertilizing in the spring. How to obtain high-quality bulbs of a valuable vegetable crop in open ground conditions.
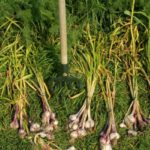
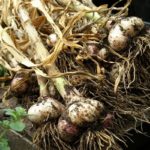
After harvesting winter garlic Select high-quality bulbs for autumn planting. And they begin to prepare the beds at the end of August. According to the technology for growing winter garlic, in the fall you need to select and prepare a site for planting, plant the crop on time and provide the plants with protection during the winter.
Selecting a site
When planting winter garlic, it should be taken into account that the plant is demanding of light and will wither away if it is overmoistened for too long.Therefore, the area for ridges with bulbs should be open and located on a hill to avoid flooding with melt and rainwater.
Agricultural technology for growing winter garlic requires mandatory crop rotation. Vegetables with early harvest dates can be predecessors for the plant. It is best to plant plants after legumes, pumpkins, early varieties of cabbage, and spicy herbs.
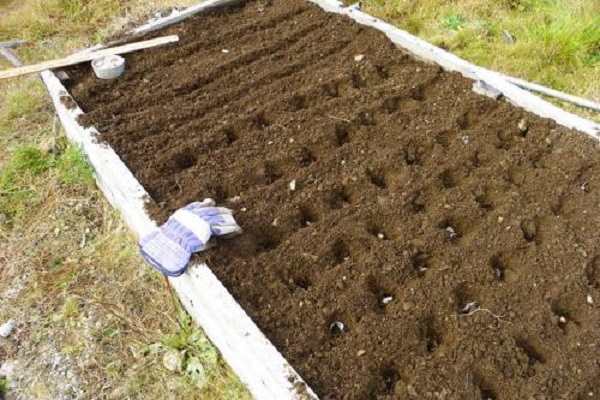
The crop needs to be grown on highly fertile sandy loam or loam. The beds for sowing are prepared a month in advance, they are brought in for digging for every 1 m2 half a bucket of humus, 15–20 g of potassium salt and 30 g of superphosphate. If the acidity is high, the soil is deoxidized in advance by adding 250–300 g of lime. Fresh organic matter is not added to the crop. Dig the soil to a depth of 18–20 cm, level it and keep it clean. Before planting, the beds are watered abundantly.
Important! Compliance with planting dates and timely harvesting is the key to a good harvest of winter varieties of garlic.
Deadlines
A good garlic harvest depends on timely planting. Planting dates vary depending on the climatic conditions of the region. In areas with a warm climate (Central Asia, Kazakhstan) where plants are able to overwinter with leaves, garlic is planted in September. In central Russia, garlic is planted in early October so that it has time to take root, but does not sprout. In the south of the country, these dates are moved to the end of October. Calculate the planting date so that there are 40–45 days left before the winter cold and the garlic cloves can grow roots 10–15 cm long.
Planting garlic
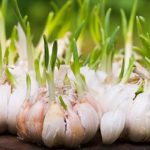
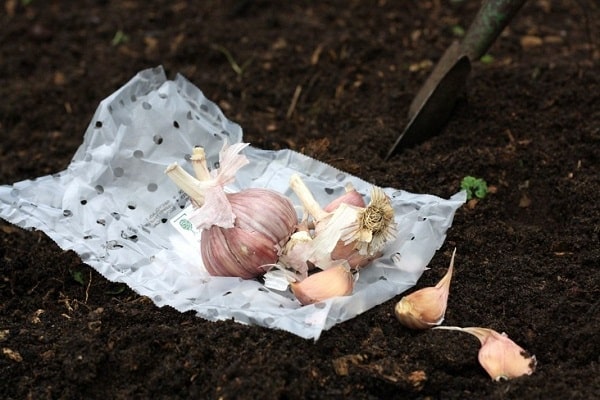
2–3 weeks before planting, the selected bulbs are kept for 2–3 weeks at a temperature of 3–5 degrees. A couple of days before planting, the heads are divided into slices.In winter varieties, the cloves are aligned in size and generally do not require calibration. Large, good garlic is obtained from cloves with a diameter of at least 10 mm.
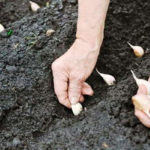
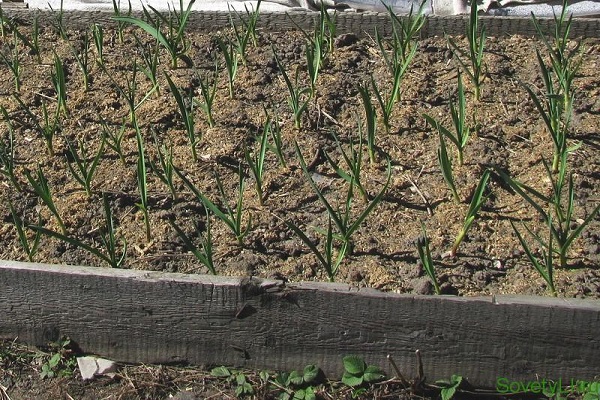
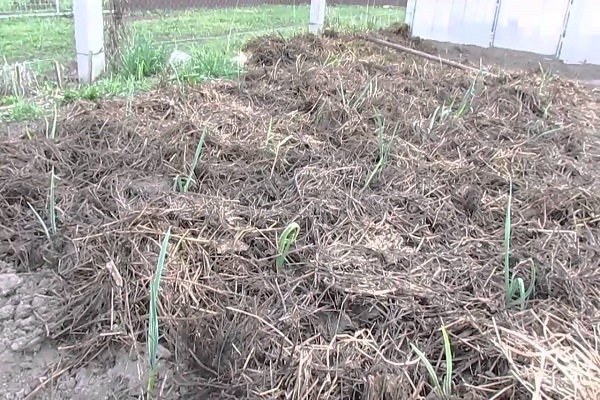
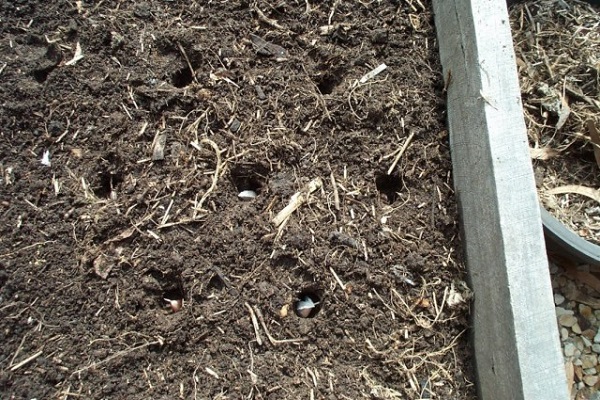
We plant the crop using the row method, based on 15 large cloves or 20 medium cloves per linear meter, with a distance between rows of 30–40 cm. It is advisable to bury the cloves to a depth of 10–12 cm. Additionally, mulching of garlic is used in the fall so that the plants are guaranteed to overwinter. Peat and humus are used, which are poured in a layer of 1.5–2 cm. With the onset of the first spring warmth, such mulch promotes rapid heating of the soil, protects against crust formation, and retains moisture. What to do in areas with unstable snow cover. The question is not idle. It is customary to accumulate snow in the planting area to prevent freezing and retain moisture.
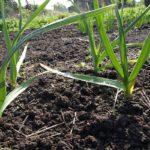
Features of care in summer
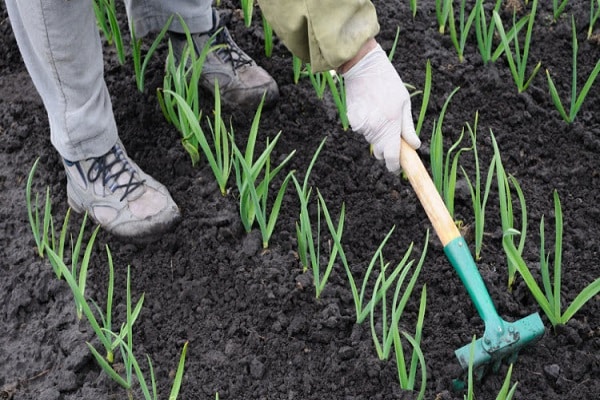
In early spring, when the temperature rises to 6–8 degrees, the first shoots appear. When the danger of frost has passed, we open the ridges, if additional shelter was installed on them. Typically, leaf germination begins at the end of April. Plant care consists of maintaining soil moisture, loosening row spacing, fertilizing, and timely removal of flower stalks. Caring for winter garlic in the warm season involves watering in the absence of rain, fertilizing, mandatory weeding with loosening of rows, removing flower stalks, and strict adherence to harvesting deadlines.
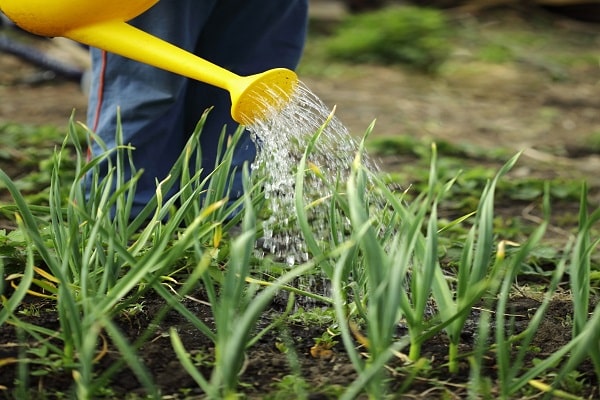
Watering
The crop is demanding of moisture at certain stages of the growing season. The plant needs water immediately after planting and in early spring.. Care in open ground is simplified due to the high soil moisture in autumn and early spring.
- A month after germination, active leaf formation occurs for three weeks. During this period, water the garlic every 4-5 days.
- The second stage begins 60–65 days after emergence and is associated with the beginning of clove growth and the appearance of shoots. In the absence of rain, irrigation is carried out every 2–3 days. If the summer is rainy, then there is no need to water the plants.
- A couple of weeks before the planned harvest, watering should be stopped. Dry soil and air speed up the ripening process of the bulbs. Massive yellowing of leaves will tell you when to stop watering.
Often, when the tops of a plant turn yellow, this is associated with a lack of moisture. Check one of the plants before you start heavy watering. Perhaps the feather turns yellow due to the appearance of pests or rotting roots.
Feeding
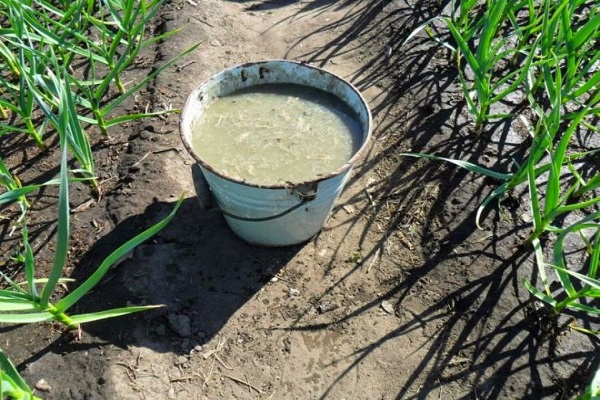
Growing and care necessarily involve fertilizing during periods of active formation of leaves and bulbs. Complex fertilizers containing potassium, phosphorus, and nitrogen are used as fertilizers for winter garlic. Fertilizing with manure and other organic matter attracts pests. Therefore, before feeding the plants, stock up on wood ash, which is poured between the rows for protection.
The first feeding of winter garlic is aimed at enhancing plant nutrition during the period of intensive leaf growth with the onset of spring warming. Fertilizing is carried out with ammonium nitrate, using 10–15 g per square meter. meter of area.
At the next stage, the growth of the bulbs is supported by feeding the plants with nitrogen-potassium fertilizers in mid-June.
The latter is carried out with the appearance of the seventh sheet. Use 10 g of potassium chloride and 20 g of superphosphate per meter of planting.Garlic fed in this way can be stored longer and forms larger bulbs.

Attention! Timely removing shoots from garlic increases productivity by 40%.
Additional care techniques
Caring for winter varieties of garlic in the summer differs only in the timing compared to spring varieties. But it is the timeliness of certain types of work that is important for the crop being grown. An example is de-shooting winter varieties. If you miss the moment, the crop begins to shoot en masse, then you will have to say goodbye to a large harvest.
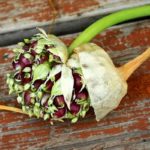
- To increase the yield of winter varieties, it is necessary to remove the peduncle in time. It takes on a large share of the nutrition. What to do if you want to collect valuable seed material, but it’s a pity to lose the harvest. You still have to make a choice. Leave a few plants to produce bulbs. For the rest, the garlic arrow is broken out a week after its appearance. This method allows you to increase productivity by 40–50%.
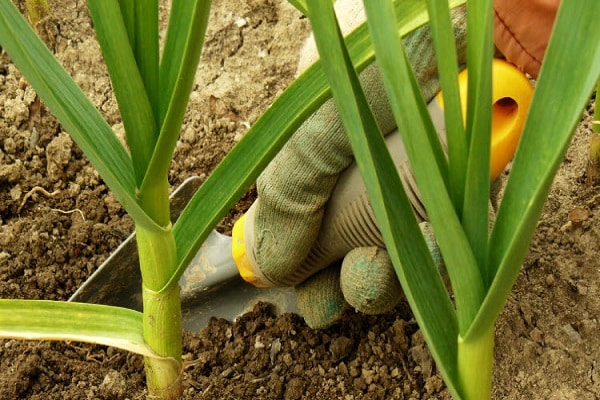
- As the size of the bulb increases, soil begins to be raked away from it. This helps unhindered growth and intensive formation of protective scales. The appointment doesn't take long. While caring for garlic while weeding, you can simultaneously rake out the soil. Of course, any work requires additional time. But the mandatory procedure for loosening the rows can be combined with raking the soil away from the bulbs.
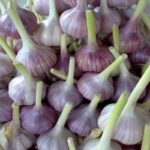
All garlic cultivation techniques are aimed at obtaining a decent harvest. As harvest approaches in July, you need to be especially careful to correctly assess the degree of ripening. An overgrown onion falls apart into slices and cannot be stored for long.

Garlic is ready for harvesting when the lower feathers dry out and turn yellow en masse, and the upper level of leaves begins to lie down. It is urgent to start cleaning. If it is not possible to remove the crop on time, what should you do in this case? It is better to harvest garlic unripe than to let it overgrow. If the feathers at the tips turn yellow, then the process of bulb formation is in full swing. Once harvested, the harvested bulbs will receive nutrition from the leaves and will be safely prepared for the dormant period.