To get a good harvest, you need to know how to plant garlic correctly. It is worth considering that the methods of planting this plant crop depend on its variety. But in any case, before all manipulations, you will need to prepare the bed for garlic. The bed must be prepared in advance, since favorable plant growth requires not only temperature, but also soil fertility, soil structure, and compliance with crop rotation.
- Planting dates for winter and spring garlic
- Choosing a place for a garden bed for garlic
- How to prepare a bed for garlic?
- Preparing the soil for garlic
- Forming a bed
- Allow time for the soil to shrink
- We cultivate the soil
- How to prepare garlic for planting?
- Taking the head apart
- Disinfect garlic
- Proper planting of one-clove garlic
- 1. Making holes
- 2. Bury the garlic cloves
- 3. We cultivate the land
- 4. Fill in the holes
- 5. Mulch the bed
Planting dates for winter and spring garlic
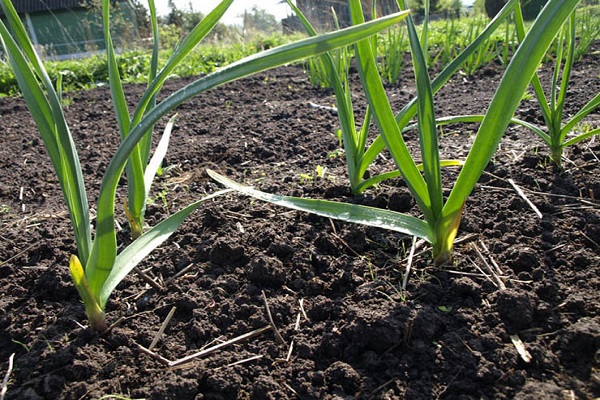
Before you start planting garlic, you need to decide on its variety. Each of them will have its own deadlines and planting standards. Spring varieties are planted in spring, and winter varieties in autumn. Winter plant crops will sprout earlier and, accordingly, produce a harvest faster. Winter heads are much larger than spring ones, but they are inferior in their keeping quality. The spring variety stores well, but its bulbs are slightly smaller. Many summer residents recommend growing both types in order to fully provide themselves with this healthy vegetable for the whole year.
Winter varieties of garlic should be planted no earlier than 1–1.5 months before the onset of stable cold weather. If this condition is not met, the plant will sprout earlier, and the seedlings will freeze under the influence of negative temperatures. Spring varieties are planted in mid-spring: in the second half of March, early April. Active growth of the crop will be observed when the temperature is set at 18–20 degrees. Garlic should be planted in cloves; after 3 weeks, the seed will take root.
Choosing a place for a garden bed for garlic
In order for a plant to produce a good harvest, it is necessary not only to properly prepare the seed, but also to choose the site wisely. For this plant crop, sun and a moderate amount of moisture are very important. It is not recommended to plant crops in the shade of trees and shrubs, since in this case the garlic will not have enough sunlight. If the bed is located in a damp area, it should be made higher to ensure complete drainage of excess moisture.
Also, when choosing a location, it is necessary to take into account the principles of crop rotation. This plant crop cannot be planted in the same area for several years in a row. The best option is to plant the plant in its original place after 5 years; at a minimum, this period can be reduced to 3 years. It is best to plant garlic where cucumbers, peppers, zucchini, cabbage, and beans grow. Spring varieties thrive on loam, and winter varieties thrive on sandy loam.
Is it possible to plant garlic grown older than the required period and where? Harvesting must be done on time; if the crop is “overripe,” it should not be used as seed. It does not matter where the landing is planned.
How to prepare a bed for garlic?
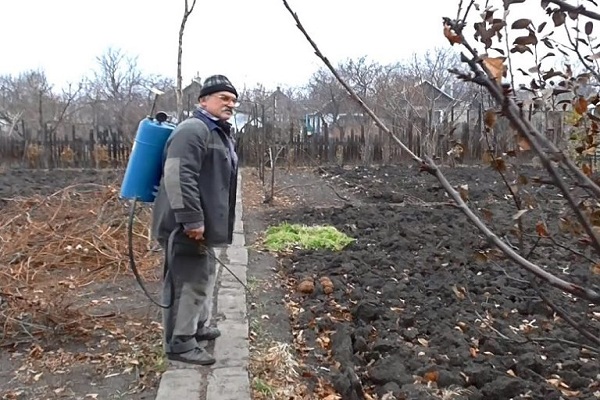
To get a good quality harvest, you need to properly prepare the beds before planting. When preparing a bed for garlic, special attention should be paid to disinfecting the soil. This procedure helps protect the plant from most pathologies. Most often, soil treatment is carried out using the following compounds:
- antiseptic Acrobat;
- antiseptic Radomil Gold;
- antifungal drug Fitosporin;
- antimycotic composition Topsin-M.
A solution of copper sulfate and a saturated solution of potassium permanganate can also be used. For this purpose, many summer residents use a liquid prepared from a bucket of water and 100 grams of Brodsky mixture. Also highly effective is a solution prepared from 1 liter of water, a gram of boric acid, a similar amount of potassium permanganate, and copper sulfate.
Preparing the soil for garlic
There are general requirements for preparing soil for planting garlic for spring and winter varieties. Among them are:
- if the soil is clayey, you need to add 1 bucket of sand or peat per 1 square meter;
- in situations where the soil is sandy, it must be mixed with 2 buckets of clay soil, 1 bucket of peat per 1 square meter;
- if peaty soil predominates, you need to add 1 bucket of sand and a similar amount of loamy soil.
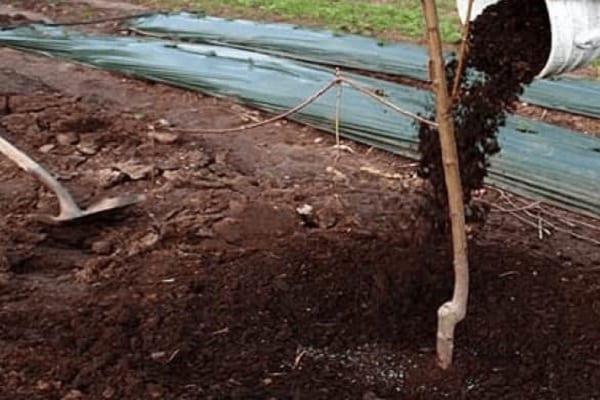
To increase the fertility rate, it is necessary to fertilize the soil with organic substances. How to fertilize the soil before planting garlic? Humus and compost are perfect for this. Chalk or dolomite flour in the amount of 1 cup, 1 cup of wood ash, 2 tablespoons of potassium sulfate are added to 1 bucket of the selected organic substance. The prepared fertilizer should be distributed over untreated soil. If earlier, when growing another crop, manure was already applied, such soil treatment is not required.
Forming a bed
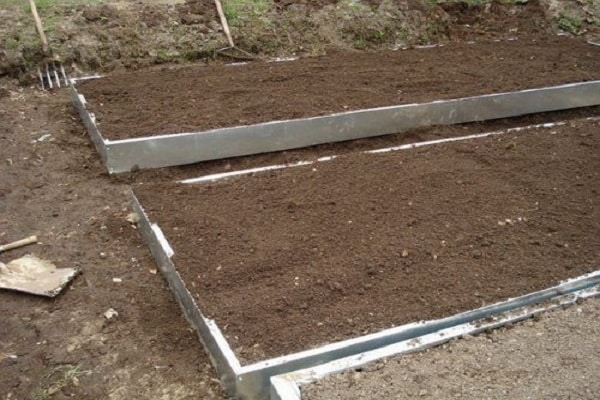
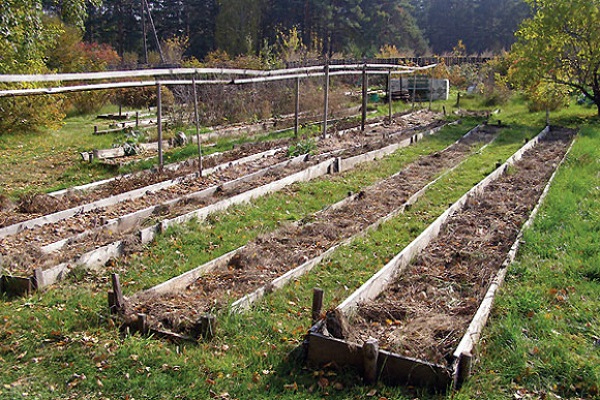
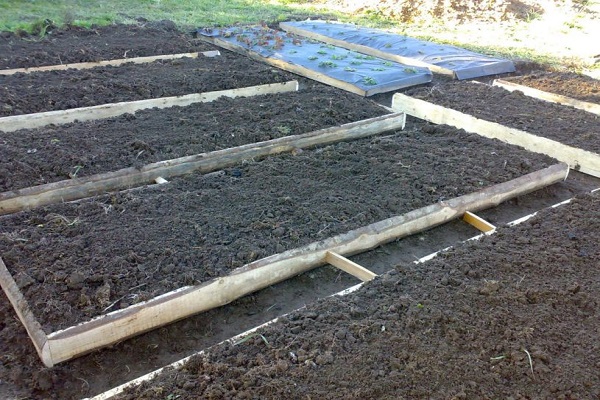
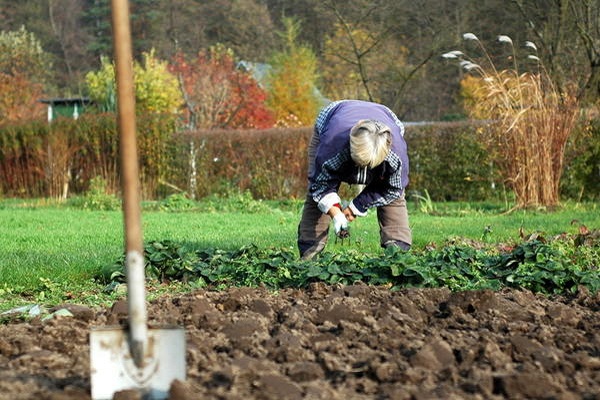
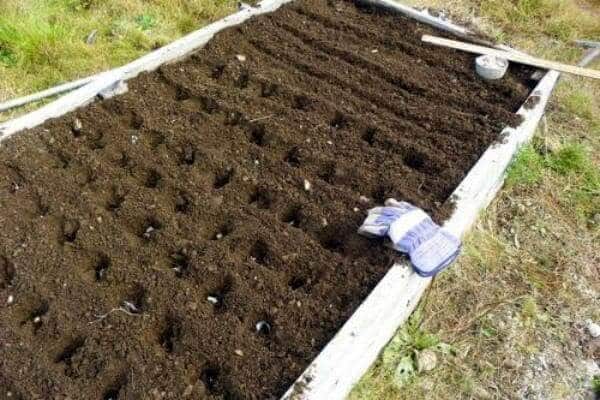
Activities for preparing a bed for planting garlic include digging the soil. In this case, the necessary fertilizers are evenly distributed in accordance with the recommended proportions. Next, the earth is dug up, and a depth equal to a spade bayonet should be maintained. While digging, you need to immediately form a ridge. The optimal dimensions are considered to be a width of 1 meter and a height of 20 centimeters.
How far apart should the rows be placed in a garlic bed? The optimal distance between rows is considered to be 30 centimeters.
During digging, it is necessary to immediately remove weeds so that they do not interfere with the growth of the planted crop. Then the soil is loosened in order to enrich the soil with oxygen.
Allow time for the soil to shrink
After loosening, you need to let the soil settle a little. This usually takes 14 days.Soil settlement will allow planting to be carried out at the distance planned during planting: that is, the cloves will not be buried higher than normal.
To make the soil settle more actively, it should be watered. Adding the necessary moisture will speed up the settling process by 1.5 times. In rainy weather, the watering procedure should be abandoned.
We cultivate the soil
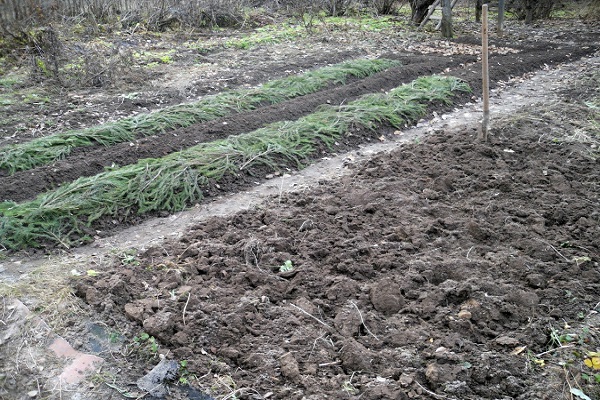
How to treat the soil the moment the cloves are planted? Many summer residents recommend treating beds taking into account the following recommendations. For winter varieties, mineral fertilizers containing organic components are applied at the end of summer. The optimal time for this is the second half of August. It is also recommended to grow green manure for garlic at this time.
- The soil is being dug up and watered.
- After planting, mustard seeds are sown between the rows.
- By the time it is time to plant the seed, the greenery will sprout. Between its rows you will need to plant the teeth.
A couple of days before transplanting into the ground, urea is distributed over the ridges: 0.5 tablespoon of the product is used per 1 square meter. If the weather is dry, it is necessary to organize watering of the beds.
To prepare a bed for a spring variety, all manipulations must begin at the end of October. In this case, there is no need to apply urea, since in the autumn, nitrogen fertilizers will be unnecessary. It is best to distribute this preparation over the soil in early spring.
How to prepare garlic for planting?
Many summer residents say: “I cook garlic seeds for planting in autumn" This approach to the preparation of seed material is correct, since the harvested fresh harvest of the spring variety will be an excellent basis for the formation of new strong plant crops. cloves spring garlic strong, so they grow into full-fledged plants that give a rich harvest. That is why many summer residents are engaged in growing the spring variety to obtain not only a long-lasting healthy vegetable, but also seed material for the next year.
Taking the head apart
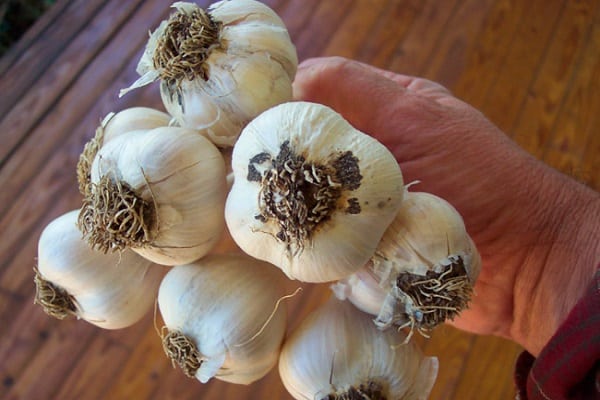
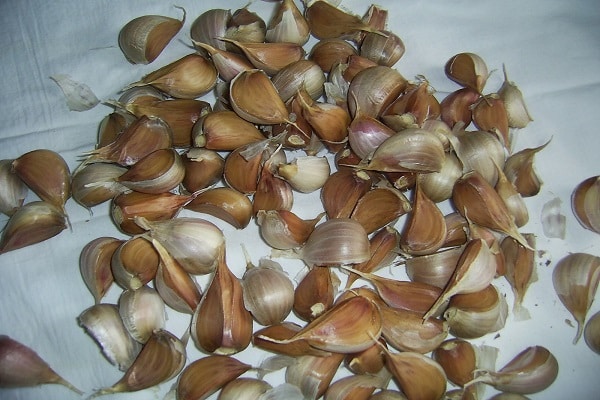
To get a good harvest, you need to understand what material to leave for planting. The first step is to inspect the bulb: there should be no damage to it. Next, the head is disassembled into slices, and you need to pay attention to the size of the clove. For planting, it is better to take large, dense cloves, as they will be able to form a healthy, full-fledged plant. If a summer resident decides to use garlic cloves of a non-shooting variety for planting, it is necessary to give preference to the cloves located on the outside.
Disinfect garlic
Selected planting material is soaked for 24 hours in a 0.1% solution of potassium permanganate. You can also use a 1% solution of copper sulfate for disinfection. At the end of the specified period, the teeth become completely ready for planting.
Proper planting of one-clove garlic
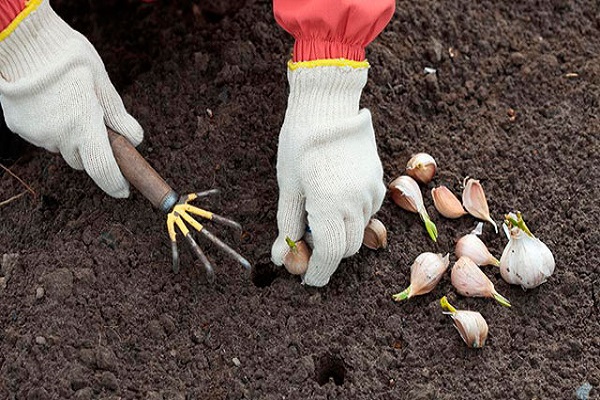
Garlic should be planted in formed beds, maintaining a distance of 15 centimeters between the cloves. If a summer resident has a small plot, it is permissible to use the two-tier method of planting garlic. It is as follows:
- Take a stick on which the height of 6 and 13 centimeters is marked.
- In a bed prepared in advance, it is used to make a 13-centimeter deepening.
- A clove is placed in the hole, and then it is sprinkled with earth until the depth is reduced to 6 centimeters.
- Then another clove is placed.
The hole is sprinkled with rotted compost.The distance between the holes should also be 15 centimeters.
1. Making holes
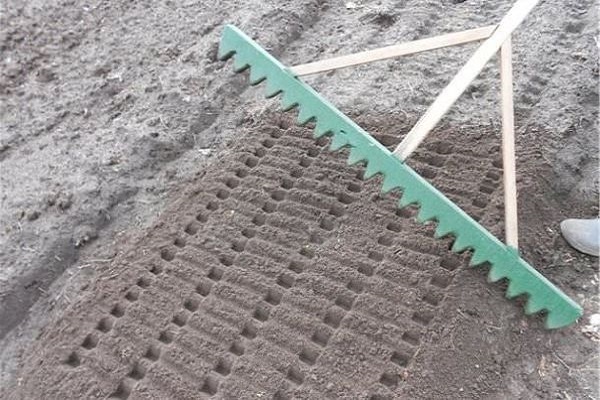
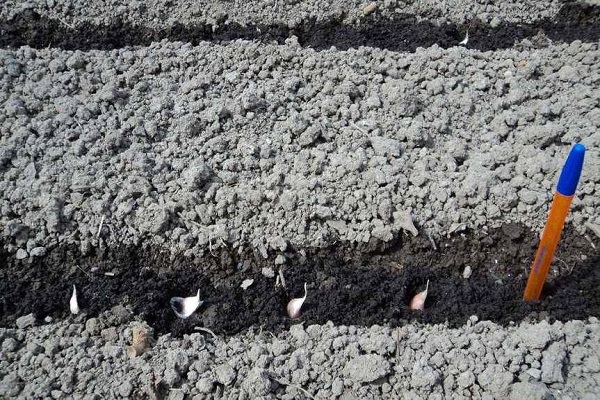
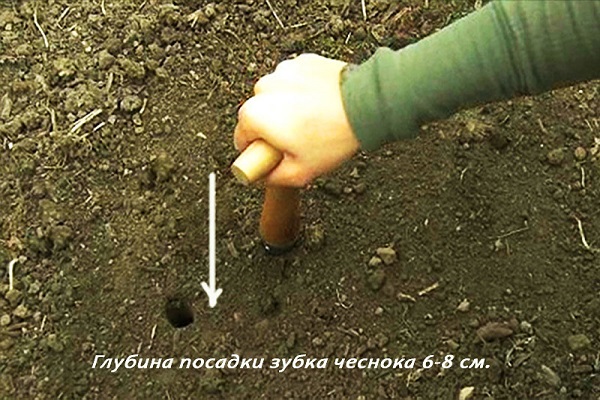
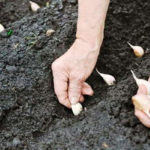
We sit on the prepared bed, mark the distance between the holes for planting garlic: it should be 15 centimeters. The indentation can be made with your fingers. You can also use a stick on which the depth is marked, ranging from 3 to 15 centimeters. In this case, the landing process will be simplified.
2. Bury the garlic cloves
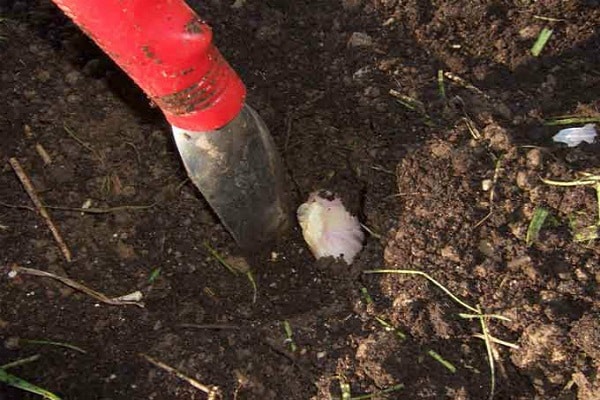
After the garlic is fully prepared for planting, it is laid out in the previously measured holes. It is not worth pressing the planting material into the soil, as this will cause compaction of the soil, deepening of the cloves, which will lead to late formation of the root system. The best option would be to place the tooth lightly inside the hole.
3. We cultivate the land
If the preparation of the soil for planting garlic has been complete, additional tillage of the soil after planting the planting material is not required. If the soil is dry, it should be treated by watering with a pink solution of potassium permanganate.
4. Fill in the holes
Garlic buried in the soil should be sprinkled with rotted compost. Fresh manure cannot be used for these purposes, as it will provoke the development of fungal diseases.
What kind of green manure is sown for garlic? The best green manures for garlic are mustard and phacelia. However, they should be sown 2.5–3 months before planting garlic. 3 weeks before the grasses bloom, they should be mowed and dug up with plenty of soil. This treatment will not only disinfect the soil, but also protect the plant from nematodes.
5. Mulch the bed
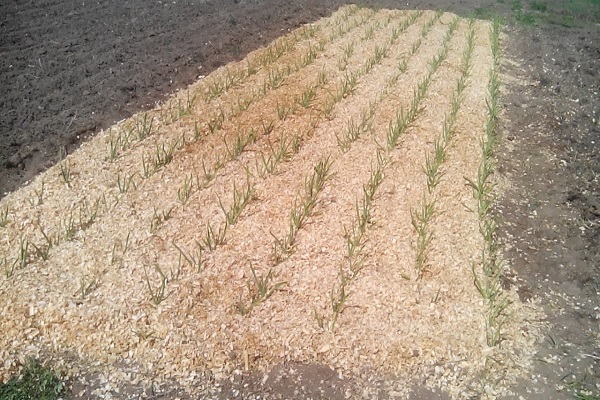
When growing winter garlic, the beds should be covered with a layer of mulch of 3–5 centimeters.When spring comes, the covering material is left to rot, and the summer resident only needs to remove the coarse mulch necessary to retain the snow on the ridges. This treatment increases crop yields by enriching the soil with nutrients.
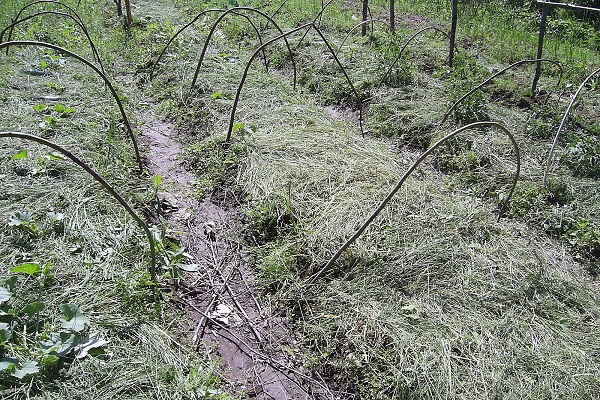
Mulching spring garlic when planting in early spring activates the growth and development of the plant during the growing season. In this case, one important thing must be observed: the mulch should be light, for example, straw. This covering material will contribute to:
- slowing down the growth of weeds;
- moisture preservation;
- frost protection;
- increasing soil breathability;
- increasing soil moisture permeability;
- increasing soil fertility.
Mulching should only be avoided during the rainy season, as mulch promotes moisture accumulation. Because of this, a favorable environment is formed for the development of fungal and bacterial diseases. If mulch has been laid, but summer becomes rainy, you need to get rid of the covering material. In this case, part of the mulch from the planted garlic is removed with a shovel and sent to the compost pit for obtaining humus.

