People living in rural areas and summer residents harvest potato crops every year. This process is quite labor-intensive, especially if you do the cleaning manually. To simplify potato harvesting, many people purchase special potato diggers for walk-behind tractors. However, some owners refuse such a purchase and try to make such a design themselves. However, before you make a potato digger with your own hands, you need to familiarize yourself with the types of diggers and the features of their manufacture.
- Purpose
- Varieties
- Vibrating or screening
- Simple or fan
- Transport
- How to make a potato digger with your own hands
- Creating a Frame
- Welding the fastening rectangle
- Fastening the jumper
- Installation of vertical racks
- Rack connection
- Ralo and pitch board
- Welding the rala
- Welding a pitched board
- Installation of adjusting rods
- Wheel mounting
- Conclusion
Purpose
Before you create a potato digger, you need to study in more detail exactly what this tool is used for. This attachment should be used together with a walk-behind tractor. It is used for digging up potatoes and digging soil in fields and garden plots.
The main function of a potato digger is to separate tubers from the soil and lay them on the surface of the ground. This is why many vegetable growers and farmers buy or make such devices themselves before harvesting.
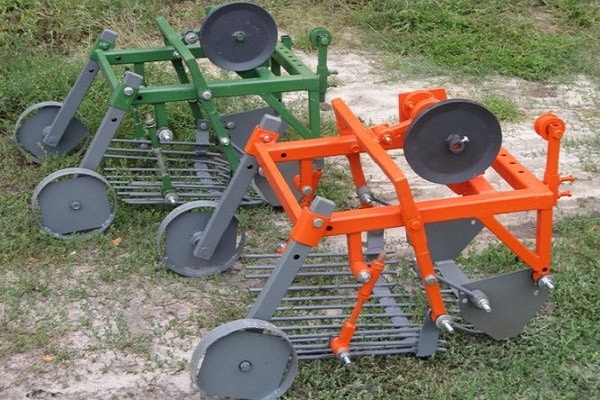
Varieties
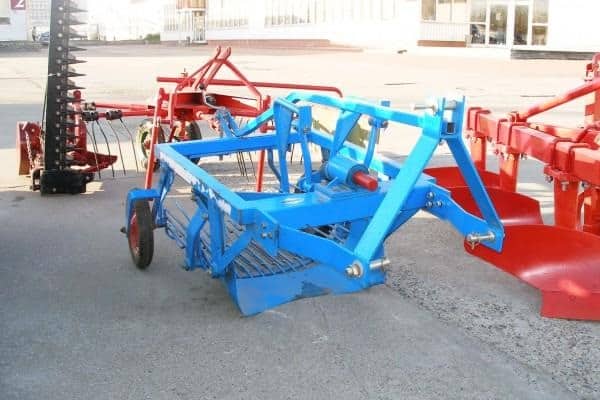
Any potato digger for a mini tractor is made to loosen the soil and dig potato tubers onto its surface. However, despite the fact that all potato diggers for walk-behind tractors perform the same function, such designs may still differ. There are several types of diggers that you can make yourself or purchase in a store.
Vibrating or screening
The potato grinder is made of a vibrating sieve and a ploughshare. The vibration product has a fairly simple principle of operation. During operation, the digger is placed in the soil and gradually removes ripened tubers from there. Together with the soil, they fall into a sieve to shake off unnecessary soil. This kind of potato digging has a serious drawback - it is very difficult to do it yourself.
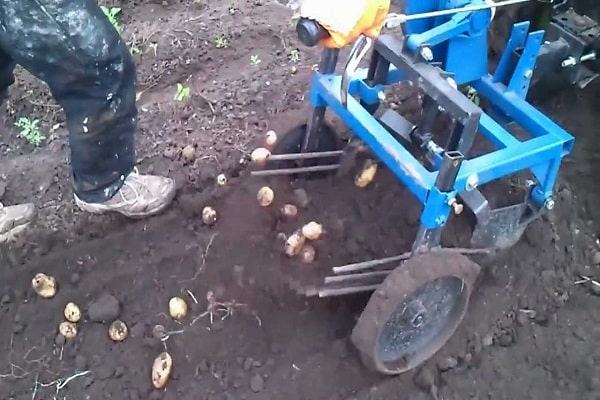
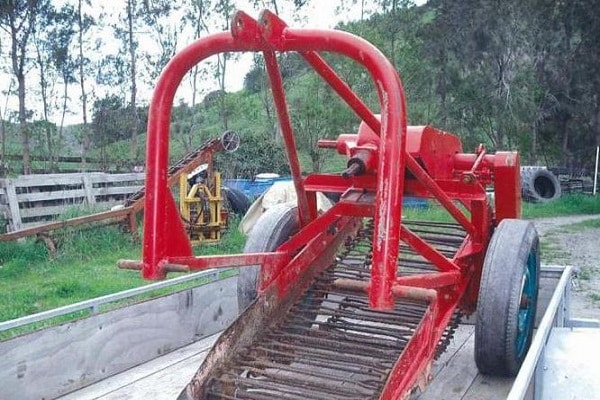
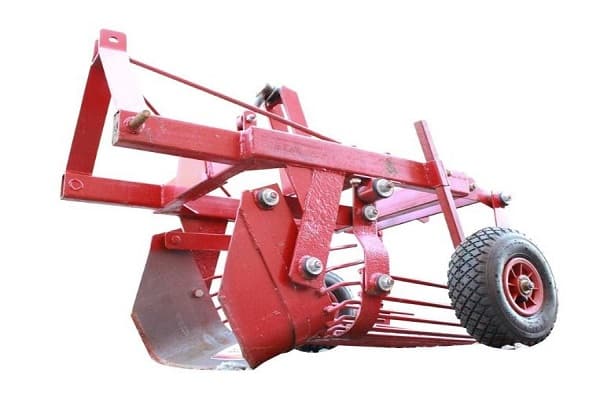
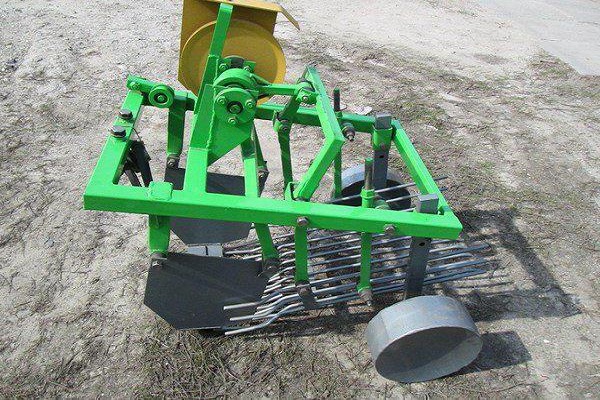
Simple or fan
This fan potato digger for a mini tractor has the simplest design. It is made from a plow to which several arrows must be attached.During harvesting with a motorized cultivator with a simple digger installed, the plow will go deeper into the ground and the dug up tubers will begin to rise along its rods. The advantages of this digger include its versatility. It can be installed on any model of walk-behind tractors and mini tractors.
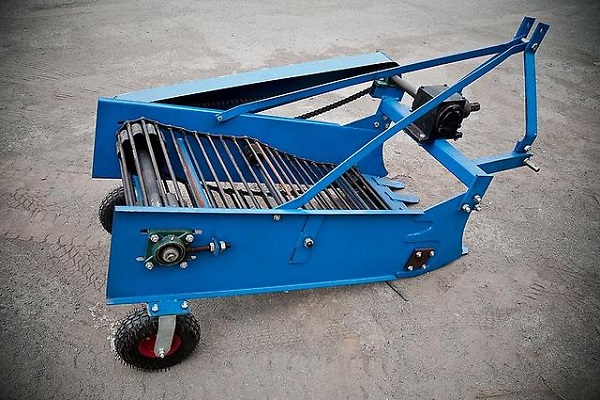
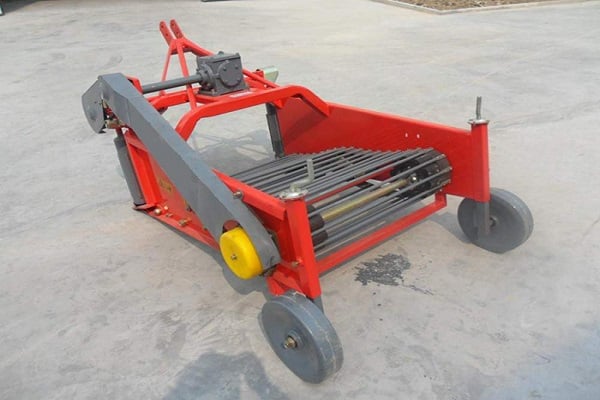
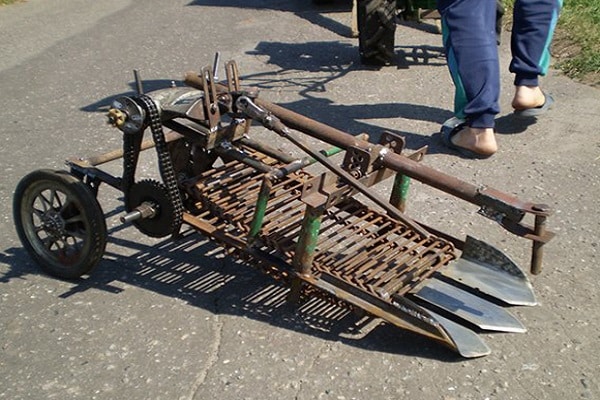
Transport
A transport-type potato digger is perfect for walk-behind tractors of a model such as the Neva and therefore should be used with them. The design of such a digger is very simple and consists only of a mobile conveyor and a ploughshare. The conveyor has a special hook that holds the tubers and helps separate them from the ground. A transport potato digger should be used only in areas with heavy soil, since this model does not dig up tubers well from soil with a low degree of density.
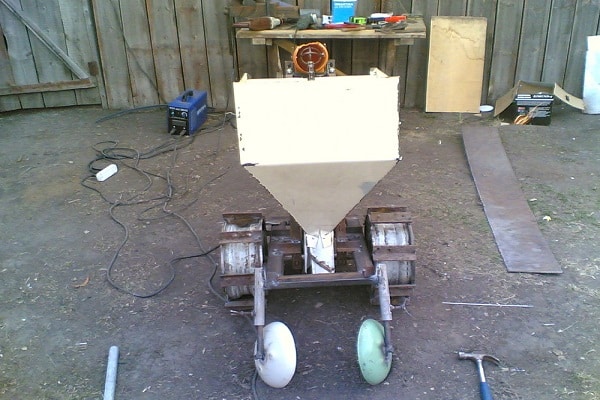
How to make a potato digger with your own hands
Before you make a potato digger for a walk-behind tractor with your own hands, you need to read the instructions for making such products. First, you should familiarize yourself with the list of tools that will be useful for creating a manual potato digger. To make a homemade potato digger you will need:
- nuts and bolts;
- reinforced rods;
- iron plate;
- engraver;
- welding;
- Bulgarian;
- metal corners.
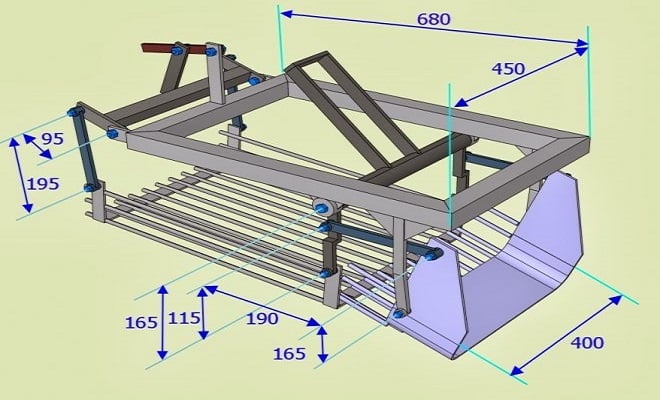
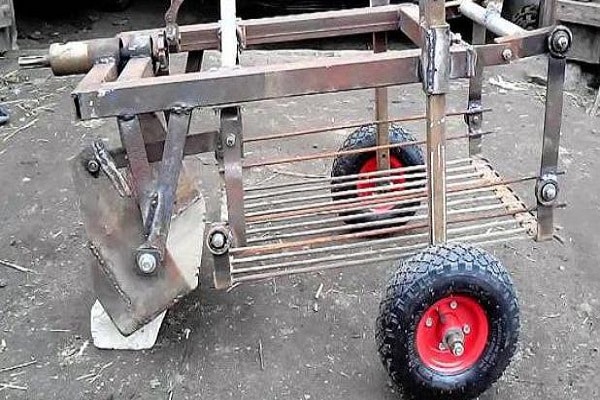
Creating a Frame
The basis of the homemade product for a walk-behind tractor or a walk-behind tractor is the frame of a potato digger. To make a high-quality frame, you need to familiarize yourself with the basic steps of its creation.
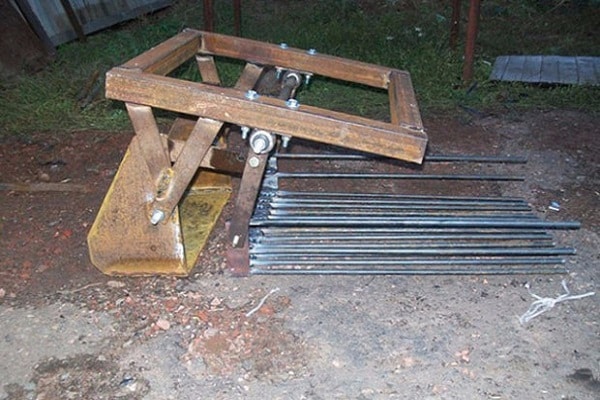
Welding the fastening rectangle
The mounting rectangle forms the frame of the entire device and therefore must be done very carefully. To make the frame you will need a square iron pipe with a length of at least four meters and a width of about 50 cm.It is cut into four different parts, two of which should have a length of 100-120 cm, and the rest - 80-90 cm. All cut pipes are welded in such a way that the result is a rectangular structure. After welding, the edges must be sanded by hand to remove any sharp corners.
Fastening the jumper
The potato digger connected to the walk-behind tractor must adjust its level of inclination, and it is for this purpose that a jumper is installed for mounting special rods. It is mounted in the center of a rectangular frame. On the opposite side, two small pipes are installed, no more than 10 cm long and 25 mm in diameter. The tubes are mounted on the frame so that wheels can be attached to them in the future. They are installed on the outside of the frame in one of its corners. After attaching the pipes, small holes with a diameter of 10–15 mm are made in each of them using a drill.
Installation of vertical racks
In order for a self-made potato digger for a walk-behind tractor to have a more reliable frame, you will have to attach several vertical posts to the frame. First, you need to step back 5–10 cm from the jumper along the frame and weld a small metal square measuring 35x35 cm perpendicular to it. Then you need to step back 15 cm from it and attach iron posts 30–35 cm long. As a result, the finished structure should look like an inverted staircase.
Rack connection
The final stage of creating the frame that will make up the potato digger for the tractor is connecting the edges of the stands. To do this, it is recommended to use metal strips 0.5 mm thick. Each of these strips is welded to the posts at an angle of 45 degrees, after which their edges should be connected to each other. The finished structure will have the shape of a triangle.
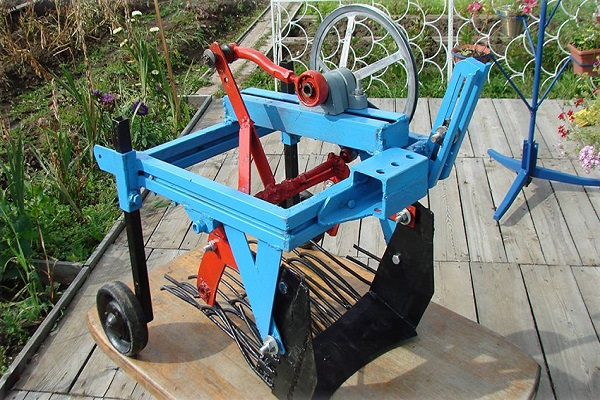
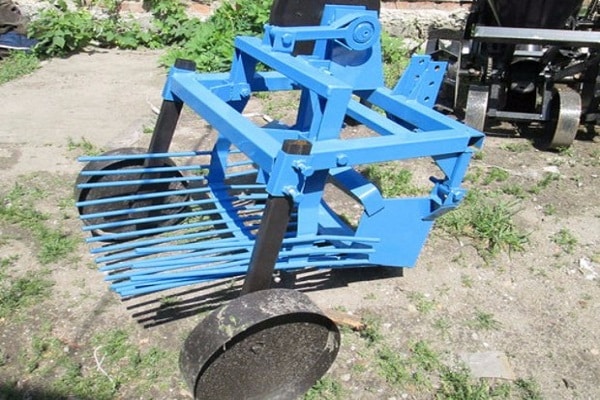
Ralo and pitch board
Having finished with the frame, you can begin to create the pitched board and raal. These made parts of a potato digger for a walk-behind tractor are used to dig tubers out of the ground and clear them from the ground. For an inexperienced tractor driver and gardener, creating such elements may seem like a very difficult job. Therefore, before getting down to business, you need to familiarize yourself with the peculiarities of their manufacture.
Welding the rala
To create this element with your own hands, you will need to make two small holes in a small iron sheet with dimensions of 30x30 cm for installing M12 bolts. They will also have to be made in each of the racks at a distance of about 45 cm from the bottom. When all the holes are prepared, the metal sheet can be screwed on.
Then we place another iron sheet on the opposite side. In this case, metal is used with dimensions of 60x30 cm and a thickness of 0.5 mm. The center of the attached sheet must be hit 2-3 times with a sledgehammer to form a cone.
Welding a pitched board
The device for digging potatoes must have a pitched board, and therefore, after welding the ral, you need to start making it. To create a pitched board, you will need to prepare one twig with a diameter of 10-15 mm and a length of about one meter. One of its edges is welded to the newly created rahl, and the second should extend beyond the base of the potato digger for the walk-behind tractor.
There are times when a welded rod begins to wobble greatly and it is necessary to create additional support for it. To do this, a riser 25–30 cm long is welded at the end of the frame. Then a square pipe is attached to the riser, to which three rods will have to be welded to ensure additional stability of the structure.
Installation of adjusting rods
A homemade potato digger for a walk-behind tractor must be equipped with adjusting rods. They are installed so that in the future you can independently adjust the inclination of each installed rod. They must be mounted to the first cross member on the product frame. To reduce the angle of inclination, the installed rod will have to be unscrewed so that its rods begin to protrude. To increase the angle, you will have to screw the rods back in.
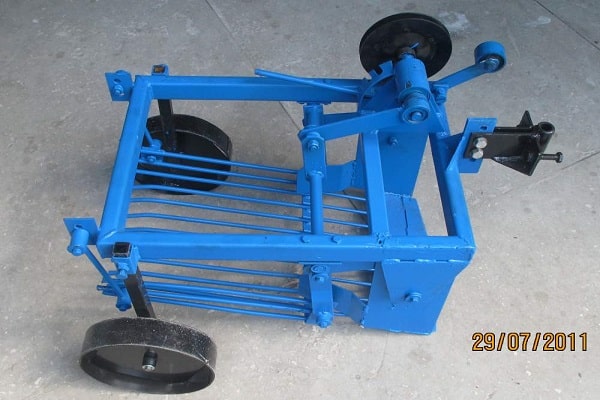
Wheel mounting
In order for a potato digger attached to a walk-behind tractor to move better around the site, you need to install several wheels on it. To do this, you can use any wheels from wheelbarrows, the load capacity of which should not exceed one hundred kilograms. A mount must be welded to each wheel and installed on the potato digger.
Conclusion
Digging potatoes Every gardener is engaged in growing vegetables on his plot. Doing this manually is quite difficult and therefore many people use special potato diggers for walk-behind tractors. To create such a design yourself, you need to familiarize yourself with the step-by-step instructions for making diggers.