Beginning beekeepers need to learn a lot of information - methods of breeding bees, insect breeds, propagation techniques, construction of bee houses and much more. An important role in the hive is played by the entrance – its shape, location and size. The beekeeper needs to familiarize himself in advance with the features of this element, its purpose and installation nuances.
What is a hive entrance?
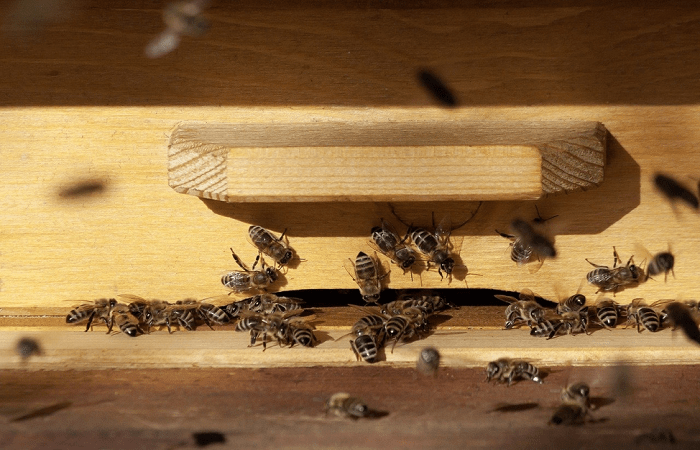
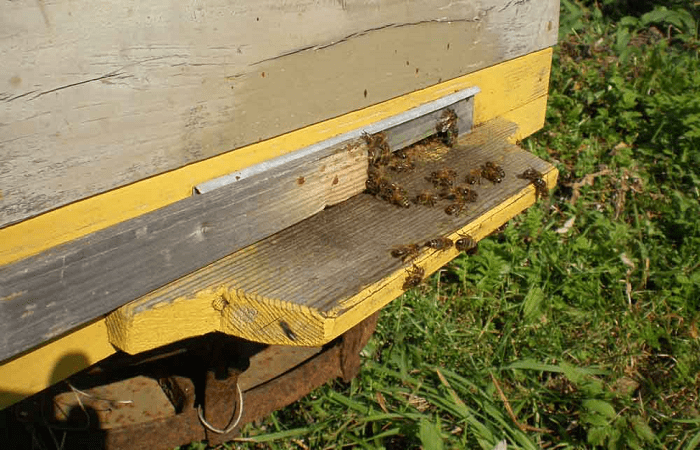
In the literature on beekeeping you can find the following definition: an entrance is a hole in the front wall of the hive, which is designed to perform the following tasks:
- honey bees are able to freely leave their home and return;
- the small size of the element allows you to protect insects, offspring, honey and other products from predators, small rodents and other pests;
- With the help of the entrance and small side holes, ventilation and proper air exchange in the bee’s home are ensured. Attention! Proper ventilation will protect insects and everything inside from possible diseases (mold, the development of harmful bacteria and other problems). Humidity causes spoilage of honey, offspring and other products;
- in standard hives (for example, the Dadan type), using a tap hole you can quickly clean bee hives of debris.
Small holes help stop insects from approaching and leaving the house (especially important when the bee returns with a bribe). The entrances should provide access to air at any time of the year (including winter), but should not allow drafts.
More details in the video.
Classification
There are several types of tapholes, each of which differs in external characteristics and purpose. The appropriate option depends on the chosen breed of bees, the structure of the hives and many other factors.
By shape
The hole can have a different shape - the choice depends on the design of the bee's home, the regional climate, the preferences of the beekeeper and some other parameters. Use the following options:
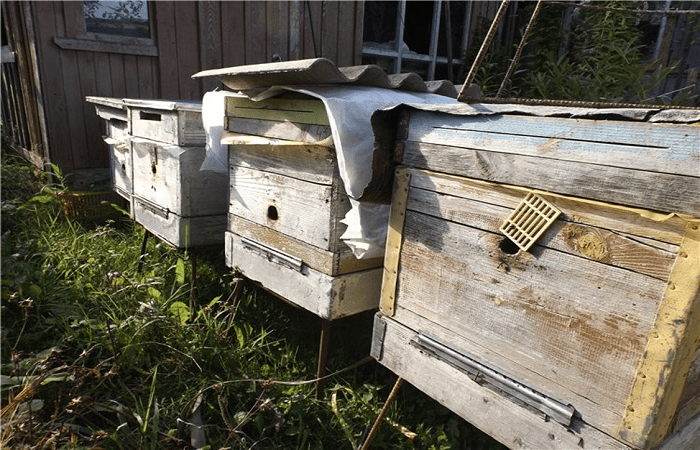
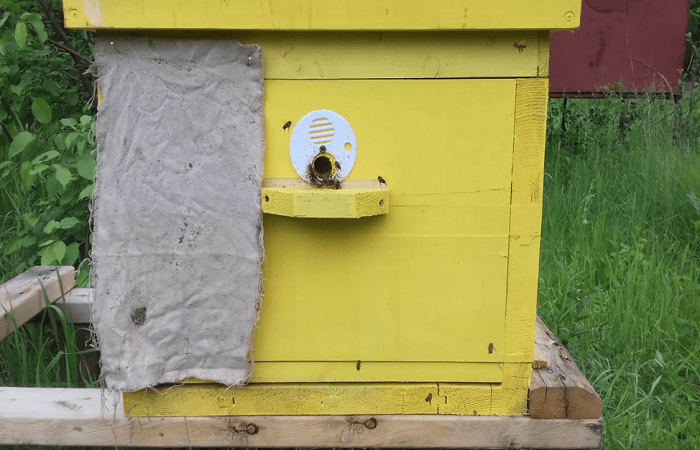
- round - most beekeepers consider the shape to be universal because it allows insects to fly out and fly into the hive with comfort. The location may be different (on the side elements, central or lower parts of the body);
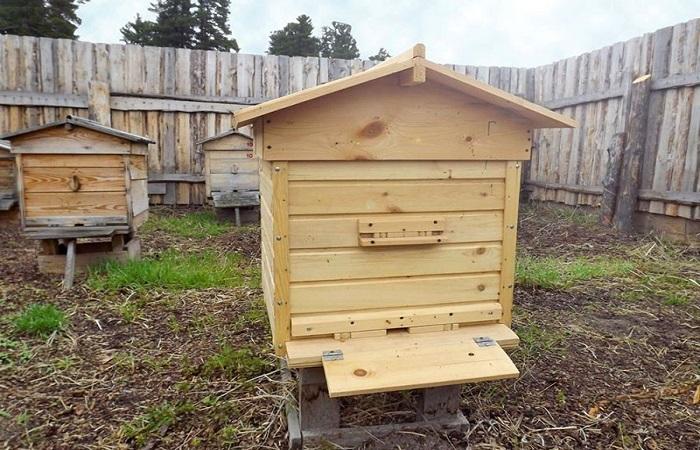
- rectangular - usually 6-7 cm in length, 1 cm in height, more often used in apiaries in the southern regions, provides a suitable level of ventilation along the shoulder elements of the bee house;
- square - rarely used by beekeepers, there are no direct prohibitions or disadvantages, found in hives of the southern regions;
- across the entire width of the wall of the home - usually installed on the walls Dadanovsky hives.
By location
The holes are installed from below or from above. Distinctive features of each option:
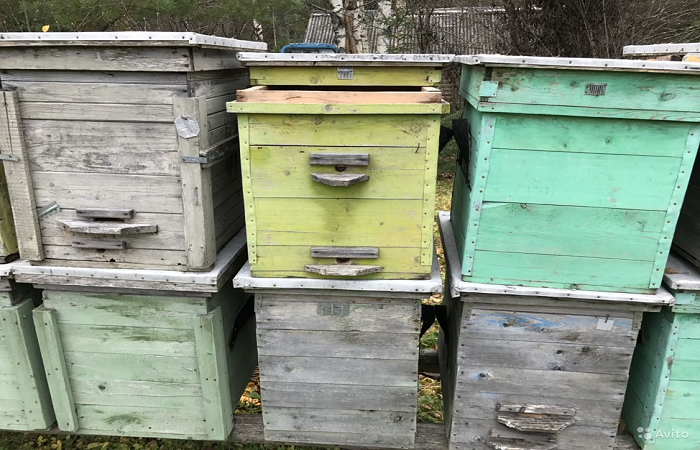
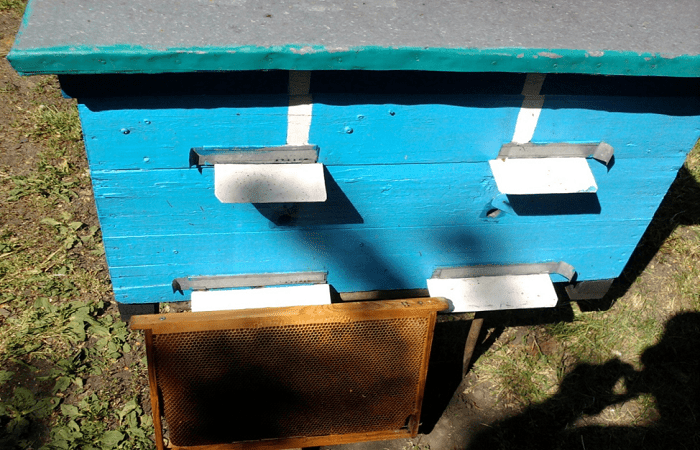
- the lower ones are cut out slightly above the level of the “floor” (the approximate distance is 6-7 cm), sometimes the lower entrances are called “garbage” because insects take out garbage, dead food and other things through them, while through such holes they allow most of the pollen and nectar, for multi-hull houses it is made along the entire width of the front wall;
- the upper ones provide protection for the hive from thieving insects and guarantee correct and timely air exchange inside the bee house. In most cases they are round (up to 2.5 cm in diameter), sometimes they are made rectangular (about 1.2 cm by 1 cm). In summer, the size is regulated by means of a special barrier; in winter, the window is closed.
The taphole is installed in different places, but on the front wall. This will allow the bees (and especially the queens) not to look for the window while flying around.
Standard sizes
Beekeepers are constantly experimenting with the sizes, shapes and designs of hives.But for beginners it is better to use standard (recommended) values. The following characteristics are used for the taphole:
- diameter for a round window – 2 cm;
- rectangular - 6.5-7 cm in width and 1 cm in height. Attention! It is recommended to adjust rectangular holes and tapholes across the entire width of the house wall. The parameters depend on the strength of the family, the number of insects, and the time of year. In spring it is recommended to cover it to a length of 5 cm, and in summer it can be increased to 15 cm;
- windows span the entire width of the hive - no more than 1.5 cm in height.
If the hole is not large enough, it will be difficult for insects to get in and out for nectar. If the bees need to squeeze through a small window, the hairs on their legs may be damaged and their wings may break. Air exchange will also be difficult, and mold and mildew may appear.
DIY making
Beekeepers can assemble hives of different designs themselves. During assembly, you will need to cut or install a suitable insect window.
Round
Such a hole is made using a drill; there is no need to install additional elements on the home. Instructions:
- select a drill with a diameter of no more than 2 cm (recommended diameter), install it on the tool;
- if the drill is small, set the manual mode and cut out the desired window;
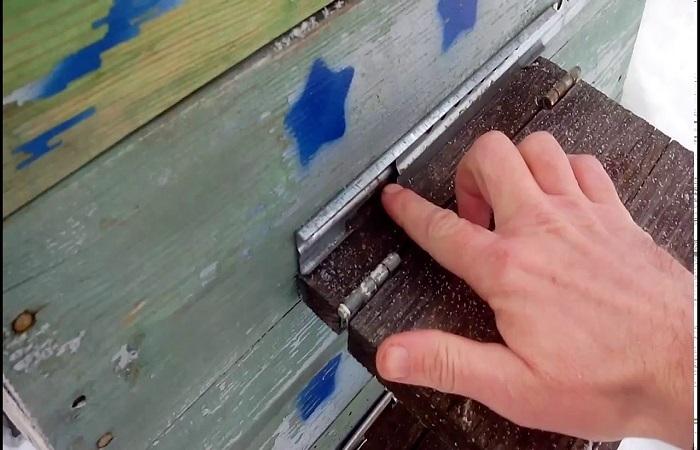
- Attach a valve along the edges (a valve design is often used).
Attention! After the hole is cut, the edges need to be sanded to ensure there are no nicks, irregularities or chips. Insects can injure themselves or damage their legs, wings, and body.
Square
The parameters are determined depending on the number of bees in the hive and the climatic characteristics of the region.The recommended side length is 2.5 cm. The cutting principle is the same - the appropriate drill size is selected, a hole is made, and then the cut is made to the required dimensions. To eliminate mistakes, it is recommended to first draw a square on the wall of the hive.
Rectangular
Such tapholes are cut out from above and below at the same time. The top one should be 6-7 cm long, 1 cm high, the bottom one should be about 20 cm long and 1 cm wide. Action steps:
- use a sharp saw to cut a hole;
- make cuts according to the selected dimensions;
- sand the edges;
- install the valve.
In summer, the entrance can be opened to its full length; in winter, it can be closed so as not to create drafts.
Triangular
Such a flight entrance is rarely chosen. Recommended parameters - bottom part - 3-4 cm, sides - 1-2 cm. The final characteristics are selected depending on the breed of insects and their number. The cut is made according to the general scheme - make a hole, give it the required shape, sand the edges and install a valve.
Full width
This kind of entrance is assembled according to a different principle. Action steps:
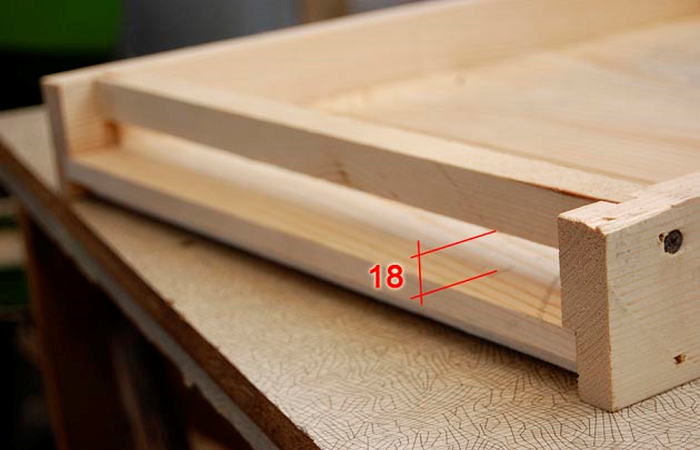
- assemble the lower part of the hive body;
- attach a sheet of plywood to the frame, attach 3 more elements on top;
- install the following housings.
The distance between the bottom of the upper tier and the piece of plywood will become the hole for the bees to fly out. The structure must be covered with a valve.
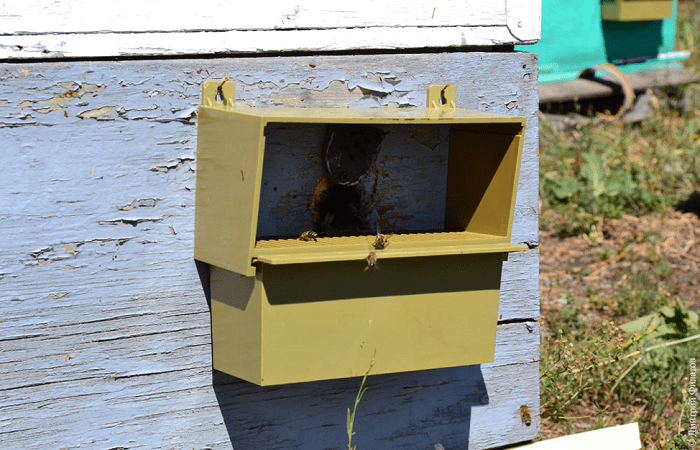
Installation of a taphole barrier
For this element you can use different materials - metal, wood, plastic and more. Instructions:
- select a piece and give it the shape of an installed window (slightly larger in size so that the taphole can be closed);
- bend one side 180°;
- attach the element to the arrival board (installed to “land” the bees).
To make planting easier, some beekeepers recommend securing small inclined boards. Detailed instructions are in the video.
The entrance is an essential element of the hive. The element performs several different functions - it allows the bees to navigate in the house, establishes a suitable air exchange and ventilation mode. There are several types of element, the final version depends on the number of bees, region and some other features.

