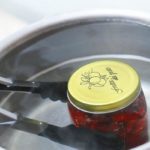
Preparing pickles and preserves for the winter is not an easy task, and every housewife knows: the key to making the preparations successful and the jars not to explode or become cloudy is thorough sterilization. Anyone who has ever sterilized jars in a pan of boiling water and a hot oven understands that this is a tedious task that threatens to cause burns. But there is a much simpler and more reliable method, and it will be useful for every lover of preparations to learn how to quickly sterilize jars in the microwave.
Advantages and disadvantages of sterilizing jars in the microwave
A microwave oven helps you simply complete a process that previously took a lot of time and effort, and disinfect the utensils needed for preparations in a few minutes. But the method also has a number of disadvantages that are worth mentioning.
Advantages of sterilization in the microwave:
- no need to boil a huge pot of water and arrange something like a steam bath in the kitchen;
- there is no danger of getting burned from hot steam or breaking the jar when removing it from boiling water; good dexterity is not required here, which not everyone has;
- sterilization is more effective due to exposure to microwave waves in addition to temperature.
Disadvantages of using a stove:
- sterilization in a microwave is an energy-intensive process, and the electricity bill will be very impressive;
- the lids will still have to be processed the old fashioned way, microwave waves are incompatible with metal objects;
- The volume of the oven allows you to place only one three-liter jar at a time, and you will have to repeat the procedure with each individual jar.
But, even taking into account the limited volume, sterilization in the microwave will take much less time and effort than traditional methods.
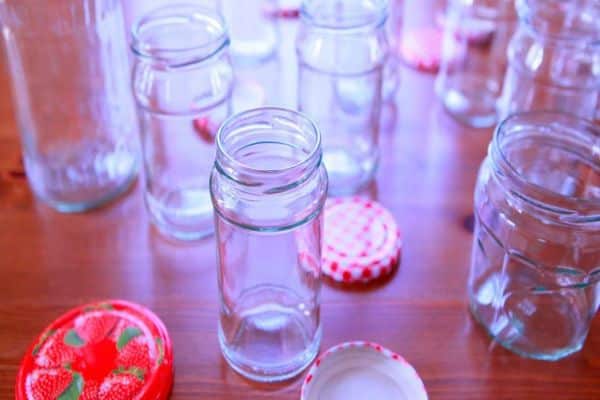
Preparing empty glass jars
Before heating the jars, it is important to prepare them thoroughly. There are no trifles in the process, any flaw can ruin all the work, and it is very disappointing to find cloudy cucumbers or fermented jam, or, even worse, an exploding compote on your shelf.
Sequencing:
- first, inspect for damage, cracks and chips.Such defects will not allow the jar to be stored for a long time; pressure fluctuations occur under the influence of temperature changes and, if even a small crack occurs, the entire contents will disappear;
- secondly, rinse the jars well to remove all contaminants. It is better to use laundry soap and soda when washing; detergent residues may remain on the walls and affect the taste and quality of the pickles;
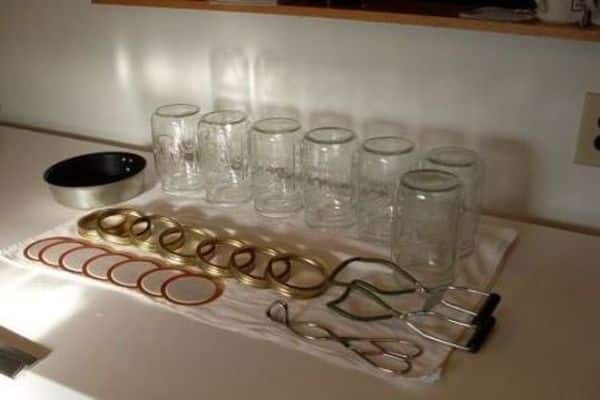
- thirdly, it is better to prepare the lids in advance, rinse, inspect and sterilize in boiling water.
Methods and step-by-step instructions for sterilization in an oven
There are two ways to sterilize jars in the microwave:
- with steam;
- dry, or more correctly called combined, since steam is still present.
Both methods are equally reliable, and you can choose the one that will be more convenient to use. Each housewife has her own favorite method, but it is also important to understand whether a dry jar is needed or whether it is acceptable to use a wet one.
Sterilize with steam
This is the simplest and most effective method:
- a small amount of water is poured into the jar, no more than two fingers from the bottom;
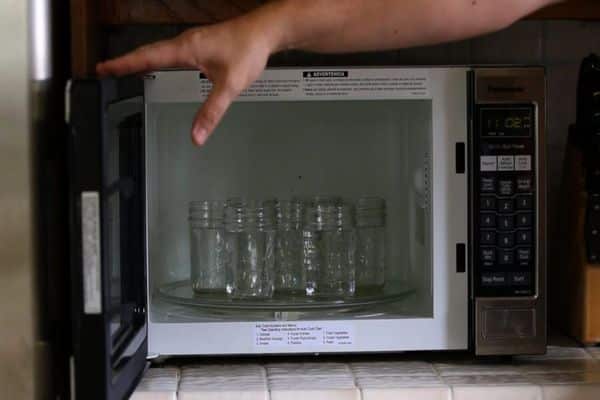
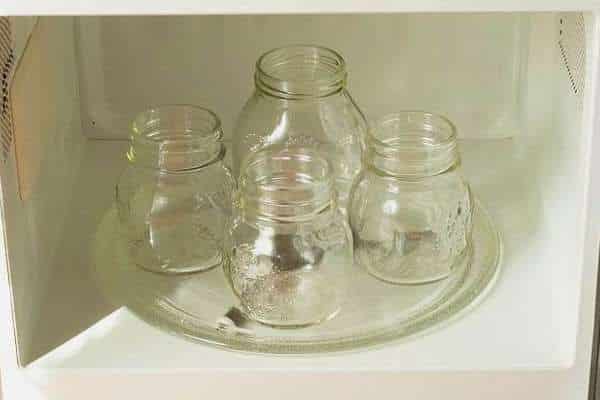
- the container is placed in the oven (if the jars are small, you can place several at once);
- In terms of time, the oven turns on for about 3 minutes, with a power of 800 watts, you can additionally navigate by the water level;
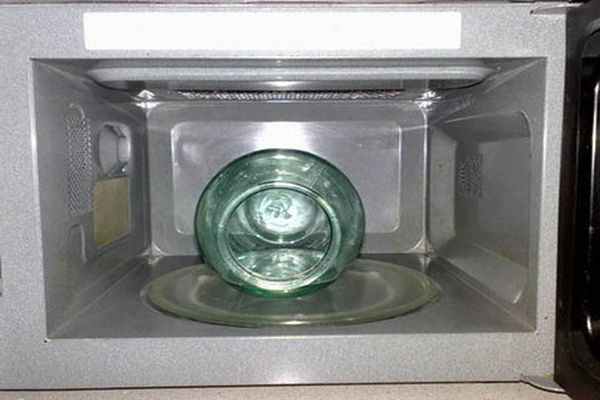
- three-liter jars can be folded on their side, after placing a clean towel or napkin so that the jars do not roll during processing;
- The jars are removed from the oven, always with good oven mitts, excess water is poured out, and the jars are placed on a clean towel before pouring the preparations.
Important! Do not pour cold liquid into a hot jar. – The glass will probably crack due to sudden temperature changes. It is recommended to pour hot marinade into a warm container, and into a cooled one – already cooler.
It is better to take water without impurities to avoid scale formation at the bottom.
Dry sterilize
For this method, you will additionally need a glass; water is poured into it to 2/3 of the volume so that it does not spill when boiling. The jars and glass are placed in the microwave, and it is started at 700-800 watts. In order to correctly determine how many minutes it takes to process, you need to monitor the water level. After complete boiling, the treatment can be considered complete.
Microwave waves and hot steam will completely destroy bacteria on the surface of the container.
Features of microwave sterilization of preserved jars
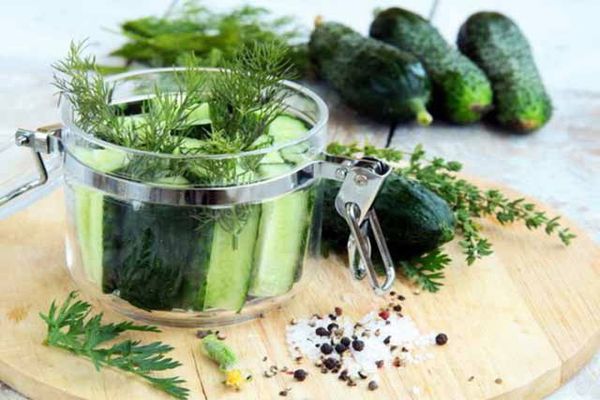
Sometimes it is necessary to process the jars along with the blanks, so that the products themselves are also free from excess bacteria. In this case, we place the products prepared for preservation into clean containers and sterilize them in the same way, with the addition of a small amount of water.
Thanks to the short processing time, the products do not have time to cook, and the cucumbers will not lose their hardness and crunch, and the berries will retain their shape and texture.
With salty foods
Salt, in itself, is a disinfectant for preparations and preservation, but it always makes sense to further process containers and products for better protection.
This is especially important when it comes to meat products and mushrooms. Botulism is a terrible disease, sometimes fatal, and careful handling of food during preservation is extremely important.
Jars already filled with mushrooms or other preserves and a small container of water must be placed in the microwave, wait until the water boils, let it boil for about three minutes, after which they can be taken out, pour in the marinade, and quickly close with sterile lids using a seaming machine .
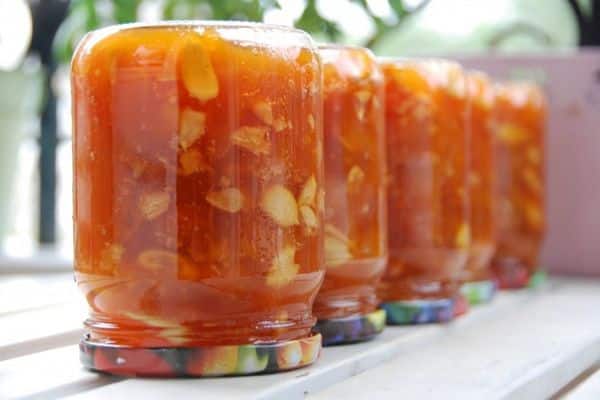
It is better to leave the finished jars to cool, wrapping them in a blanket so that the temperature drops more slowly. And leave it upside down for a couple of days to make sure there are no bubbles. If bubbles do appear, the jar will have to be reprocessed, sterilized and rolled up.
With raw berries and fruits
For raw fruits and berries, sterilization is also very important. All fruits contain bacteria that promote fermentation. And if you don’t want the jar to suddenly explode under the influence of accumulated gases, it must be thoroughly disinfected.
Here, after placing the fruit in the prepared jar and adding a little syrup, it is placed in the oven for a short time, allowed to boil for 3-5 minutes, taken out, filled with boiled syrup and sealed with a lid. It is important not to overexpose the fruit under the influence of temperature, otherwise they will lose their properties and will not look so beautiful.
With jam
Some housewives neglect the need to pasteurize jam, hoping that a large amount of sugar will not allow the product to spoil.
But it is worth remembering that jam very often begins to ferment or become moldy, which will be an extremely unpleasant surprise. Therefore, it is better to spend five minutes and avoid the disastrous consequences of a careless attitude.
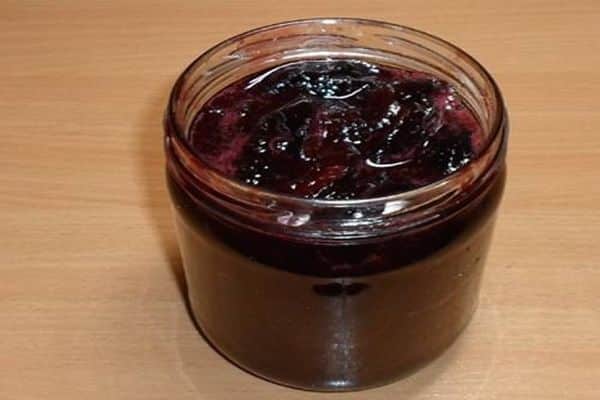
Jars of jam are sterilized for 4-5 minutes at the usual power of 700-800 watts, after which you no longer have to worry about the state of your supplies all winter.
Important! When sterilizing, it is necessary to avoid getting contamination inside the container during the process of transferring and rolling up the cans.
If, however, through negligence, a foreign object gets into the jar, it will be easier to re-carry out the sterilization procedure than to wait for the inevitable spoilage of the products after some time.
Modern household appliances make the life of housewives much easier, and with minimal effort, excellent results are obtained. Although here it is important to master the subtleties and nuances of its application, and sometimes unexpected possibilities.
And, of course, the most important thing is the result. After all the effort, nothing beats the pleasure of trying a jar of your favorite jam or compote on a winter evening, which has retained the memories of a sunny summer.

