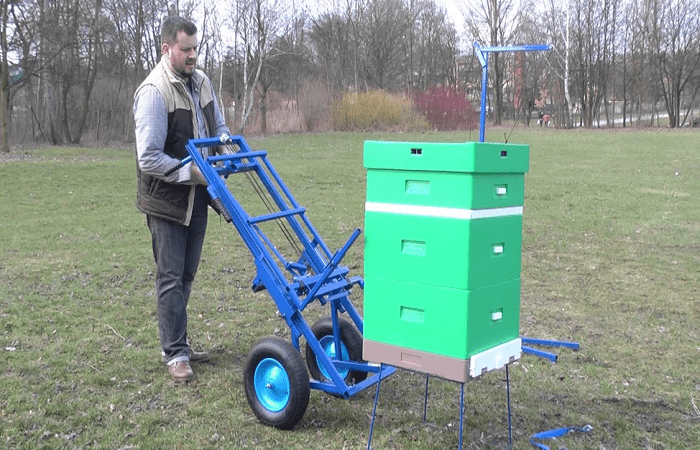
In large apiaries, apilift is required. This is a small structure with a metal frame that serves to lift and transport bee boxes. During manufacture, wheels are provided for movement, as well as crossbars for gripping. Having the drawings, necessary materials and tools, you can make an apilift with your own hands by choosing the required size.
Device and principle of operation
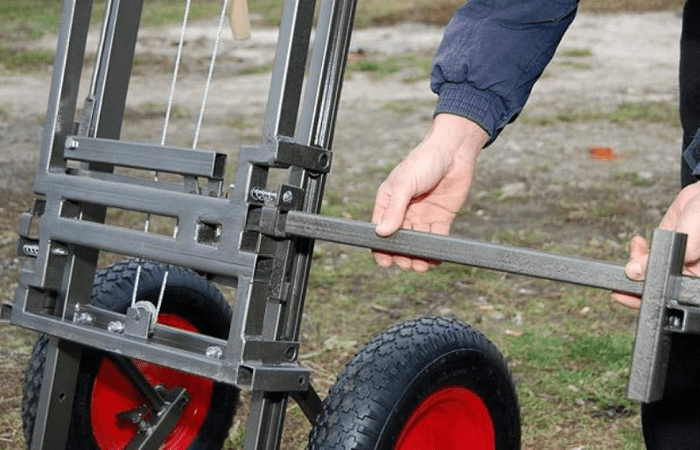
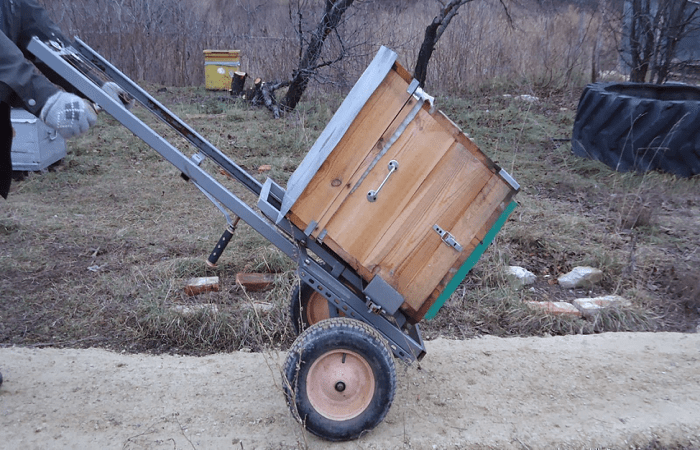
For beekeepers, a lift is a mechanism that makes their hard work easier. The operating principle of this design is simple.The clamps, which are located on both sides of the mechanism, fix the hive; with the help of a lever handle, the load is raised to the desired height. Next, the apilift is transported, and the hive is lowered using a lever.
The main parts of the structure include:
- frames;
- axis;
- plugs or clamps;
- the carriage that bears the main load;
- lever handle;
- wheels with bracket;
- bearings.
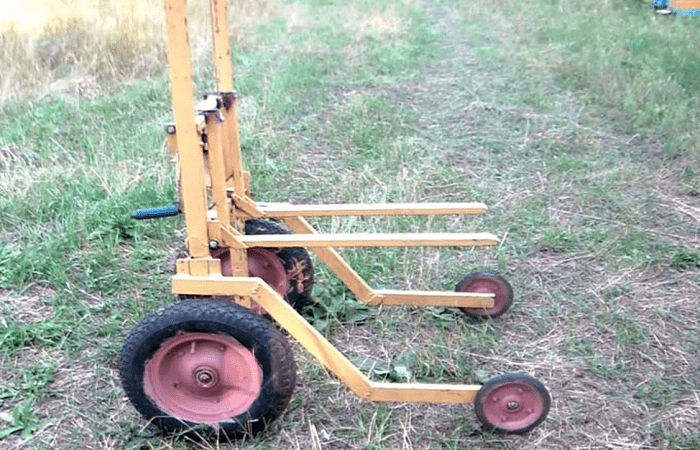
One of the frames acts as the main skeleton of the structure, the second frame provides support for the received load. The stability and reliability of the lift depend on their thickness. The wheels for apilift should be wide, as they will ensure careful transportation on uneven roads.
Lift requirements
The trolley is used to transport large hives, therefore, first of all, the design must ensure complete safety during transportation. When making it yourself, you must ensure that the apilift meets the following basic requirements:
- load capacity up to 130 kg (the design must lift and transport several hives at the same time);
- lifting height – 130 cm;
- working width – 35-55 cm.
Another characteristic that the lift must have is a descent accuracy of 1 cm. This will make work in the apiary easier, and the trolley will not feel the weight of the load, since the pressure on the lever will be 1 kg.
Features of apilift manufacturing
The production of apilift must take place sequentially, in several stages:
- frame assembly;
- production of lifting block and reel;
- wheel installation;
- fastening clamps and carriage.
During the manufacturing process, it is necessary to refer to the drawings so that the resulting apilift meets expectations. The sequence should not be ignored, otherwise the cart will not have the required functionality.
Drawings and dimensions
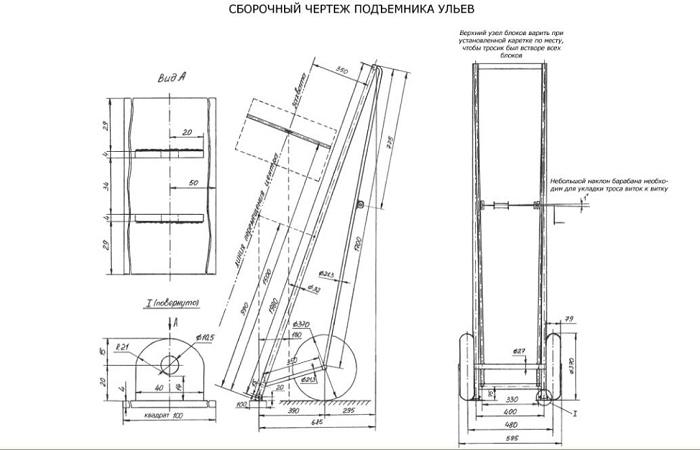
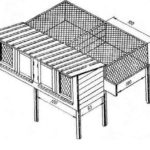
Drawing of apilift, designed for 120-130 kg:
Tools and materials
Before assembly, you need to make sure that the necessary materials are available:
- square metal profile;
- lever handle (it is important to choose a product with a comfortable non-slip coating);
- springs;
- bolts, screws, nuts;
- cable with a diameter of 3-4 mm;
- a pair of wheels;
- bearings;
- reel for tensioning the cable.
The tools you will need are a welding machine, an angle grinder, a hammer drill, drills, as well as screwdrivers and a tape measure for measuring structural parts.
Build process
The work algorithm for making a lift is as follows:
- Weld four pipes perpendicular to the main frame. The outer beam is flat on the sides.
- Make crossbars at the bottom and top in accordance with the size of the pipes.
- Place the second beam at a distance of half a meter from the upper transverse pipe. The third should be placed 40 cm from the bottom.
- Cut the opening for the bearings. Insert bolts along the edges, thereby eliminating the possibility of them flying out during transportation of the hives.
- Make holes for the brackets in the third beam.
- A handle-lever is welded on top of the beam, after which the frame can be considered ready.
- Place a 4 cm bearing on the upper frame at a distance of 13 cm.
- Fix the fasteners at the top. This will ensure that the cable falls out.
- On the left side, place a groove for the roller, as well as a cable. Its upper end must be secured to the left side.
- Place the coil on top of the second crossbar. In this case, you need to step back from the frame by 12 cm.
- Insert the reel shaft into the bearing.
- Screw on the lever with the rotating handle.
- Connect the lever with a cable to the spring.
- Make brackets from the profile and install the wheel axles.
- Secure the brackets to the frame.
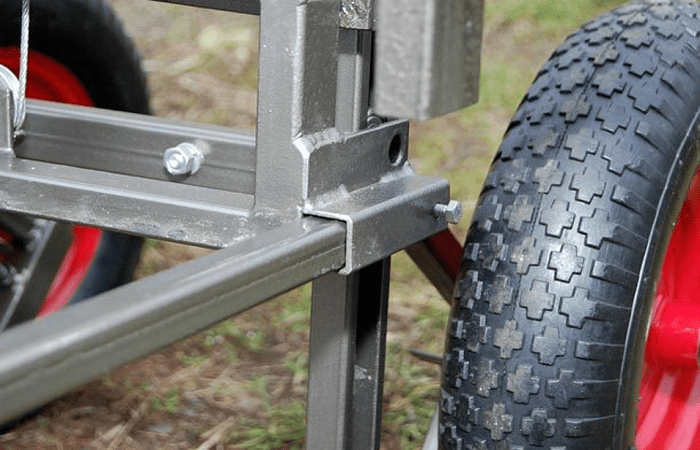
Next, you need to assemble the carriage and install adjustable clamps.To avoid slipping, the inner surface of the forks must be ribbed. The clamps for the hives are inserted into the pipe, and a block for the cable is welded to the bottom crossbar.
Usage
Before starting work, it is necessary to check the components of the structure for compliance with technical requirements. Carefully inspect the location of the fasteners, the fit of the fasteners, and the correct fit of the fasteners into the grooves.
It is important to pay attention to the functioning of the apiary cart during operation. Especially reliable fixation, since it is difficult for insects to survive the stress associated with transportation. For transportation, you need to prepare protective clothing and a spray bottle to prevent bees from attacking in the event of a fall.

