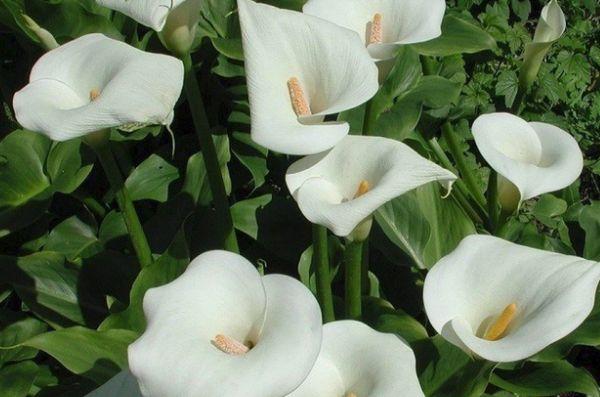
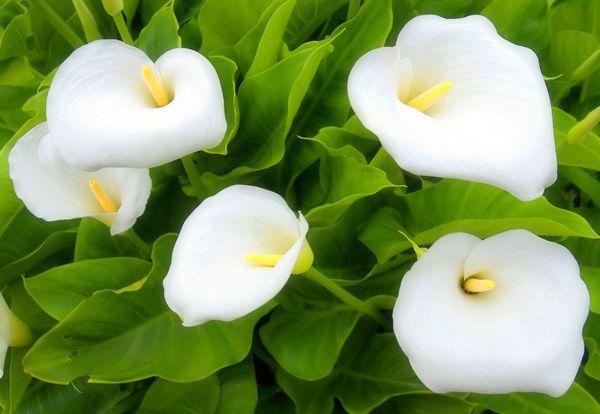
Calla is a plant of the araceae family native to Africa. In its natural environment it reaches a height of more than two meters. Russian gardeners are attracted by the unusual appearance of large flowers that resemble a funnel and a heart at the same time. It is not necessary to plant the plant in open ground; caring for and growing calla lilies is practiced at home.
- Is it possible to keep calla lilies at home?
- Which varieties are suitable for home cultivation?
- Requirements for growing conditions
- Illumination
- Temperature
- Humidity
- Required soil composition and pot size
- Technology for planting indoor calla lilies
- Timing of planting work
- Planting bulbs
- Sow with seeds
- Homemade callas: care
- Features of watering and spraying
- What fertilizers do we prefer for the plant?
- Trimming
- When and how to replant a flower correctly
- How to care for crops during the dormant period
- Possible problems and difficulties during cultivation
- Flower diseases and pests: control methods
- Anthracnose
- Gray rot
- Bacterial rot
- Root rot
- No flowering
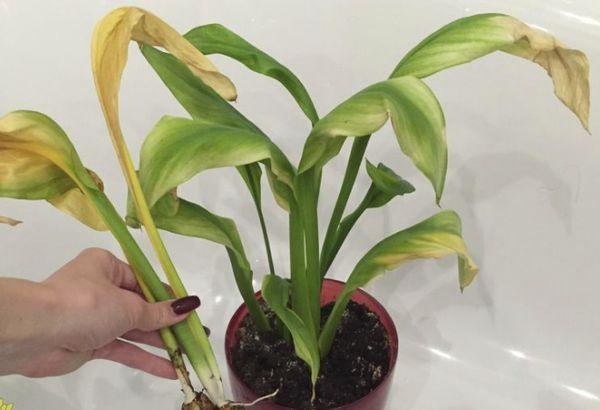
- Are the leaves turning yellow and drying out?
Is it possible to keep calla lilies at home?
If you organize the air temperature and humidity close to natural, the crop develops normally and blooms in a pot on the windowsill. The question is different, flower growers are interested in energy compatibility with callas.
The South African flower is shrouded in mystery and mysticism. According to some beliefs, it is believed that the plant is a divine amulet, a talisman for good luck, as it bloomed next to the cross on which Jesus was crucified, and is present in images of angels and the Virgin Mary.
Others are sure that calla blooms on the eve of death and is appropriate for funeral rites, as it looks like a yellow candle wrapped in a white shroud.
Most flower growers are of the opinion that calligraphy brings prosperity to the family and reconciles quarreling spouses. A pot of calla lilies in the office maintains a friendly atmosphere in the team and helps in negotiations with business partners.
It has been noticed that calla lilies blooming at home alleviate the condition of patients with heart failure.
Which varieties are suitable for home cultivation?
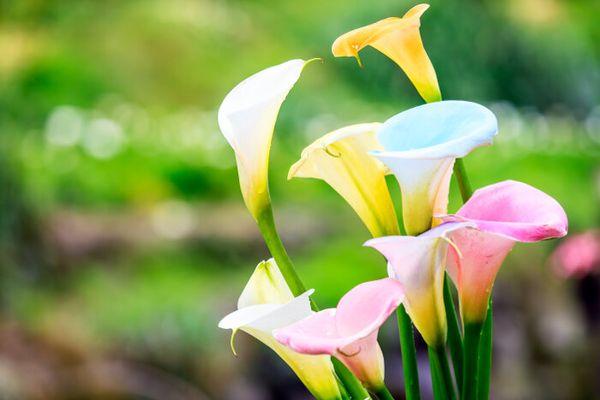
The height, color of flowers, and type of root system depend on the species of calla lilies. The ancestor of domesticated crops, the Ethiopian calla lily is distinguished by its 1.5-meter height, snow-white color, and the presence of rhizomes.
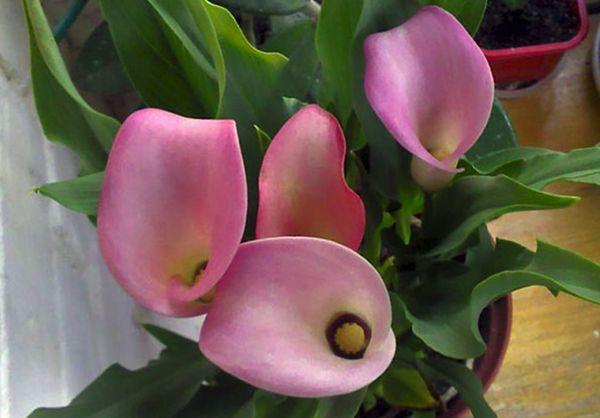
Varieties of the Elliot species are yellow and golden, up to half a meter high. Calla lilies of the Rehmann species are pink in color with low peduncles.In the last two species, the underground part is represented by tubers.
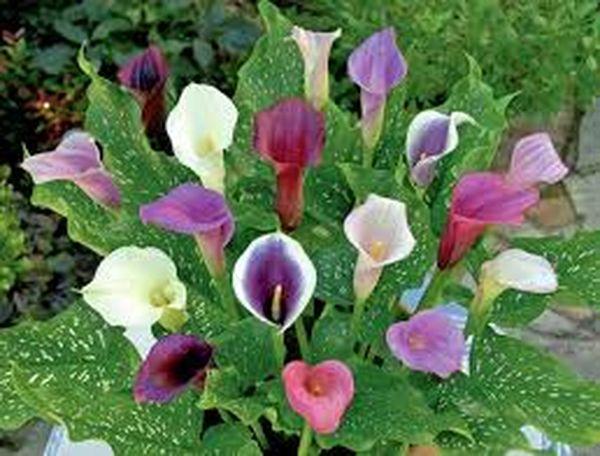
Common varieties adapted for home cultivation:
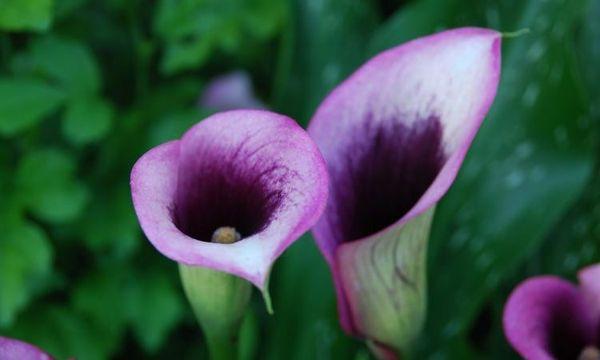
- Schwarzwalder. Almost black flowers with a burgundy tint look very impressive. The average height of the plant is 60 cm. Flowering begins in mid-July and ends by September. The culture is decorated with bright green, erect leaves with white spots.
- Vermeer. The color of the flowers is white on the outside, closer to purple on the inside. The cob is bright, canary-colored. White inclusions in the rich green leaves give the plant a decorative appearance.
- Mango. The variety is suitable for growing on a windowsill and in open ground. The yellow cob and the golden-orange cover of the peduncles look good when cut. The leaves are green with silver speckles.
- Amethyst. The color of the flowers corresponds to the name. The potted plant emits a pleasant, delicate aroma. The leaves grow higher than the flower stalks.
- Red Alert. The variety stands out for its large red flowers and large speckled leaves. Red Alert differs from other varieties in its long flowering - throughout the summer.
- Hot Shot. Popular tuberous plant. Translated from English - hot shot. Depending on the flowering time and maintenance conditions, it changes shades from peach to orange-red. The leaves have a standard color on top, with brown veins visible on the underside.
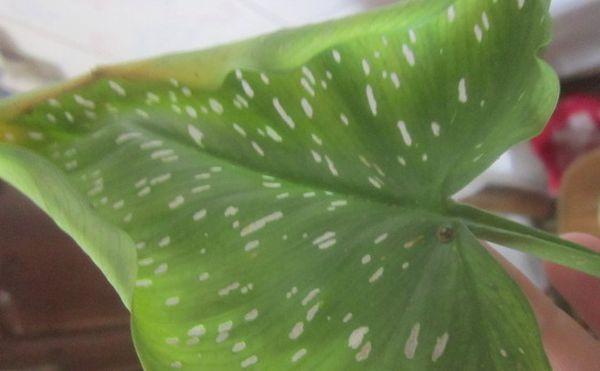
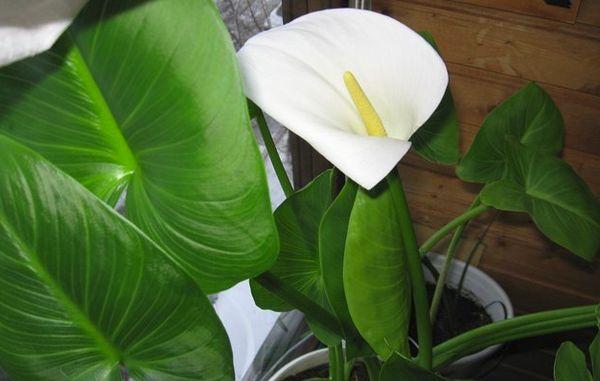
The presented varieties are similar in appearance. The average height of the plants is 60 cm, the size of the flowers is 10 cm. The inflorescence consists of a spadix and a spathe, forming a funnel. The basal leaves are shaped like an arrowhead, the color is green with silvery-white splashes.
Requirements for growing conditions
Even novice amateur gardeners can grow calla lilies on a windowsill if they follow the care recommendations. It is necessary to create conditions close to natural.
Illumination
Calla requires continuous lighting throughout the year, including the dormant period.
Lack of light leads to yellowing of foliage, lack of flowering or faded color.
Direct sunlight causes leaf burns, so plant pots located on the windowsill are fenced off with translucent tulle.
Temperature
White Ethiopian callas do well at temperatures of 18-20 ºC. Plants overwinter in heated rooms with temperatures not lower than 14–18 ºC.
For colored tuberous callas, the optimal temperature range is in the range of 22–25 ºC. The dormant period of the bulb is safely tolerated at +3-7 ºC. Sudden temperature changes lead to the cessation of flowering. Calla lilies are brought out on loggias and open terraces only in summer.
Humidity
Humidity is an important factor when growing a plant. In the subtropical swamps of South Africa, where callas come from, the humidity is high - 70–80%. If the indicators in the apartment do not correspond to the norm, the crop is sprayed twice a day - morning and evening, and the leaves are regularly wiped with a damp cloth.
Required soil composition and pot size
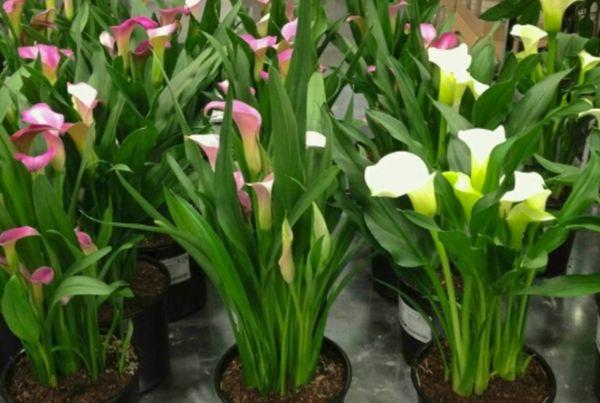
Despite the lightness of the products, a wide range of different volumes and configurations, a plastic pot is inferior in quality to a clay pot. Pottery is porous, which allows excess moisture to evaporate. They have universal colors that suit different varieties of calla lilies.
For the Elliot and Remani species, pots with a diameter of up to 20 cm are needed. For children, even smaller ones are 10 cm. Ethiopian callas with a developed rhizome require a container with a diameter of 30–40 cm and a height of 60.Suitable soil for calla lilies consists of equal parts of peat, garden soil, sand and two parts of organic matter - humus or rotted manure. The soil should be slightly acidic, the optimal pH is six.
Technology for planting indoor calla lilies
How the plant will develop and bloom in the future depends on the correct placement of planting material. It is necessary to take into account the timing and maintain the planting technology.
Timing of planting work
It is recommended to plant tubers after the end of the dormant period. For tuberous varieties, a new life cycle begins from late February to mid-March, and for rhizomatous varieties - from mid-July.
Planting bulbs
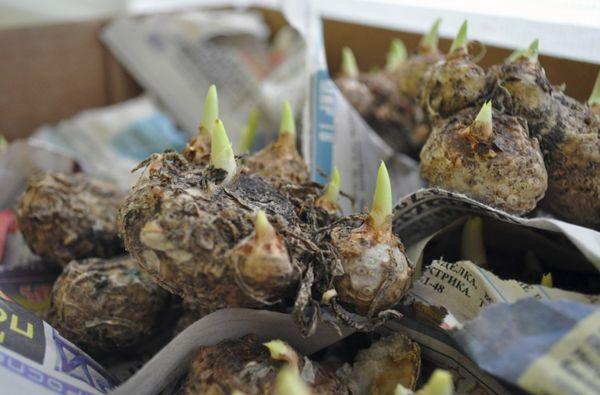
How to plant bulbs in pots, algorithm:
- overwintered tubers are inspected for dry rot;
- remove damaged areas by smearing the cuts with brilliant green;
- to protect against pests and diseases, the bulbs are treated with fungicides;
- Place drainage at the bottom of the container and fill two-thirds with substrate;
- the soil is compacted, planting material is laid out;
- sprinkle a 2-centimeter layer of earth on top;
When the seedlings reach 5–7 cm, add soil to prevent the root from coming to the surface.
Sow with seeds
Subject to planting technology, calla lilies are grown from seeds obtained from abandoned peduncles purchased in a store.
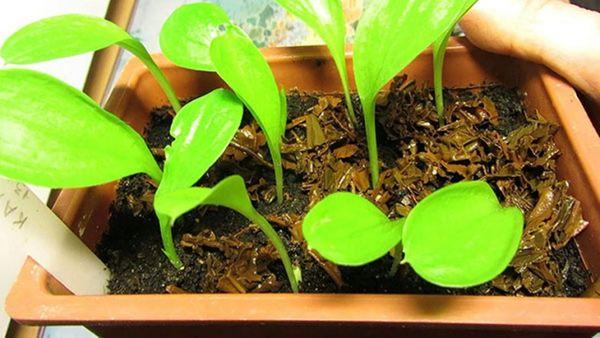
Start with soaking. Use clean water or add a growth stimulator. After 6 hours, the seeds are transferred to a shallow container, the bottom of which is lined with damp cotton pads. Cover the top with a wet gauze cloth and place in a warm place with a temperature of at least 20 ºC for 5–7 days. The gauze should not dry out.
Using a stick or pencil, make small holes, 3 cm deep, and water. To ensure the appearance of sprouts, several seeds are planted.To facilitate germination, planting material can not be buried, but scattered on top. In this case, the seeds are pressed and glass or film is placed on the pot. It is recommended to leave no more than two seedlings in the pot.
Homemade callas: care
Caring for calla lilies at home includes a list of standard agrotechnical measures: watering, fertilizing, pruning. Annual transplants and the organization of a rest period are required.
Features of watering and spraying
The crop needs abundant watering during the period of active growing and flowering. The first 2–3 weeks after planting, root germination occurs. At this time, calla lilies are not watered.
Next, the crop is irrigated with warm, settled water daily in moderate volumes. When the formation of the flower is completed, watering is carried out as the top layer of soil dries. Ethiopian calla lilies, which grow in swamps in the natural environment, are especially demanding of moisture.
It is recommended to irrigate the crop using a watering can with a narrow spout, directing it into a shallow groove along the edges of the pot. Moisture on the tuber causes the development of putrefactive processes and the appearance of diseases. After watering, it is unacceptable to leave water in the pan.
At high temperatures and low humidity, spraying with a spray bottle is required. Drops that fall on the flowers spoil the appearance of the cover, so during the flowering period it is better to wipe the leaves with a damp cloth.
What fertilizers do we prefer for the plant?
For normal growth and flowering, calla lilies need to be fed monthly. Potassium nitrate and superphosphate promote leaf vegetation and flower stalk formation. To prolong the flowering of the crop, commercial preparations containing a complex of minerals and trace elements are added to the soil.
Once a year, to enrich the substrate with nutrients and stimulate flowering, fertilize the soil with organic matter. Starting from the moment of planting, mineral complexes are added weekly in small doses for a month. Next, feed the plant once a month.
You can combine the application of microelements and minerals, and add organic matter separately, maintaining an interval between agricultural activities of at least a month.
Trimming
Formative pruning for calla lilies is not practiced. Only the lower dried leaves and above-ground wilted parts of the plant are removed before sending them to rest.
When and how to replant a flower correctly
Calla lilies are replanted every year in the spring after emerging from dormancy and in unforeseen situations. For example, when a pot fell from the windowsill or the plant became sick. In these cases, it does not matter whether the crop grows, blooms or rests.
The transplant technology is simple:
- prepare a more spacious pot with 5 cm of drainage and a new loose substrate;
- remove calla lilies from the old container;
- shake off the soil stuck to the root;
- tubers are treated with fungicides or potassium permanganate;
- the plant is placed in a depression made in the new soil;
- Without pressing down the root, the calla lilies are carefully covered with earth;
- lightly compact the surface.
Calla lily juice is poisonous, so it is recommended to do the transplant with gloves so as not to cause burns and allergic reactions to the skin of your hands. If children have formed on the tuber, they are planted in small pots 10 cm in diameter. The calla lily root is deepened by 5–10 cm.
How to care for crops during the dormant period
To restore strength and form new flower stalks, callas need rest. The dormant period begins at the end of flowering. Gradually reducing, they eliminate soil moisture.
After the leaves and peduncles die, the tuber is dug up, washed, and soaked in potassium permanganate. After drying, place it in a container with dry sand, which is transferred to a cool place. Or store in paper bags in the vegetable section of the refrigerator. Additional care for calla lilies during the rest period is not required.
There are significant differences in the dormancy periods of crops with different types of root systems. For rhizomatous callas, the life cycle ends in late spring, and for tuberous callas, in the fall. Ethiopian callas are sent to rest until mid-July, then transplanted into a new substrate.
Possible problems and difficulties during cultivation
When growing calla lilies, flower growers are faced with a lack of flower stalks, yellowing of leaves, the appearance of diseases and attacks by insect pests. Only armed with knowledge can you overcome difficulties and eliminate future mistakes when caring for a plant.
Flower diseases and pests: control methods
More often calla lilies are affected by fungal, less often bacterial diseases. The most common crop pests are aphids and spider mites. Insects are controlled by spraying with soap solutions, Iskra, Komandor, Fitoverm, Molniya.
Anthracnose
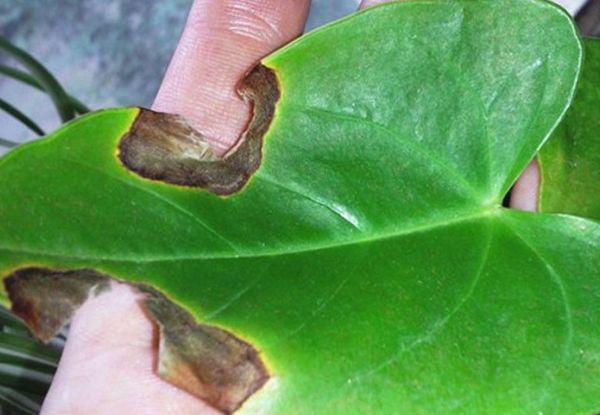
Waterlogging of the soil, high temperature and air humidity lead to the appearance of small brown spots on the leaves of calla lilies. Over time, the diameter of the spots increases, the center turns white, and the edges are bordered by a red stripe. Leaves and flowers fade, weaken, dry out and curl.
Measures to combat fungal disease include removing damaged parts of calla lilies, reducing the intensity of irrigation, and treating the plant with Fitosporin-M and Fundazol.
Gray rot
The disease caused by the fungus Botritis cinera affects the leaves, stems, and flowers of the crop. A gray coating immediately forms on the leaves.Gray-green areas appear on the flowers, turning brown over time. Subsequently, the bedspread acquires a dirty gray coating. Like all fungal diseases, gray mold develops in conditions of excessive heat and humidity.
When spots appear, the diseased parts of the plant are removed and the intensity of moisture is reduced. Among the fungicides suitable for control are Gamair, Trichodermin, and Rovral.
Bacterial rot
Characteristic signs of a bacterial disease are rotting of peduncles and leaves at the base. The above-ground parts of the plant gradually die. The roots become wet and acquire brown spots.
The disease cannot be cured. The infected crop is disposed of. Preventive measures include careful selection of planting material, treatment of tubers and rhizomes with fungicides before planting, and avoidance of mechanical damage to the adult plant.
Root rot
External symptoms are darkening, active wilting of leaves and peduncles, and death of the plant. The roots become covered with dry rot.
The disease is treated with calla lilies fungicides:
- Mikosan, which produces antibodies to fungal disease;
- Discor, safe for humans;
- biological preparation Trichophyte;
- effective Trichodermin.
When the leaves darken, stop watering and replace the top part of the soil with new one.
No flowering
An adult calla lily does not bloom in the following cases:
- choosing low-quality planting material;
- planting crops not according to the rules - without observing the norms for the depth of embedding the tuber in the substrate;
- incorrectly selected pot;
- lack of rest in winter;
- non-compliance with the dosage of nitrogen-containing drugs;
- lack of irrigation;
- sudden temperature changes.
A negative role in the lack of flowering is played by the lack of light and nutrients in the soil.Calla feels uncomfortable with frequent transplants, changing the location of the pot, as well as with being in the same container for a long time without changing the soil.
Budding is promoted by potassium and phosphorus fertilizing, treatment with Zircon, and removal of dried parts of the plant.
Are the leaves turning yellow and drying out?
The yellowing of calla lily leaves is explained by natural causes (aging of the plant) and non-compliance with care recommendations. The leaves of the crop live for six months, then gradually die off. If the wilting process begins at the lower leaf blades or in the fall before the dormant period, there is no reason to worry.
The main factors for yellowing of leaves:
- drying out of the soil or stagnation of water in the pot;
- air temperature below 18 or above 27 °C;
- tight container;
- lack of disease prevention and pest protection;
- drafts;
- burn from direct sunlight.
If, after normalizing watering, in the absence of insects and signs of disease, the leaves continue to wither, remove the plant from the soil and check for rot. Damaged parts of the root are removed, but there is no need to tear off the leaves. The greens should die off on their own.
Next, the culture is placed in a container of water with a dissolved activated carbon tablet and kept until new shoots appear. When the dormant period begins, put it in a cool place. Plant the crop in a smaller pot with a new substrate.

