Growing microgreens at home is a great way to add fresh, healthy plants to your diet that you can grow year-round. Microgreens are young plant sprouts that contain large amounts of vitamins, minerals and other beneficial substances. This is a nutritious additive that can be used in cooking, including to decorate dishes and give them a new taste.
What it is
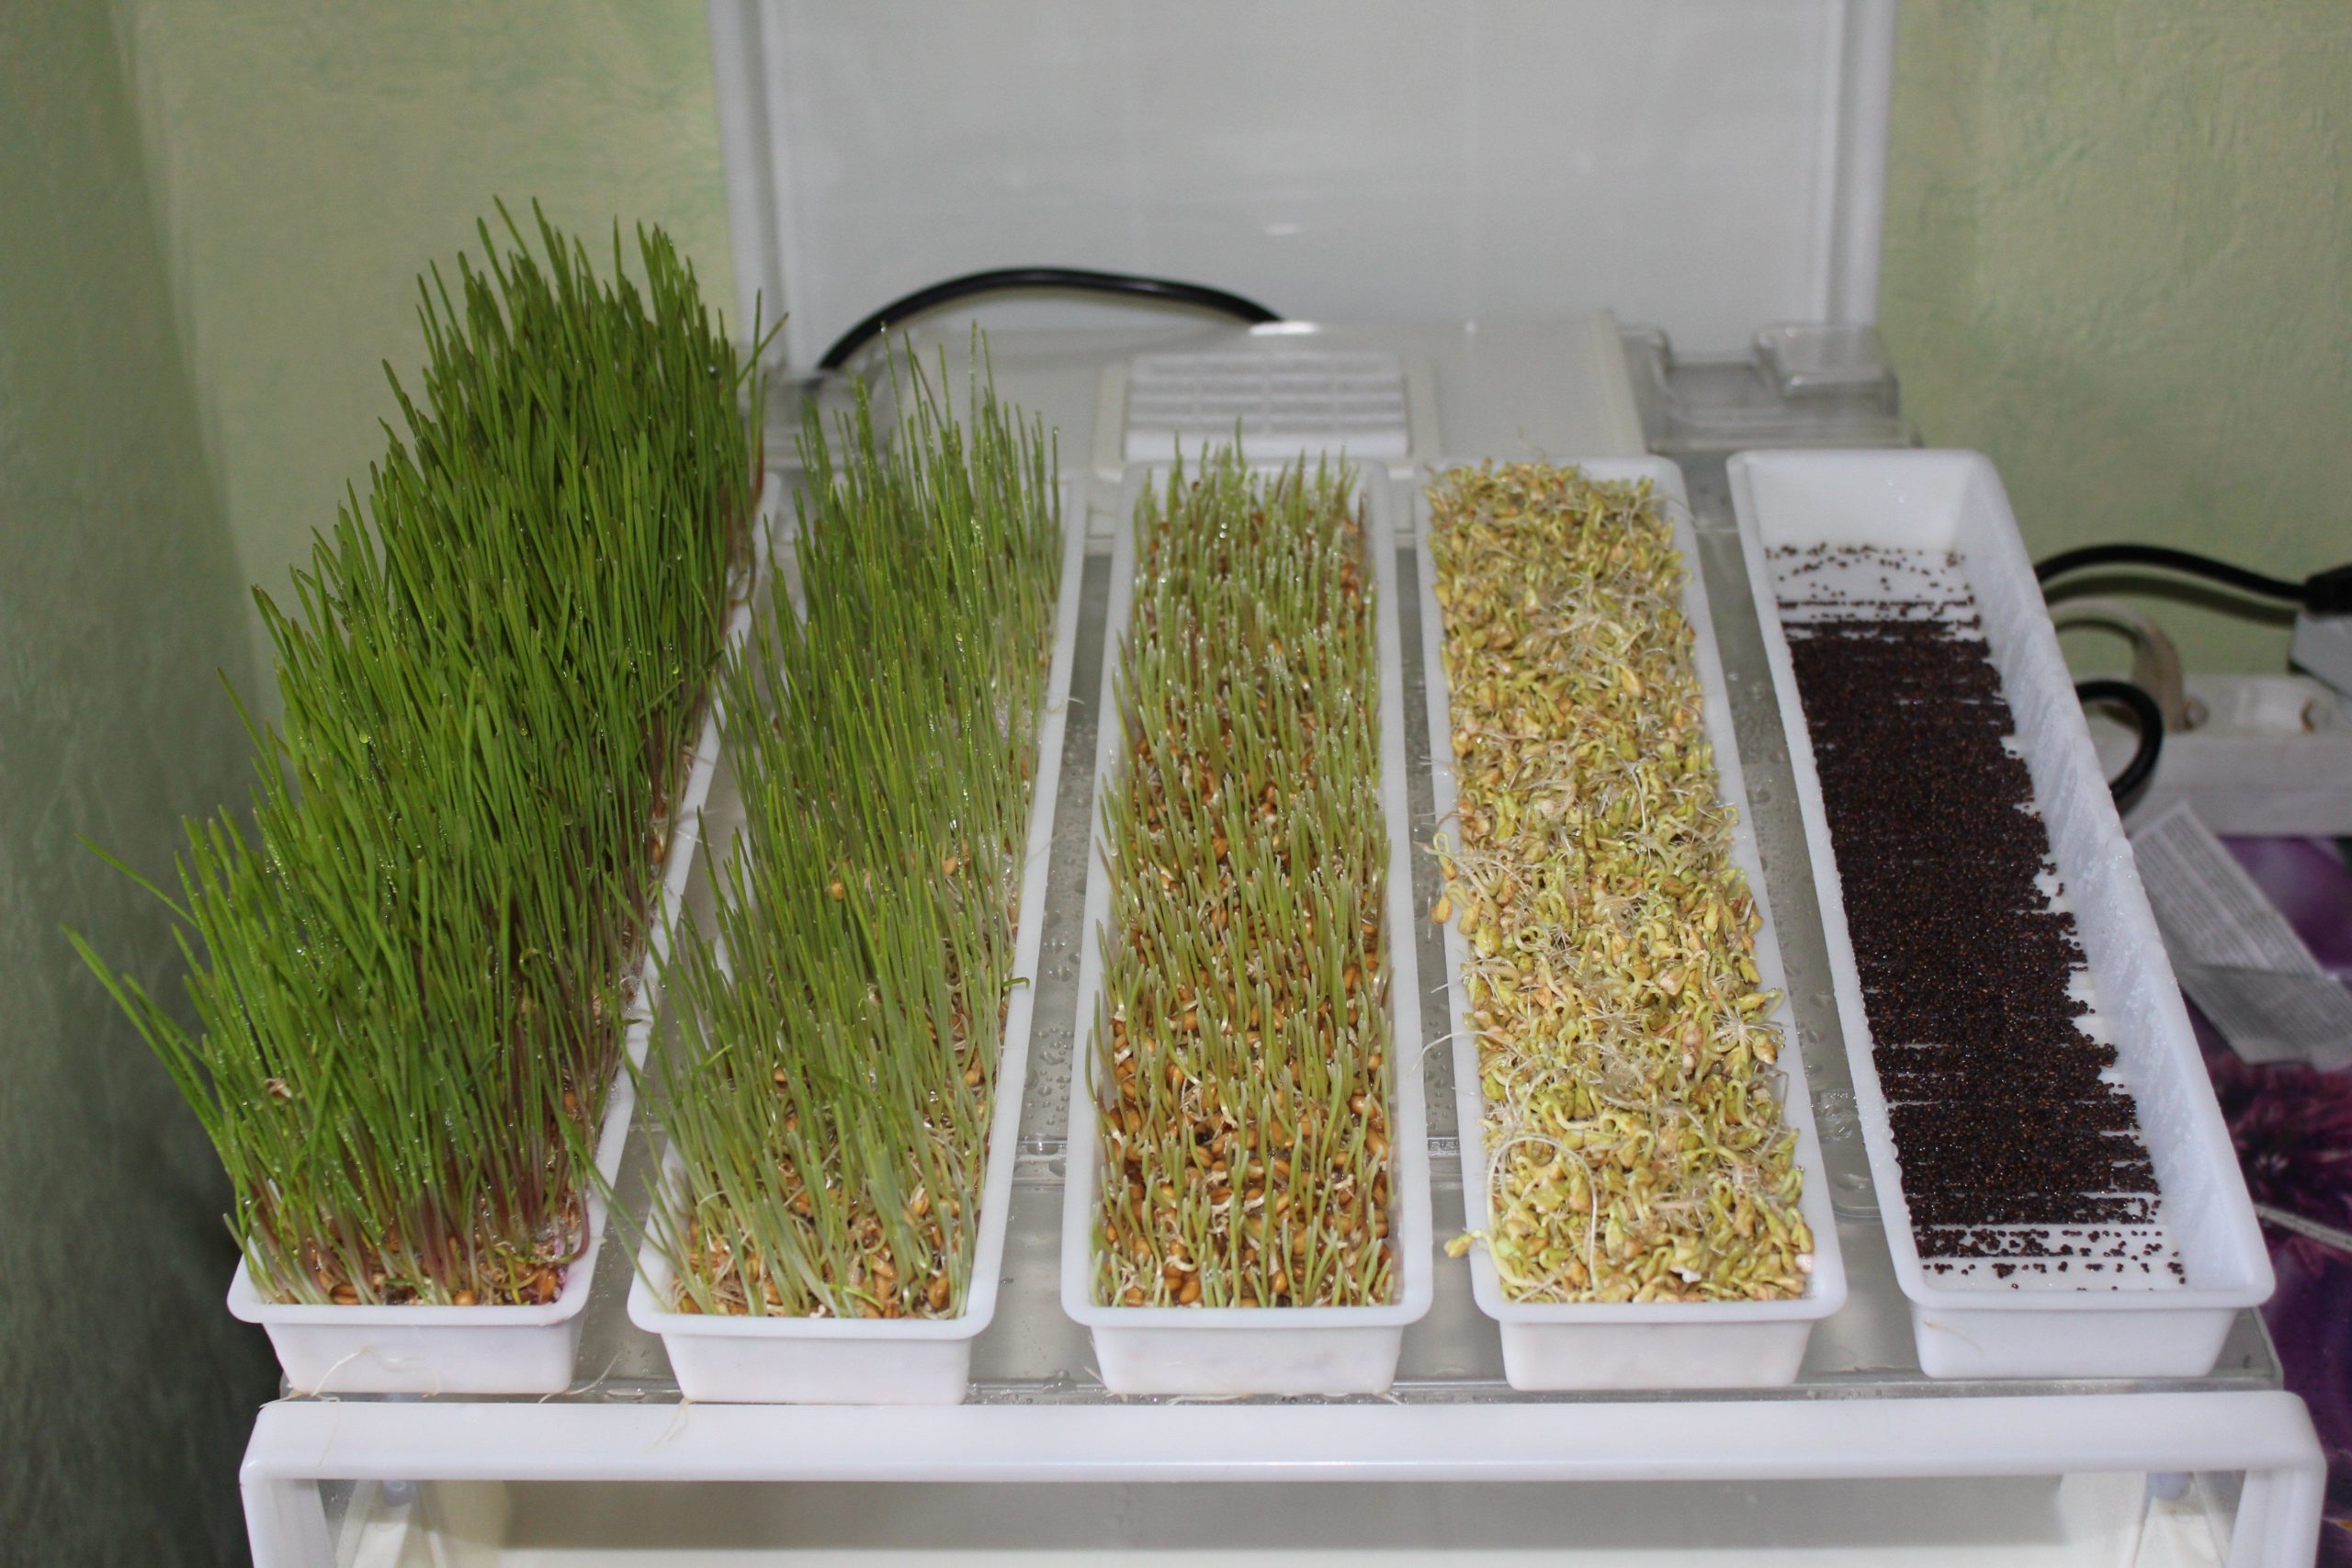
Microgreens are young sprouts of various crops, the age of which does not exceed two weeks, and they can grow up to 10 centimeters in height.Within 5-10 days they reach their peak nutritional value and contain a lot of beneficial elements for human health.
Beneficial features
Microgreens contain large amounts of vitamins (C, A, K, B2, B6), minerals (calcium, iron, magnesium, potassium), folic acid, antioxidants and phytonutrients. Microgreens are also rich in enzymes that help improve digestion and absorption of nutrients. Regular consumption of microgreens helps improve immunity, strengthen bone health, lower blood cholesterol, maintain healthy microflora in the intestines and improve blood circulation.
How to choose seeds
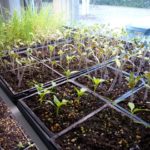
There are several suitable methods for growing microgreens:
- in the soil;
- in the bank;
- on paper sheets or napkins;
- on absorbent cotton wool or gauze.
Before you begin this venture, do not forget to purchase the necessary items: a container, seeds of the selected variety, filler and water. Features of growing a particular microgreen depend on the type of seeds used.
Crops that are best grown as microgreens:
- Radish is one of the most popular crops. It grows very quickly and can be harvested in just a few days. It is necessary to provide it with constant humidity and light so that the sprouts grow quickly.
- Mustard – grows quickly and has bright green leaves. It has a tangy taste that goes well with salads and sandwiches. It is grown both outdoors and indoors.
- Watercress is one of the easiest crops to grow. It has a mild and sweet taste and grows quickly. It is grown on cotton wool, paper or soil. It is important to provide it with light and keep it in a well-ventilated place.
- Wheat – contains a ton of nutrients including vitamins, minerals and antioxidants. It is necessary to provide it with constant humidity and sufficient access to light.
- Shallots are distinguished by their delicate and sweet taste. Needs more light and warmth. It can also be grown on the ground or in paper towels.
Also suitable: beets, arugula, oats, broccoli, rice and corn.
Maintaining a constant level of humidity in the container is very important for the successful growth of microgreens, otherwise the seeds and sprouts will not survive.
Selecting the right environment
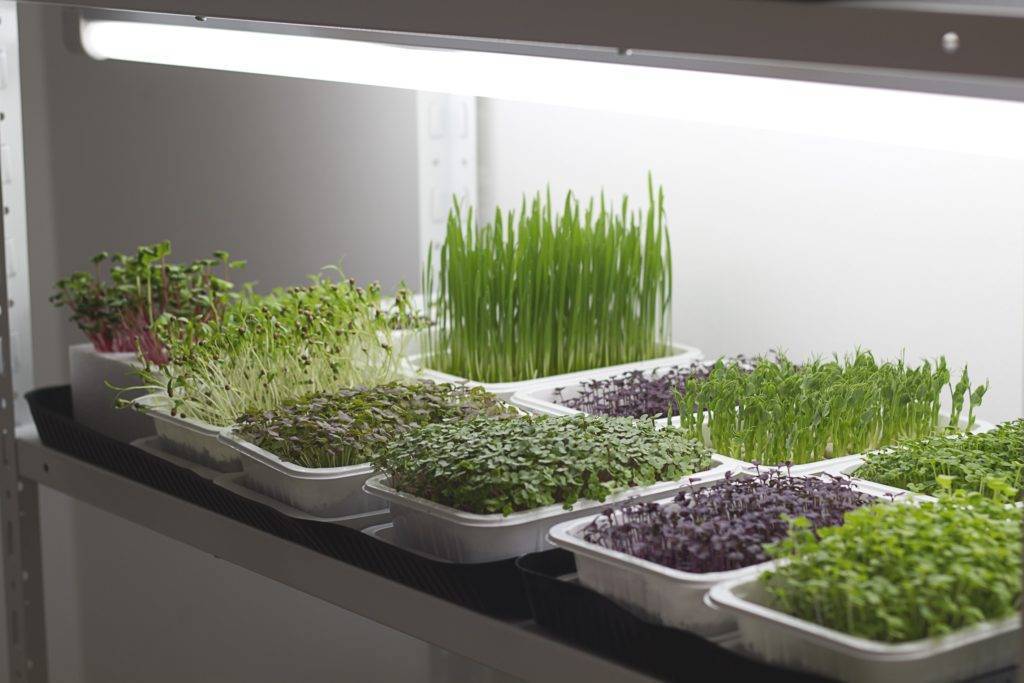
Microgreens ideally take root on southern windowsills and balconies, although they can also grow on the less sunny northern side. Using a phytolamp will help microgreens develop faster. It is also important to moisturize it with a spray bottle two or three times a day.
The ideal temperature for growing microgreens is between 18 and 24 degrees Celsius. It is advisable to keep it away from heaters, which can dry out the air, and places with strong drafts. Stores sell special mini-farms and trays for growing microgreens, but it is not necessary to purchase them; Any plastic containers with sides, fruit or vegetable boxes, disposable plates and glass jars will do.
Growing instructions
There are ways to grow microgreens at home that do not require soil. These methods are just as effective as traditional methods and will help you get this superfood in no time.
In a glass jar
For this process you will need a liter jar, three tablespoons of seeds and a lid with holes or some gauze.
- Place the seeds in a jar and fill them with water.
- Leave it overnight.
- In the morning, pour out the water and rinse until it runs clear.
- Then remove all the liquid from the jar and cover it with either a lid or cheesecloth, turning it upside down.
Place the jar in a warm place, rinsing the contents every morning until the sprouts reach 3-4 cm in height, after which they can be eaten.
In gauze
To complete this task, you will need a container or plastic liner and gauze.
- Start by placing several layers of cheesecloth at the bottom of the container and then scattering the seeds on top.
- Be sure to wet them thoroughly, then cover with a thin layer of gauze.
On a jute rug
You will need a microgreen growing mat, such as jute, coconut or flax, and a plastic container.
To begin the process, cut the mat to fit inside the container and fill it with water. Scatter the selected seeds over a moistened surface, and then cover the top with film or other mat to retain moisture.
Nuances of cultivation
Growing microgreens is a simple activity that even beginning gardeners can do. However, even experienced gardeners can run into problems.
- Any sprouts that have started to develop mold or mildew will have to be discarded. To prevent this, use clean containers and, once the sprouts have sprouted, keep them in a lighted area with adequate air flow, while avoiding overwatering.
- If the microgreens are not the same height, it most likely means that one side is not receiving enough balance of light and shade. If so, turn the other side towards the light source.
- The germination process usually takes two to three days, but if it takes longer, you should increase the soil moisture level or soak the seeds for 8-12 hours before planting.
- Yellow leaves can be a sign of either insufficient water or insufficient light. Make sure to keep the soil sufficiently moist without flooding it, and keep containers under light.
- If the tray with seedlings is in the shade during germination, the leaves may become discolored, but when exposed to sunlight they will return to their natural green color.
Growers harvest microgreens at different times, depending on plant type, growth rate and personal taste. Typically within a week to two weeks the microgreens will be about 5cm tall with new leaves.
To keep plants producing more greens, it is best to cut them at the stem without disturbing the roots. Additionally, planting fresh seeds every ten days will help ensure a continuous harvest.
It is recommended to harvest the greens just before you plan to eat them, as they are very fragile and will not stay fresh for long. If storage is required, it is best to use glass containers.
Microgreens are great for adding flavor to salads, soups, smoothies, sandwiches, and any hot or cold meat or vegetable dish.