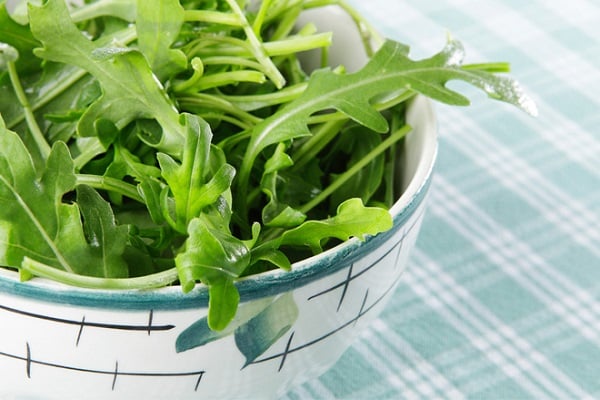
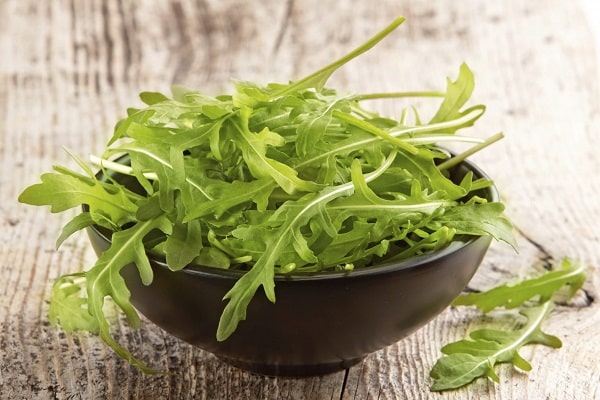
Arugula is a natural doctor that can protect against problems with the thyroid or prostate gland, normalize the hemoglobin level in the human body and relieve swelling. This plant has a spicy nutty-mustard smell and can turn a simple salad or soup into a delicious dish. If you want to enjoy fresh leaves, then you can learn how to grow arugula at home on your windowsill.
- Features of growing arugula at home
- Selection of planting material
- Conditions for growth
- Lighting
- Temperature
- Capacity
- Growing arugula on a windowsill
- Sowing period
- Soil preparation
- Agricultural technology for sowing seeds
- Rules of care
- Watering
- Top dressing
- Thinning
- Protection from diseases and pests
- Harvest and storage
Features of growing arugula at home
Before you grow arugula at home, it is worth finding out its characteristics and understanding some of the nuances. This is the only way to get the desired result without wasting time and effort.
Great advantage growing arugula is that at home it is quite simple, since the plant is not considered capricious and gives a good harvest in a variety of containers: from flower pots to wooden boxes.
When growing greens at home, you should consider the following features:
- it is necessary to give preference to neutral or slightly alkaline soil;
- The soil must be disinfected. To do this, you can keep it in the oven for half an hour;
- The bottom of the container where the seeds are planned to be planted is covered with drainage. Pebbles, broken bricks or expanded clay can be used as drainage;
- The plant needs light. For this reason, the container with seeds should be placed on the windowsill on the south side. If there is little light in the apartment, you can use ordinary daylight lamps;
- Direct rays of the sun should not fall on the arugula, for which purpose it is worth making some kind of screen around the container, which can be easily constructed from ordinary sheets of white paper. Such a screen can be not only around the pot, but also cover the upper part of the window.
The success of the business depends on how correctly each stage is organized, namely: choosing seeds, sowing and caring for sprouts. Only if these requirements are met can you ultimately enjoy a delicious product. By the way, if you break one or another rule, the beneficial properties of arugula will deteriorate.
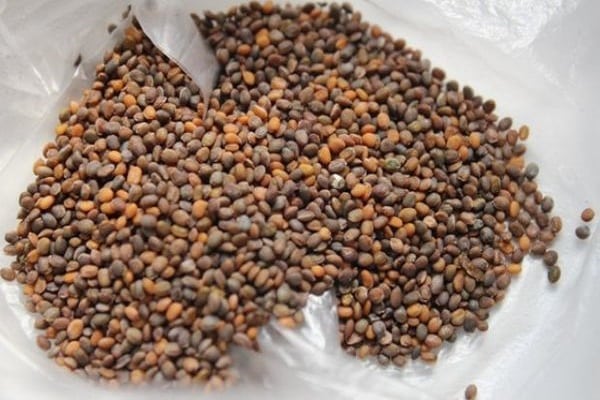
Selection of planting material
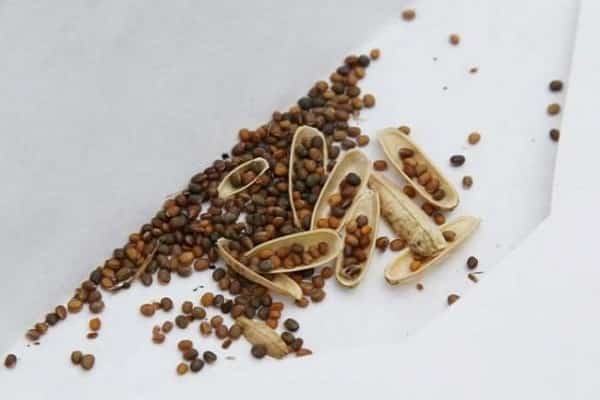
Arugula can be found in any store for summer residents.Before packaging, all seeds are processed, therefore, after purchase, they do not need to be disinfected or treated. However, there are some features that are worth paying attention to. So, the grown plant may not end up being arugula. A similar name is found in two more plants from the sacral family.
That is why it is worth focusing on varieties such as Koltivata, Poker or Rococo. These plants, with proper planting and care, can produce fresh greens after 25 days.
Conditions for growth
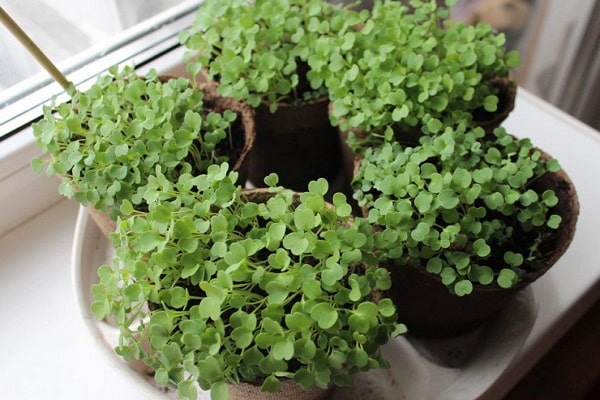
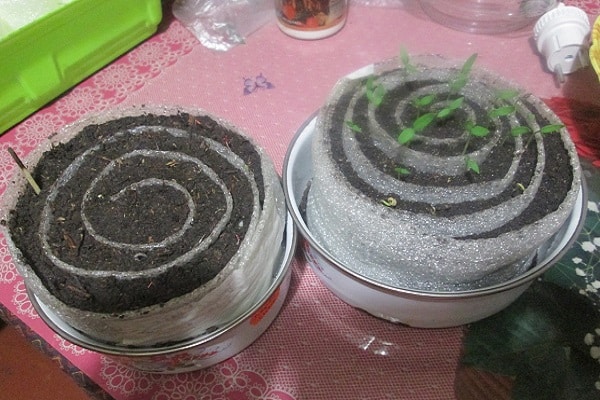
After the arugula seeds are planted, the container should be placed immediately on the windowsill, preferably near the heating radiator. If the seeds are additionally covered with something, they should be ventilated periodically. The soil should be moistened more often, but do it delicately, preferably with a spray bottle.
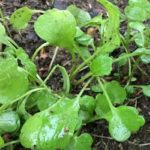
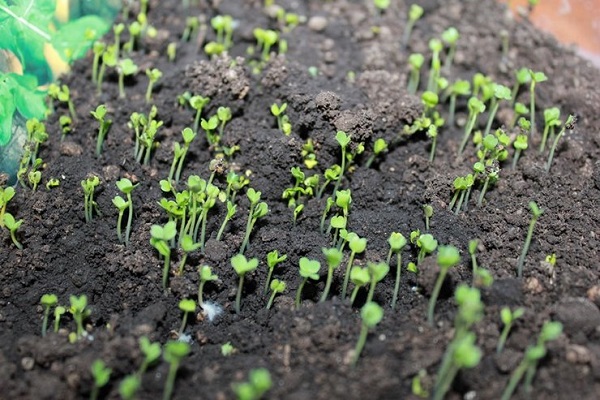
If all conditions are met thoroughly, the first shoots can be seen 5-7 days after planting. In such a case, there is no need to protect and shelter them, and a permanent place is assigned to the box. Arugula does not need feeding with chemical substrates. If the soil is chosen correctly, the plant will take everything it needs from it.
Lighting
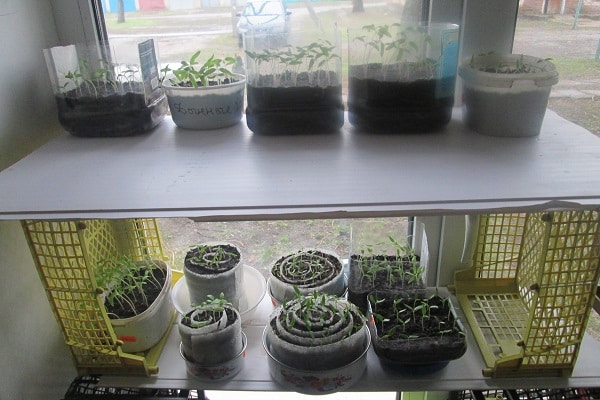
If we talk about lighting, the planted arugula should receive a sufficient amount of light. If the plant is standing on a window or on a balcony that is not on the sunny side, it will not have enough light. In such a case, you should worry about providing it with artificial lighting.
Typically, daylight lamps are placed 50 centimeters above the soil or seedlings. On cloudy days, a plant located even on the south side still needs additional light.However, the main thing is not to overdo it, as too much light can cause the plant to grow tall and too thin.
Temperature
Sprouts need to be protected from drafts, which, however, pose a danger to any plant, but arugula is the most sensitive and delicate. Do not open a window or window where the container with the planted seeds is located. As for the temperature regime, it is necessary to ensure that the air in the room does not drop below +17 degrees, even in winter.
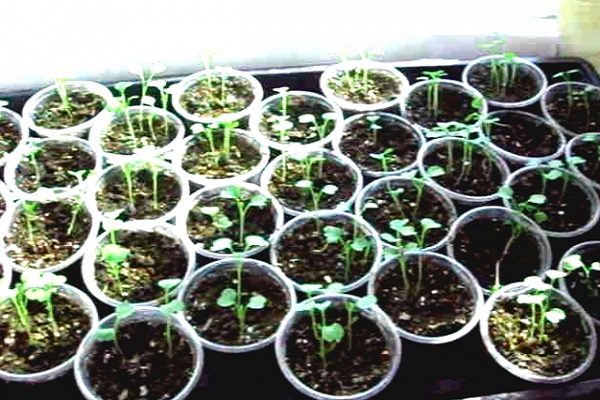
Capacity
If we talk about the container where arugula will be grown, then there are a lot of options, since the plant is unpretentious and does not need any special refinements. So, suitable for these purposes: a wooden box, a flower pot, a plastic container.
Some gardeners or gardeners manage to make containers for planting from incredible things, for example, from milk cartons. Any container must have sides whose height is at least 12 centimeters. It is imperative to make holes at the bottom of the container so that, if necessary, moisture leaves and air flows to the roots.
It is better to place the container on a stand or tray so as not to damage or stain the window sill. It would be ideal if you choose boxes that are the same length as the surface on which they will stand.
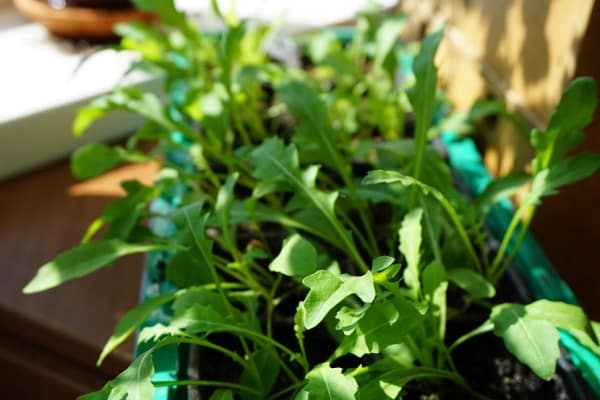
Growing arugula on a windowsill
Arugula, as mentioned earlier, is an unpretentious plant, so its planting looks like this:
- prepare the soil;
- scatter the soil into containers;
- moisten the soil;
- we place arugula seeds in the soil (it is advisable that there is a distance of 3-4 centimeters between the seeds);
- Cover the seeds with a layer of soil about 1 centimeter on top;
- moisten the soil;
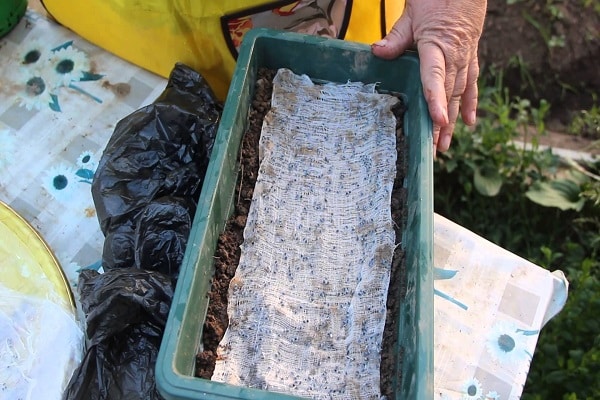
- Cover the container with the planted plant with plastic wrap or glass until sprouts appear.
Sowing period
Experienced gardeners and gardeners say that the best time for planting is March, when there are many more sunny days.
Soil preparation
Summer residents are advised to purchase soil exclusively in special stores. It is advisable to pay attention to the soil that is intended for growing seedlings, since this particular species is rich in phosphorus and those elements that make arugula strong, and as a result, a person will have an excellent harvest.
Nevertheless, simple black soil, which can be taken from a garden bed where pumpkin or any legumes were previously grown, is quite suitable for these purposes. Arugula is suitable for slightly alkaline or neutral soil, but in soil where peat is present, it will simply die.
Those who have the desire and opportunity can prepare the soil at home. To do this, you will need sand, turf soil and humus, which must be mixed in almost equal quantities (a little less sand will be needed). The result should be crumbly and loose soil.
Agricultural technology for sowing seeds
Some people are sure that they can simply plant the seeds and wait for them to produce the expected healthy and tasty plant. In reality, everything is different. The success of growing arugula at home depends on how correctly each stage is organized.
So, as mentioned earlier, selection of seeds, sowing, care - all this must be done strictly based on the instructions. You can get a fresh plant full of vitamins by strictly adhering to certain rules, which you can learn about in detail below.
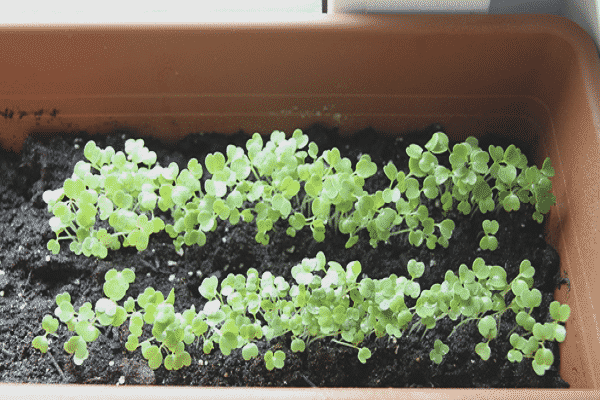
Rules of care
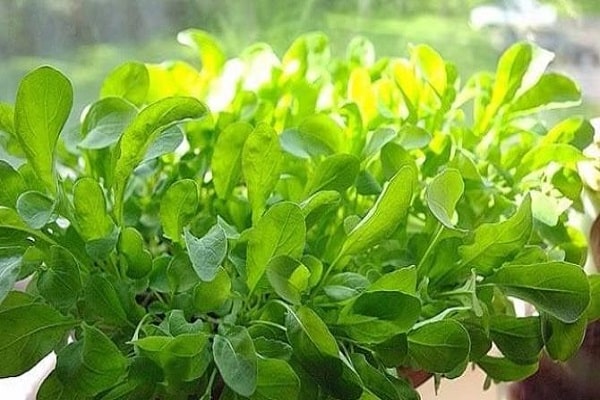
If you decide to grow arugula at home, you need to know a few basic care rules. So, you should make sure that the plant does not stretch too much. The color of arugula should be rich. If one or another change in the color or length of the leaves is noticeable in the plant, this may indicate that the light regime is disturbed. Most likely, the plant needs more light, which can be easily solved with additional artificial lighting.
Particular attention should be paid to light if cultivation occurs in winter.
Watering
You need to water the plant with enough water. It is better to do this with a sprayer so that in the end the sprouts will not be flooded. Watering is carried out daily.
Top dressing
When caring for a plant such as arugula, you need to know that it has the ability to quickly absorb all substances that can enter the soil with water. Therefore, experts do not recommend using any fertilizer.
If you use a solution of chicken manure or certain chemical fertilizers, all of which pose a danger to human health, this is guaranteed to go directly into the plant. Moreover, there is one more feature - such feeding destroys all the beneficial properties of arugula, and all the work on growing a useful product will go down the drain.
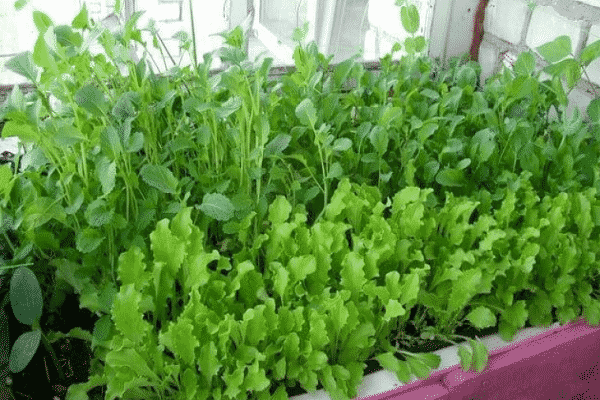
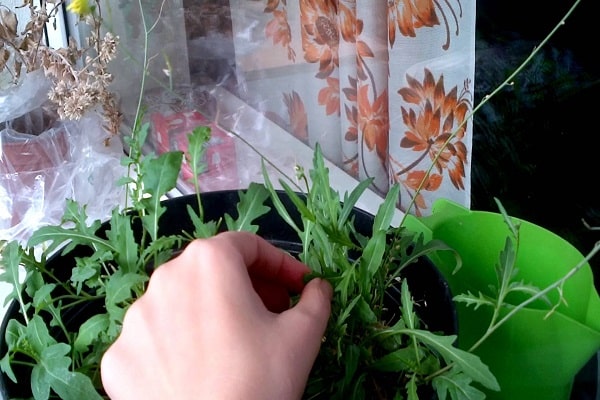
Thinning
As for thinning, sprouts that are already 8 to 10 days old can be thinned out. Thus, basically, plants that have withered or are weak in themselves are removed. By the way, the latter do not necessarily have to be thrown away; they can be safely added to the soup, having first removed the roots.
Protection from diseases and pests
If arugula is grown on a windowsill at home, there should be no problems with pests. The fact is that, basically, the plant grows in such conditions, since in the garden it is most often attacked by the so-called cruciferous flea beetle, which destroys the crop in a matter of time.
Harvest and storage
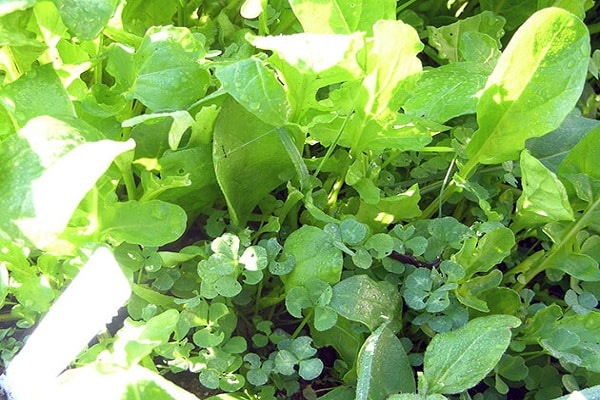
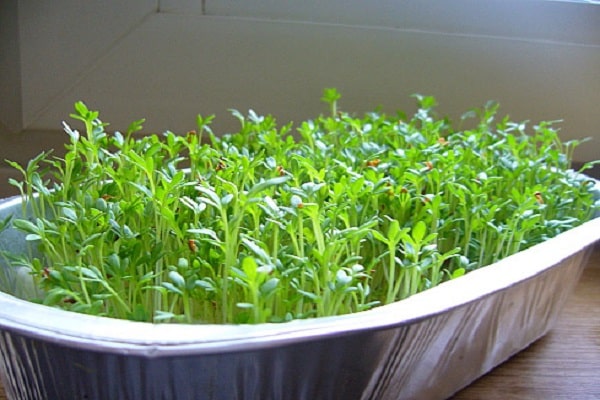
So, if you follow all the stages of growing arugula at home, the first results can be obtained already 1 month after planting the seeds. The leaves of the plant can be safely collected as soon as they reach 10 centimeters in height.
It is better to cut off ripe arugula immediately before eating. If you act carefully, you can eat fresh greens for more than a month. The maximum vitamins and nutrients can be obtained from fresh produce.
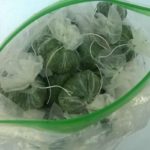
Some people prefer to prolong the pleasure - cutting off all the arugula, putting it shredded in a container, lightly sprinkled with salt and storing it in the refrigerator. By the way, the plant can be stored in this form for six months.
Some housewives argue that it is better to store arugula in dried form, but this should be done in compliance with the rules so that the plant does not lose its beneficial properties. So, only high-quality leaves need to be dried, and this should be done naturally in a warm, dark place for 6 days.