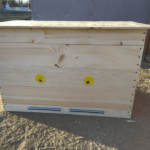
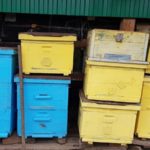
You can make some bee houses yourself. Wood is an expensive and heavy material, so beekeepers are trying to test other options. A hive made of plywood is popular among beekeepers. The structure is not so heavy, but it also has disadvantages. To make it yourself, you need to study the varieties, the set of necessary tools and materials.
Advantages and disadvantages of plywood hives
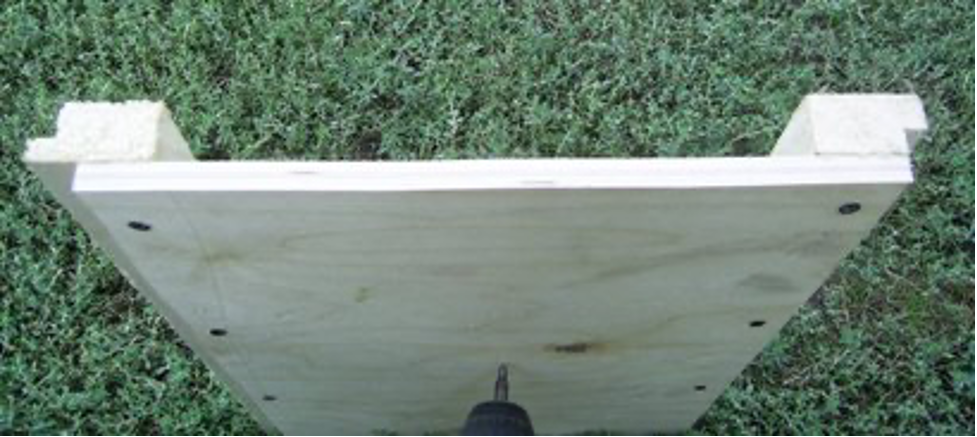
Beekeepers are increasingly paying attention to bee houses made from plywood boards.Foam layers are installed as insulation. The main advantage is increased air exchange inside the building. Other positive aspects:
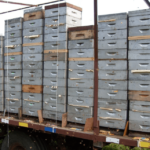
- small weight of the finished product. Attention! The weight of the structure matters when transporting and moving hives. Even if a change in the location of the apiary is not planned, it is important to consider the transfer for wintering or for collecting honey;
- formation of the required temperature level;
- the permissible humidity level inside is not exceeded;
- the structure is strong thanks to the insulation;
- the product is inexpensive and easy to assemble;
- You can assemble different structures from plywood boards - sunbeds, multi-hull bee houses, double-walled and others.
The disadvantage is considered significant only for regions with cold climates. Plywood walls are thin; an additional layer of insulation is required. The buildings are light, but quite strong.
Learn more about the advantages and disadvantages of plywood buildings in the video.
Varieties
Beehives from plywood parts can be assembled at home. The beekeeper can choose the design based on the needs of the selected breed of bees, the climate of the insect breeding region, the size of the swarm and some other features.
Sun lounger
This bee housing option is often recommended for beginners. Advantages and structural features of this hive:
- horizontal version of the hive with a convertible top;
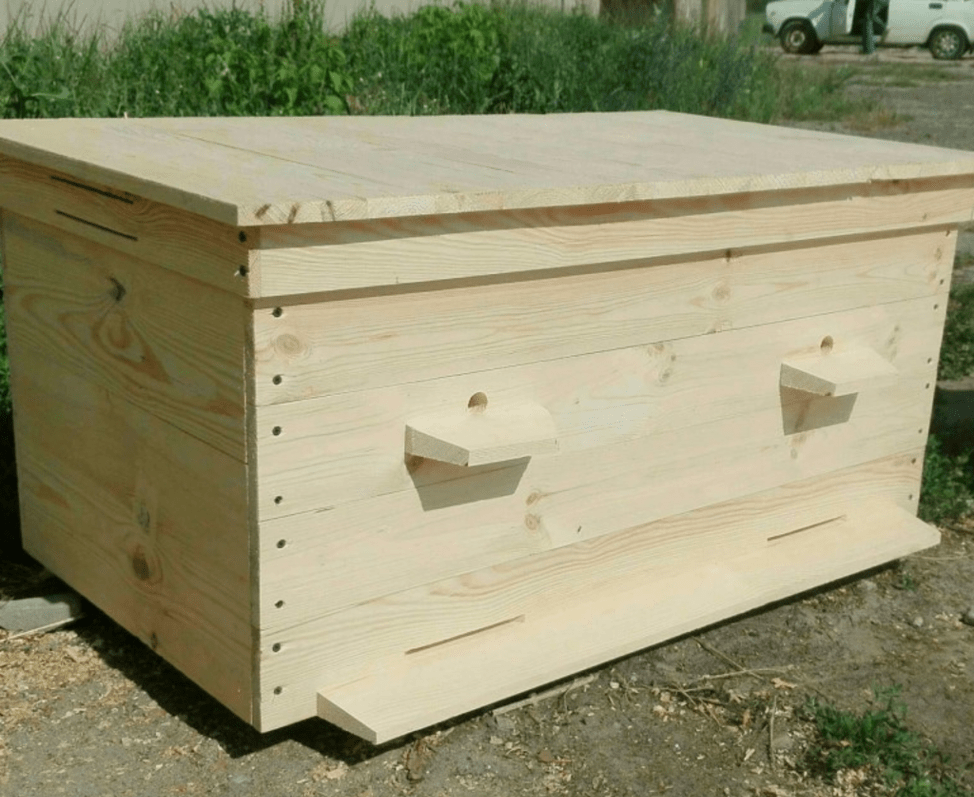
- there are no bulky parts that need to be removed or moved aside to perform work with the bee family - access to each of the filled compartments is open;
- The hive is easy to clean and collect food;
- It is allowed to set a different number of frames (for example, 16, 20 or 24).
Attention! In some cases, bed hives can accommodate up to 32 frames with dimensions of 43 cm by 45 cm.Such buildings include the “Vladimir” version of the sun lounger. Novice beekeepers with a small swarm of bees do not need such sizes.
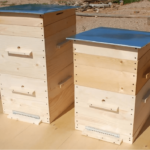
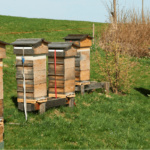
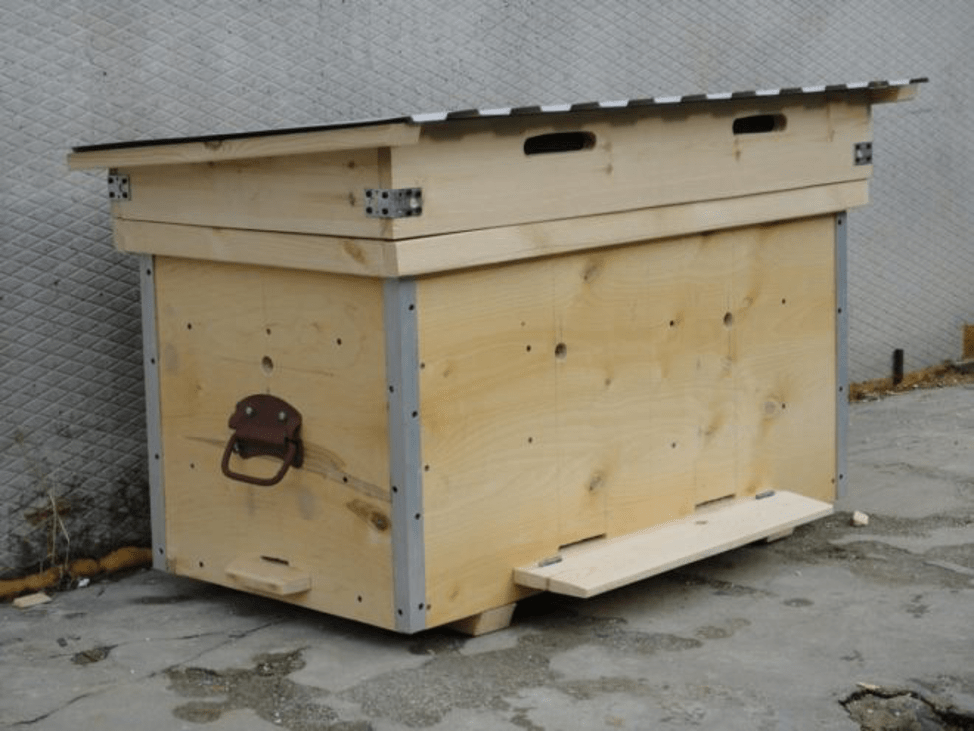
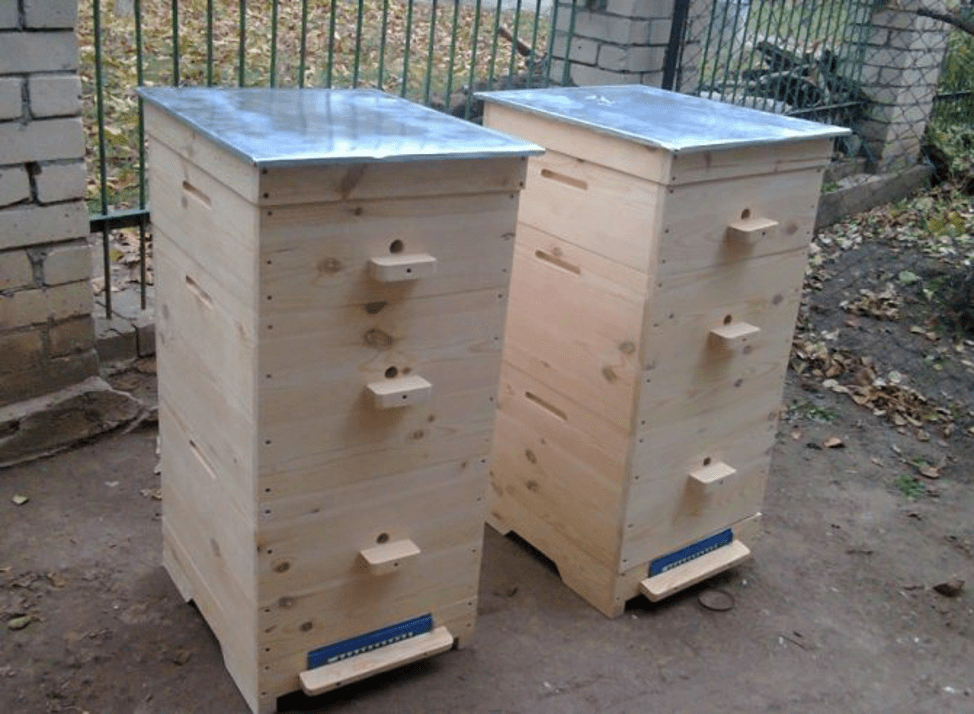
Double-walled hive – Dadana
Dadanov’s designs are used in apiaries more often than others. The features of such bee houses are as follows:
- suitable for regions where there is a sharp drop in temperature in spring and autumn;
- these options are complemented by a separate wall made of plywood, the space inside is filled with foam plastic;
- if it is possible to move the house during operation, it is necessary to provide additional handles on the side walls of the building in advance, while the size of the building should remain small.
The outer wall can be made of a different material. It is important that the outer skin is thicker than the plywood sheet.
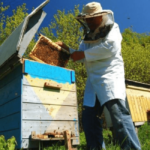
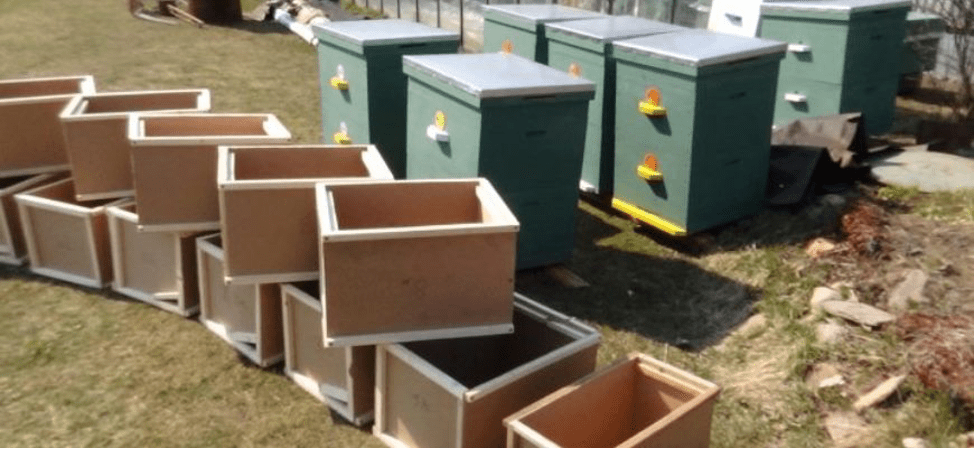
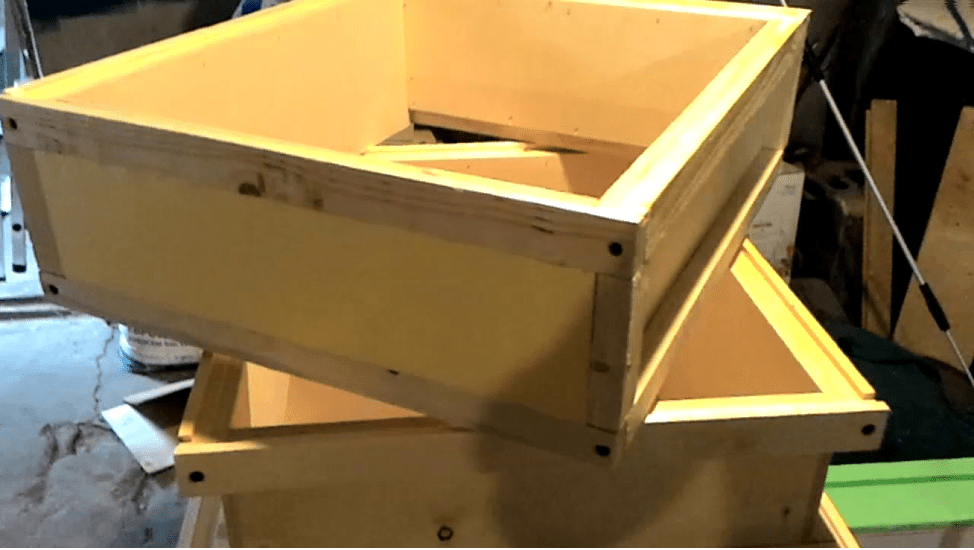
Multihull
Houses consisting of several buildings are classified as vertical type buildings. Features of the structure:
- each contains a small number of frames (usually 8-12 pieces are installed);
- two or three sections are placed on top of each other, sometimes more, depending on the size of the bee swarm;
- housings can be swapped if necessary;
- Several options are available for combining elements in a multi-body design.
The hives are mobile - they can be moved from place to place. For example, depending on the flowering period of trees or plants.
Required tools and materials
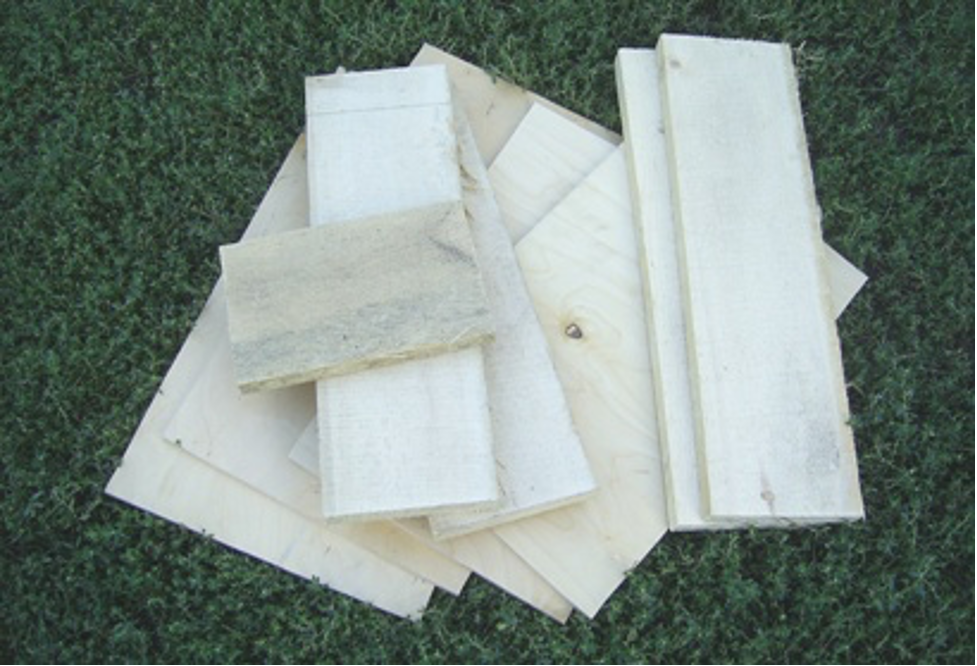
In order to assemble a plywood hive at home, you do not need to purchase expensive materials and equipment. The beekeeper will need the following:
- plywood sheets;
- polystyrene foam in blocks (remains of material from packaging boxes are often used);
- PVA glue (the composition should retain moisture well);
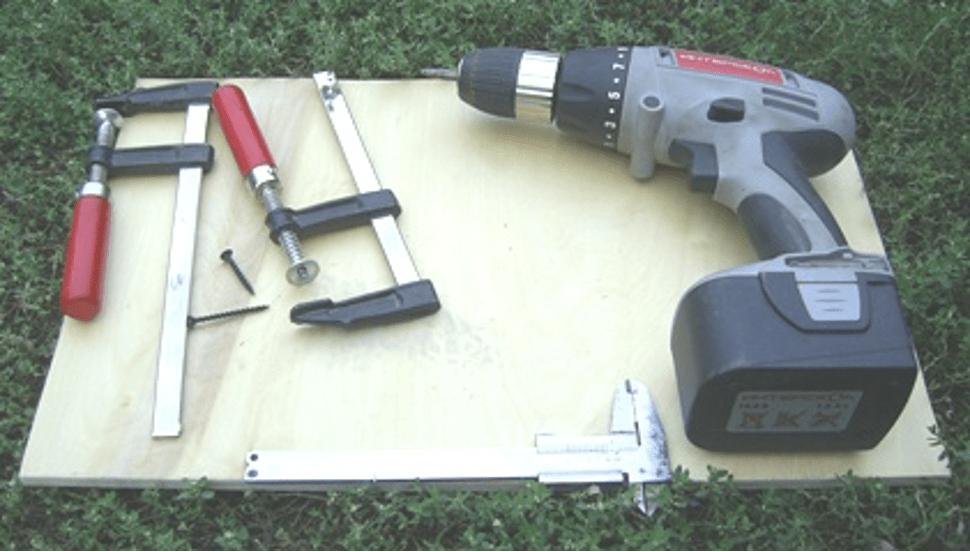
- wood blocks;
- screwdriver, with screws intended for wood (3.2 cm, 4.5 cm);
- nails, screws, saw, ruler, pencil and other similar auxiliary tools.
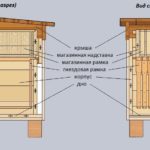
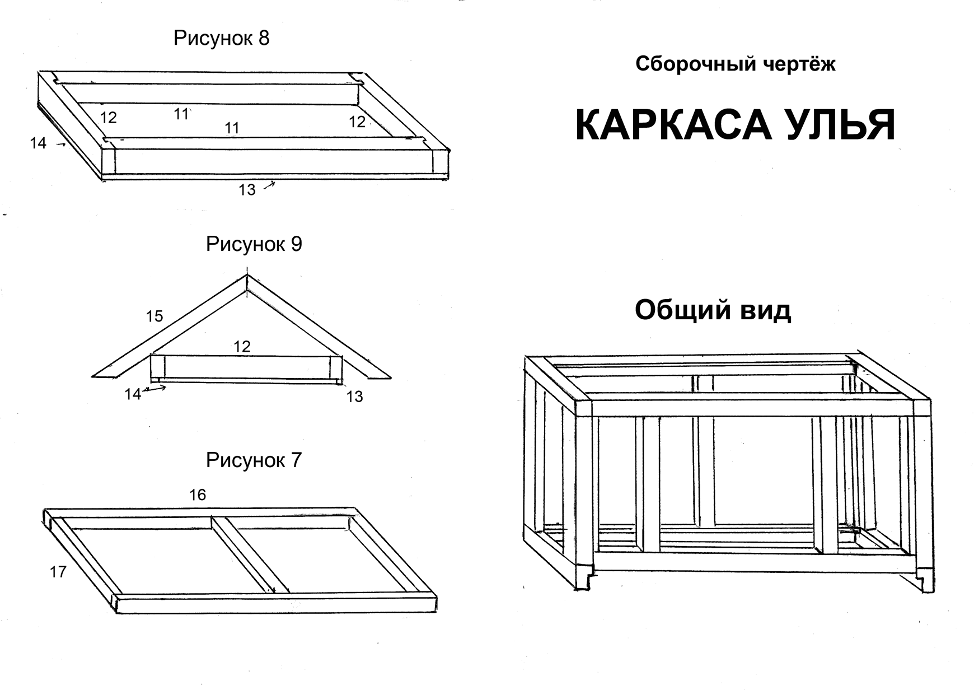
Blueprints
Drawings that are publicly available are suitable for assembly. Dimensions are arranged on sheets of plywood in accordance with the chosen design of the bee house. When choosing parameters, it is important to consider that most drawings use the thickness of the wood boards, so it is worth checking the calculations and adjusting them to the characteristics of the plywood sheets.
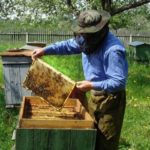
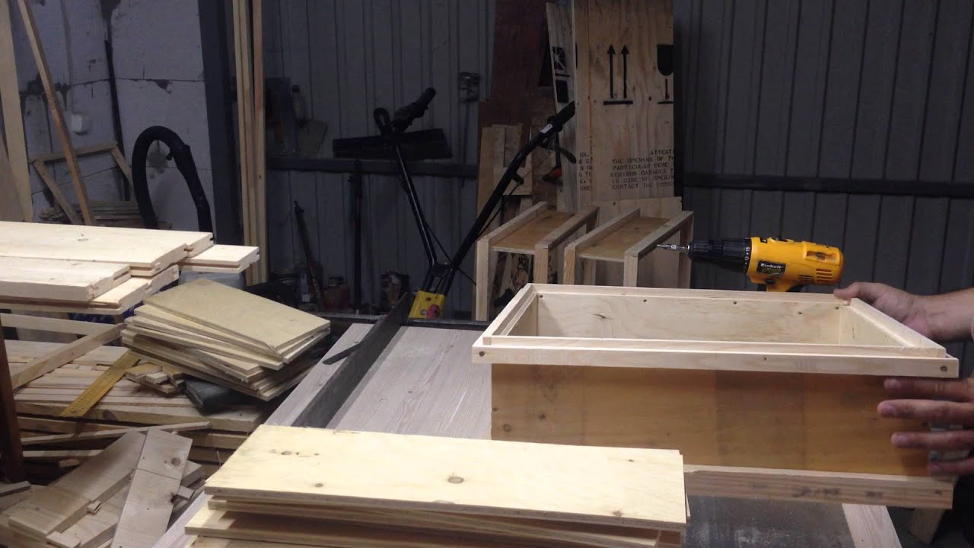
DIY process
To make 4 sections for a multi-body hive with your own hands, you need to prepare a plywood sheet (1 cm thick, size 120 cm by 120 cm), a board (length - 6 m, 2.5 cm by 15 cm). An inexperienced beekeeper should start with a simplified version of the design. The assembly procedure for this option is:
- draw out the outlines of the parts on the plywood sheets according to the dimensions shown in the figure;
- cut the elements (with a jigsaw or saw, other suitable or more familiar tool);
- First, boards and sheets are sawn, after which the parts are dissolved into three components. Attention! In some cases, a woodworking machine may be needed. The need depends on the type of plywood sheet chosen. Parts must be ground and processed - cracks, chips, and nicks are unacceptable. Irregularities can damage the legs and wings of insects;
- after manufacturing the elements, it is necessary to check the number of parts and the quality of the cut;
- start assembly in accordance with the selected drawings;
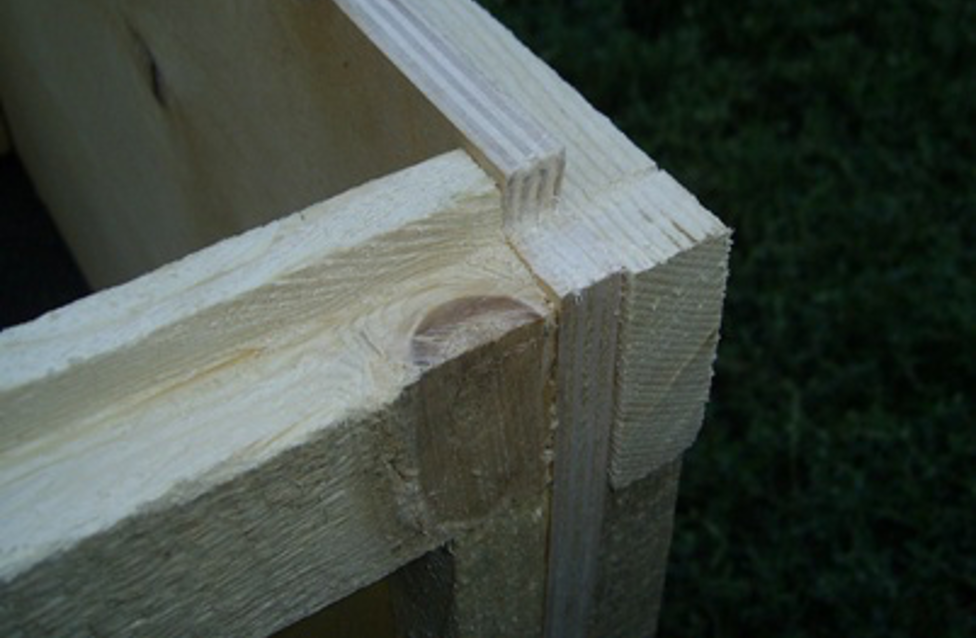
- the parts are combined so that there are no gaps (if small irregularities have formed, they can be sealed);
- after combining the elements, they are secured with screws (nails, if this option is more suitable - in accordance with the beekeeper’s skills);
- when assembling, check the shelves for the frames - the size must be at least 2 cm (no longer necessary to comply with the internal dimensions of the beehive);
- in order to ensure an even plane, clamps are used - thoroughness is decisive, there should be no bevels (for multi-body structures this is a matter of stability and survival of the bee family).
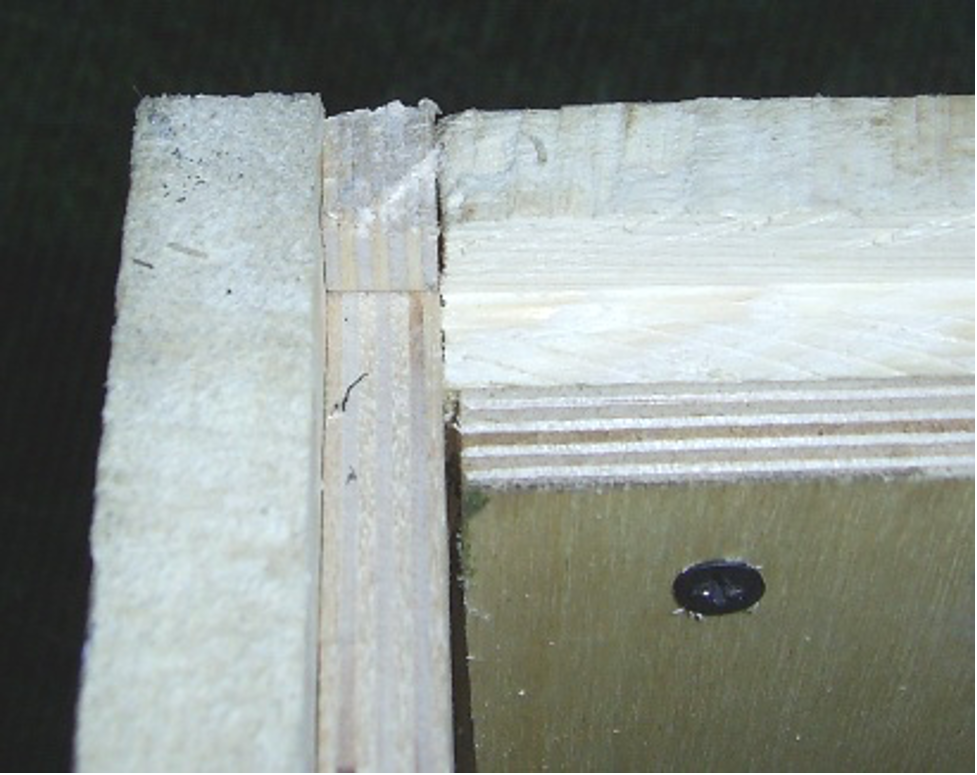
The sidewalls are assembled according to the same principle, then the remaining parts are adjusted. If protruding parts of nails or plywood walls are found inside, they need to be cut down or removed (with a thin file or jigsaw). The final stage is painting the outside of the hive. The paint further strengthens the structure.
The video shows how to assemble the housings.
Bee buildings made from plywood are lightweight and inexpensive (compared to wooden structures). From the sheets you can make different versions of bee houses - hives-loungers, the structure of the beekeeper Dadan (in Russia it is used more often than others), multi-hull ones. You can assemble the home yourself, taking into account the recommendations given.