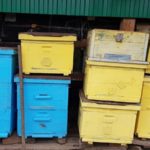
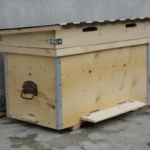
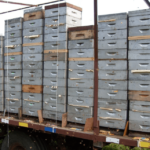
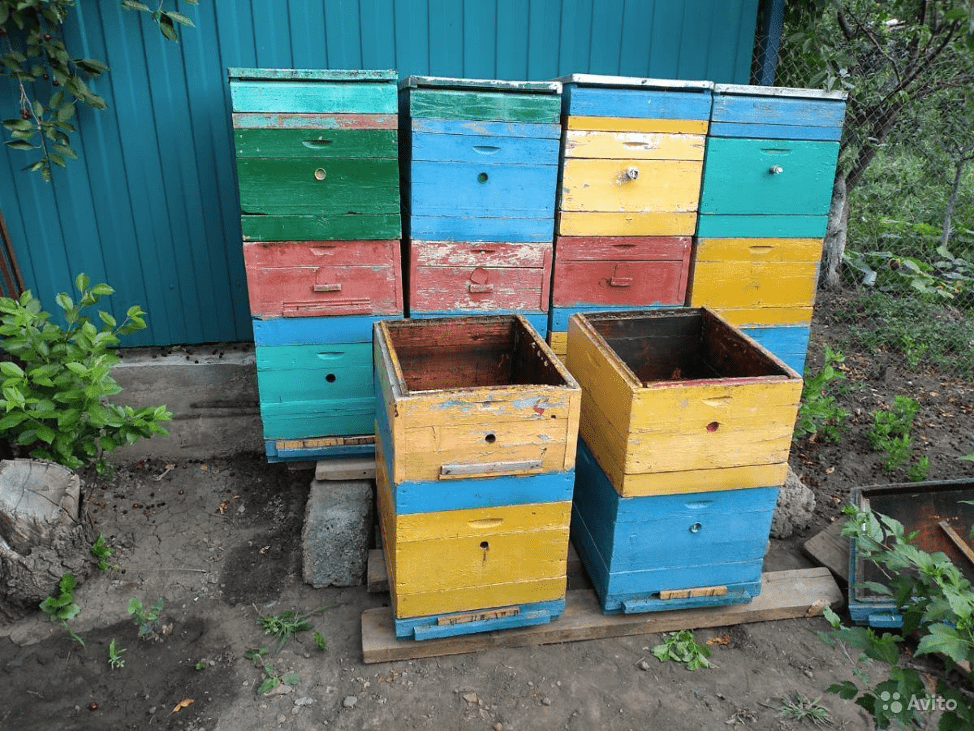
In order to correctly organize work in the apiary, the beekeeper needs to become familiar with the general parameters and possible sizes of bee hives - for example, you can consider the 10-frame Charles Dadant hive. This is a standard bee house format that is often used by beekeepers - beginners and those with many years of experience. There are features that you need to know to successfully breed insects.
What does it represent?
Charles Dadant was an entrepreneur and beekeeper who lived in the 19th century. The design combined the knowledge and capabilities of that period.The scientist made some calculations and came to the conclusion that a standard bee colony needs 10 frames to fully fill the hive with honey.
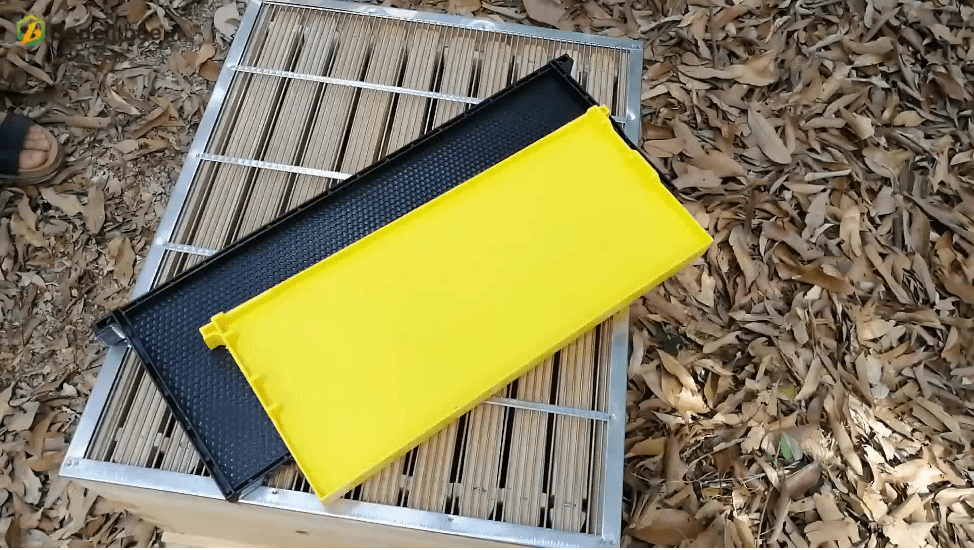
Attention! The guard board is a mandatory structural element that provides separation of the frames and access to the collected honey. If food supplies are not removed, bee families will stop laying eggs and the number of individuals will begin to decline.
Advantages and disadvantages
This type of hive has positive and negative sides. The advantages of using Dadanov hives include the following points:
- the final design depends on the size of the family living in it;
- you can assemble bee houses yourself;
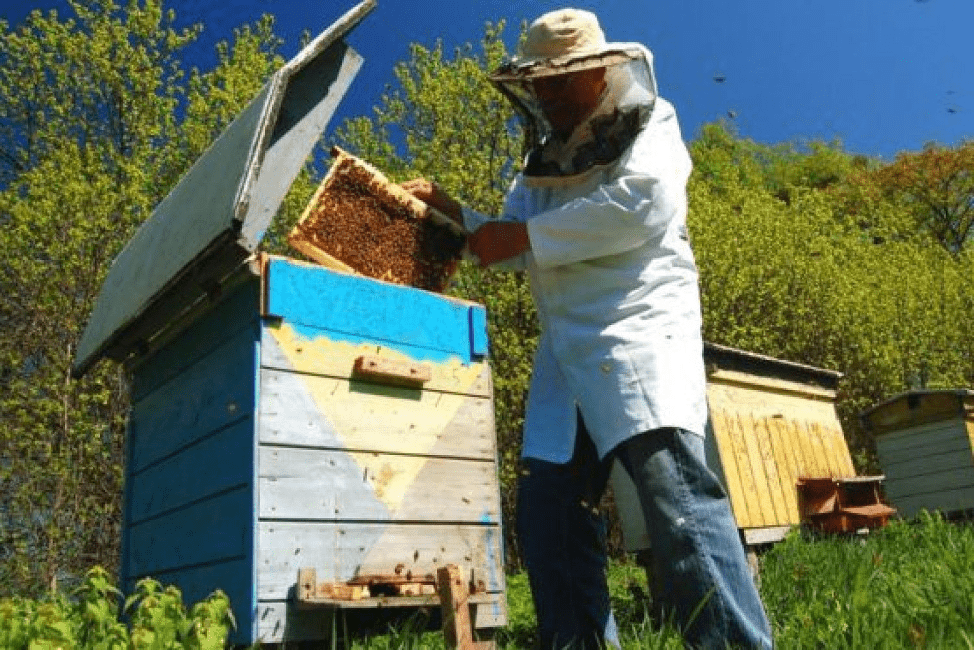
- the size of the hive allows you to inspect the bees at any time, which also makes it easier to collect honey;
- the increased width of the internal elements prevents the onset of insect swarming;
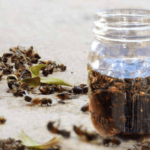
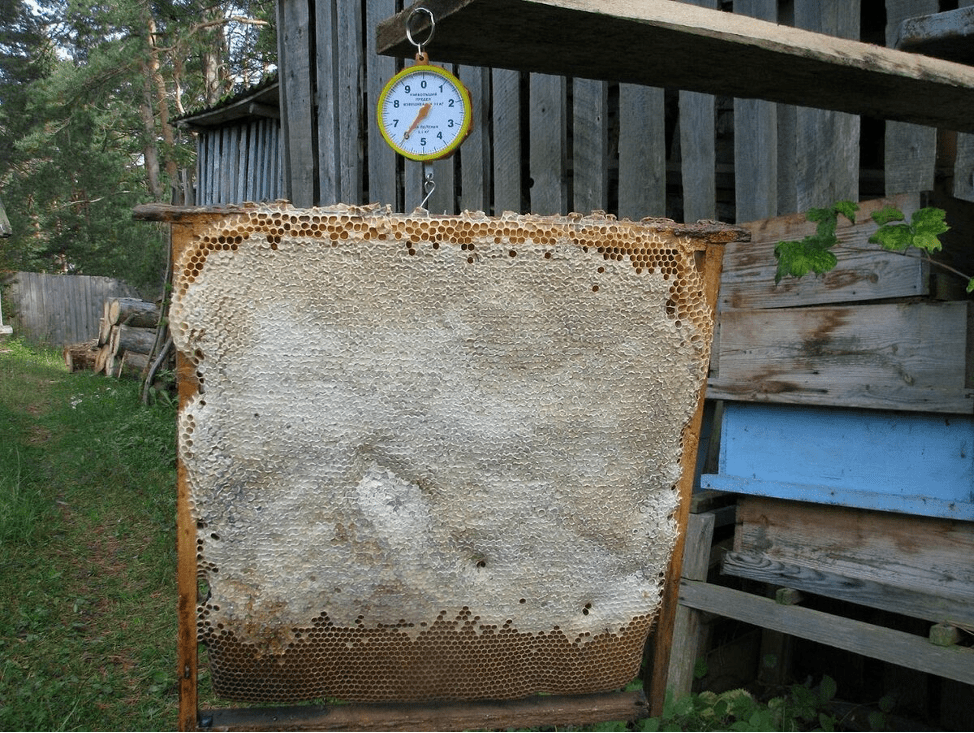
- suitable parameters allow you to increase honey collection - up to 50 kg from one bee house.
In addition, this design allows you to protect the home of insects from winds, drafts, and moisture. The disadvantages include:
- if you use the minimum dimensions of 10-frame houses, the amount of honey collected may be reduced (in this case, you often have to build a separate building);
- in turn, additional elements lead to a heavier structure, which complicates the transportation and unloading of bee dwellings;
- Some beekeepers believe that the frames in such buildings are not large enough, and this makes it difficult to collect the finished product.
Despite the presence of negative aspects, buildings designed by Charles Dadan have been in demand among beekeepers since the 19th century.
Required tools and materials
To make a hive at home, you need to prepare the following materials:
- wood (boards 3 to 4 cm thick, aspen, cedar, linden). Attention! To build bee houses, natural wood is used without additional chemical impregnations. In wooden buildings, insects sense wildlife, and foreign odors weaken the bees;
- tin sheets for the roof;
- hammer, nails;
- grinding machine, drill;
- paint and glue.
In some cases, you will need to use a woodworking machine. Non-toxic paints and glues are chosen to minimize exposure to chemicals to bees and food.
Preparation
To quickly assemble a home for insects, you need to prepare the parts of the hive. Preparation stages:
- you need to select suitable drawings to create a 10-frame structure;
- dry the boards (maximum humidity level - no more than 15%). Attention! To find out whether the boards have dried sufficiently, you can use special equipment or developed tables (the ratio of weight and amount of moisture in the wood is indicated as a percentage);
- the prepared wood is cut into bars of the required size and quantity;
- grind the elements, turn the parts (no nicks or curved sides should remain).
To facilitate assembly, small strips (2.5 by 1.2 cm) are installed on the inside. In winter, such details will help provide the house with additional warmth.
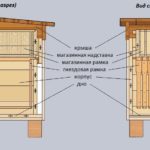
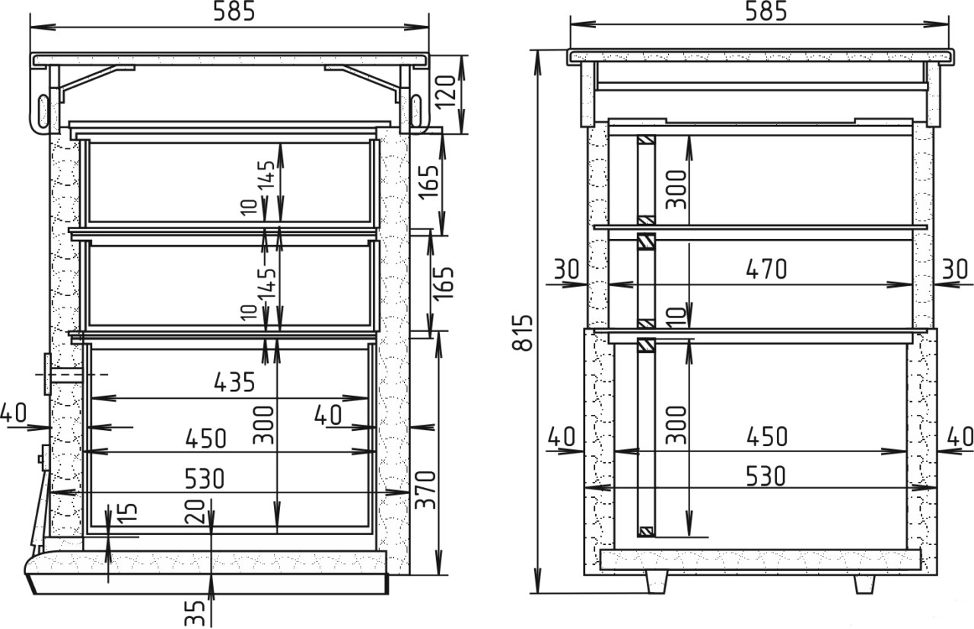
Drawings and dimensions
To assemble a bee house for 10 frames, you need to draw up an exact drawing with dimensions or use ready-made options. Options:
- strips – 1.8 by 0.4 cm;
- internal frame size - 45.2 by 45 cm, external dimensions - 51.2 by 51 cm;
- in section - the height of the body is 24 cm, the thickness of the side walls is from 3 to 4 cm (depending on the thickness of the prepared boards).
The dimensions can be slightly adjusted depending on the characteristics of the wood (in particular the thickness of the boards).
DIY assembly
The final assembly is carried out after preparing the parts. The bottom of the beehive is prepared from five boards glued together using PVA glue. Further actions:
- one of the sides is placed on the table, the next wall is placed on it (it is better to number the corners first so as not to get confused);
- a frame is installed at a distance of 7.7 cm from the edge;
- after adding elements, grinding must be done;
- small holes are cut in the walls to make it easier to move buildings;
- You need to cut a small notch on the front wall.
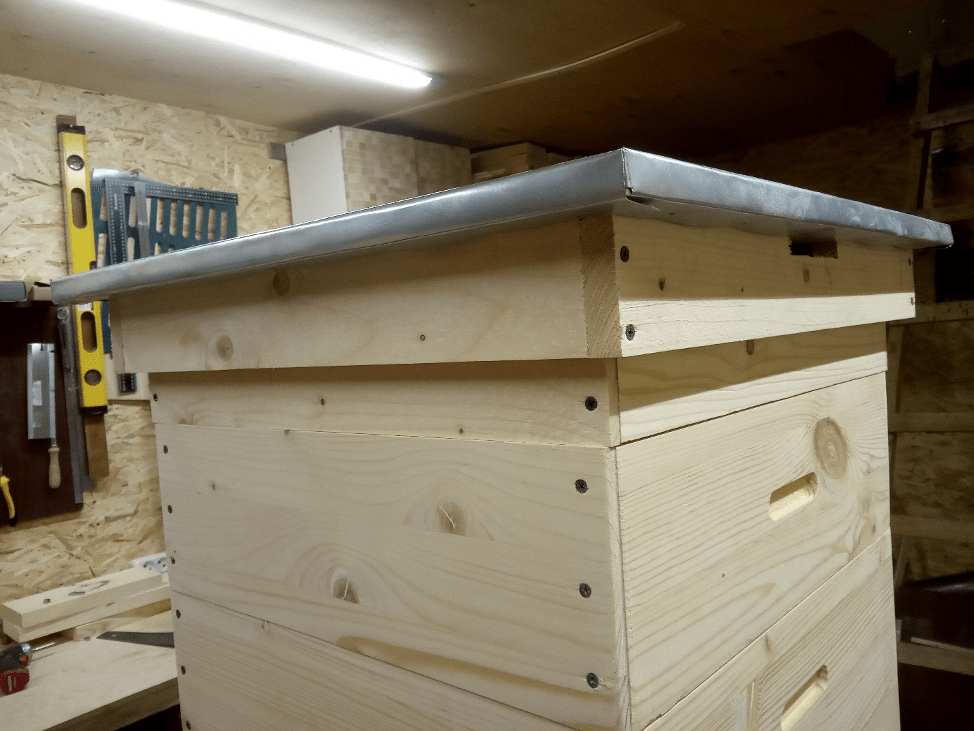
Small slats measuring 0.8 by 2 cm are nailed to the sides. The top of the house must be covered with tin to prevent moisture from entering during rain or snow (more precisely, to minimize the likelihood of liquid entering).
A double-sided bottom is a must for a 10-frame bee house. The ceiling should be 44.5 by 52 cm. Details in the video.
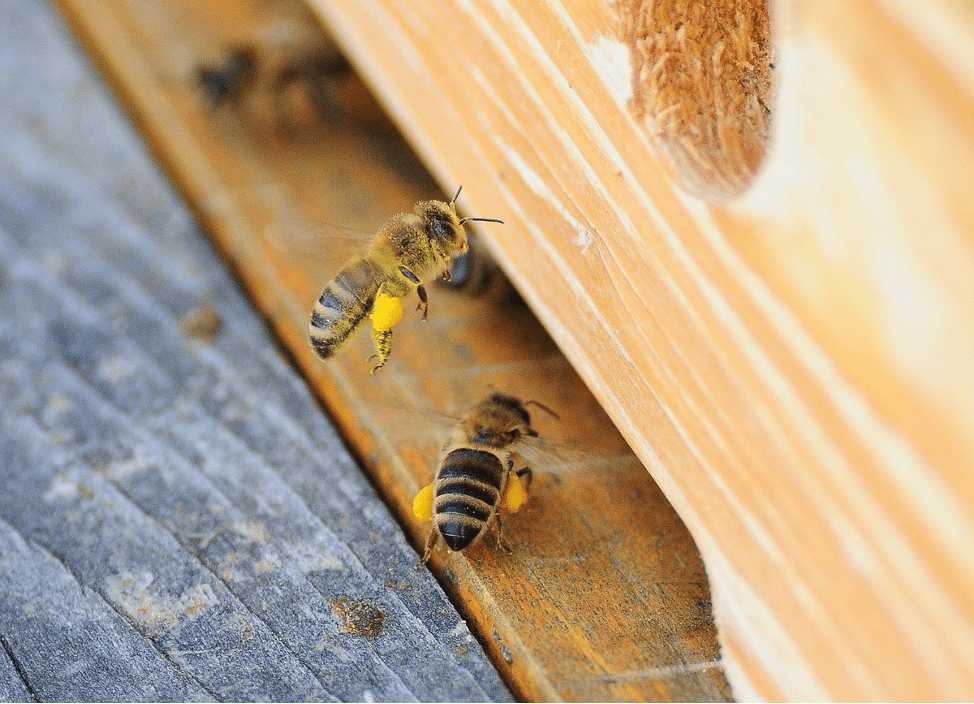
Entrances and ventilation
The entrance is necessary for bees to organize summer and collect nectar. For 10-frame buildings it is made across the entire width. Peculiarities:
- shape – rectangular or oval (depending on the preferences of the beekeeper);
- to make it comfortable for insects, you need to install a small board near the entrance (allowable width - 3.5 cm);
- on the sides it is worth making holes 1.5 cm in diameter for ventilation;
- ventilation holes are covered with grilles.
Insects need a sufficient amount of fresh air - excessive humidity promotes the development of diseases, bacteria (mold and other pathogenic elements).
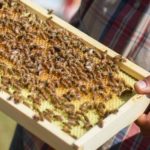
The 10-frame bee house is a design that is used in apiaries more often than others. In such a structure there is enough space for bees to reproduce and collect honey; it is important to check insects in a timely manner and collect the necessary products.