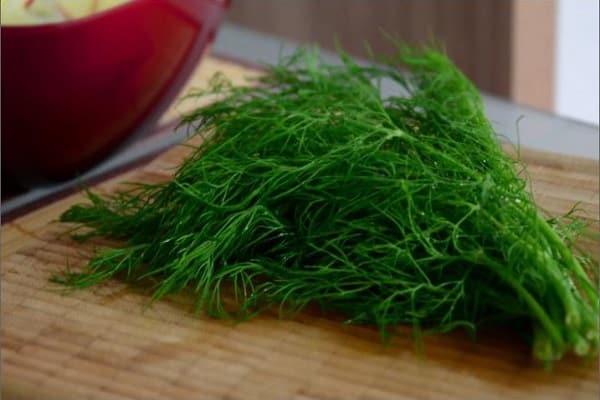
Our grandmothers also grew dill, as it is an aromatic and fragrant herb that is valued for its aromatic properties. Also, greens can be considered real medicine, obtained from the garden. Despite the fact that gardeners from all countries plant it, not everyone can get green branches. It happens that dill sprouts do not emerge from the ground, and if this happens, they turn out thin and have a yellow color. Growing crops has its secrets.
Types and varieties
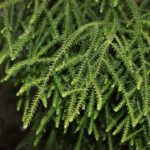
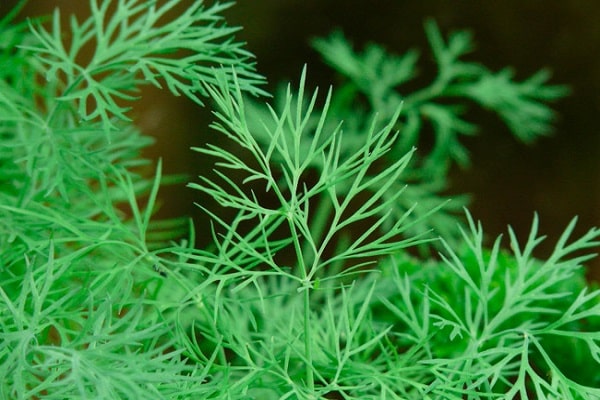
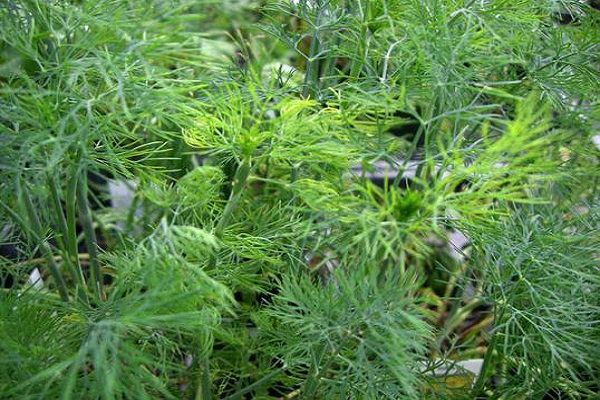
It is visually difficult to distinguish one plant variety from another. Real professionals note the difference between color saturation and the amount of wax deposits. Each variety has its own taste and aroma. Based on these characteristics, a person chooses what he likes best.
Early ripening varieties ripen 10 days earlier than late ripening ones. Dill, which belongs to the early varieties, sprouts 2 weeks earlier, but has poor splendor and is lighter in weight. This crop variety is preferred to be grown under film covers or in open soil.
The main purpose is to ensure an early harvest of greenery and obtain planting material for the next season.
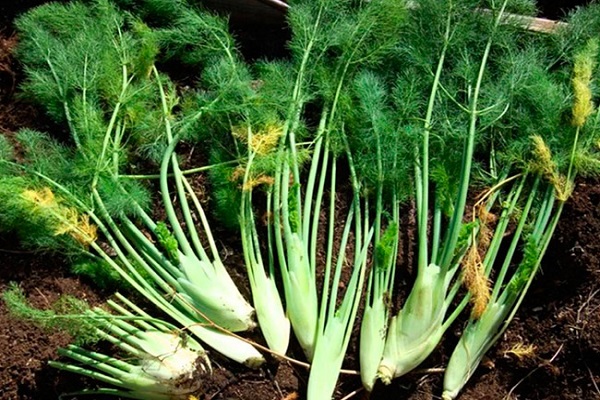
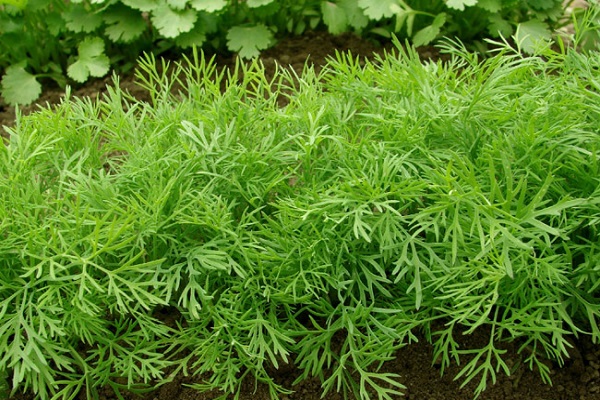
Dill varieties Late-ripening ones are distinguished by rich foliage and large weight of one plant. If the crop is in a rosette state, the harvesting period has arrived. As a rule, this process continues for two weeks. The Tetra and Kibray varieties are very popular among gardeners.

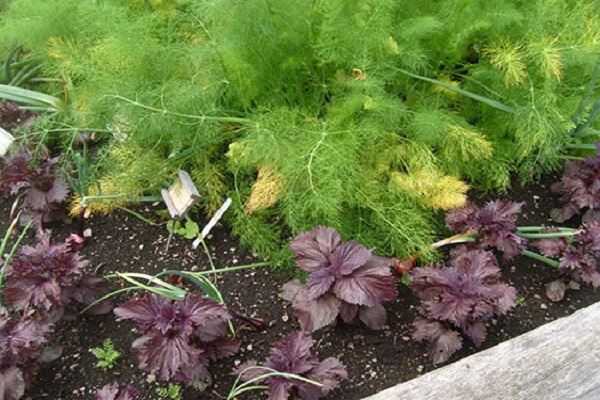
When choosing from the list of late-ripening varieties, gardeners give preference to bush crops. They differ from ordinary dill in the rapid development of the stem. Due to the formation of side shoots in the axils, the plant looks like a bush. A person who has chosen varieties such as Salyut, Gurman or Russian size can rest assured that dill will grow in the garden.
Late-ripening bush varieties are unsuitable for growing in the middle zone. They ripen quickly in the southern regions.
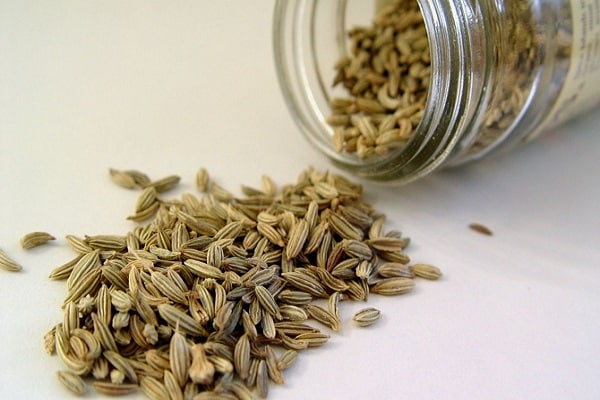
Seed preparation
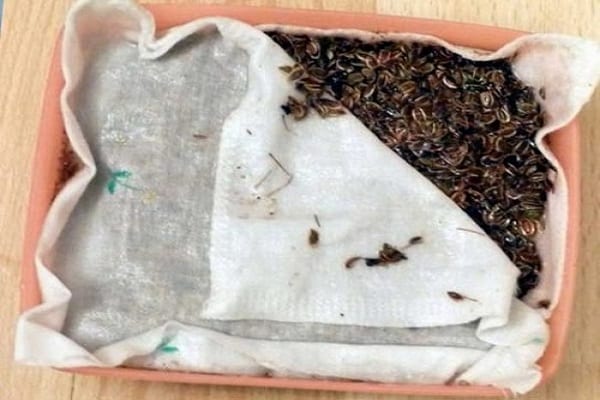
Before planting in the soil, the seeds undergo a preparation procedure. This is a good method to achieve maximum germination of planting material. To do this, it is pre-soaked. Take a soft cloth and soak it with moisture, after which the seeds of the crop are placed there.It is necessary to ensure that they are moist and do not dry out.
The dill planting material must lie in a wet napkin for at least 2 days in order to have time to swell during this time. If you leave it outdoors for 20 minutes, the excess moisture will evaporate from the seeds and they will be ready to plant. The first crop shoots, as a rule, appear 10-12 days after sowing. All this time the soil is kept moist.
Landing dates
Dill is planted in April. By this time, the snow has disappeared from the beds, opening direct access to the soil. The seeds of the crop germinate at a temperature of +3 °C. The weather outside is also taken into account - it should be relatively warm.
To get a harvest in early spring, planting is carried out at the end of March. To do this, the air must warm up well. If you sow dill seeds every 14 days, fresh herbs will grow in the beds. Gardeners who sow dill every year plant the crop at the end of April. In the heat of summer, greens also germinate well, but with certain care.
Soil preparation
Dill grows and develops well in open ground conditions. It is desirable that the soil is neutral and loose. If the soil is heavy, the gardener will never be able to get the desired result. The soil for planting is prepared in the fall so that planting material can be sown early.
in winter
In order for seedlings to appear as early as possible and to have the opportunity to enjoy fresh greens, planting is carried out in winter. The bed should contain fertilizers applied in the fall. Seeds are sown before the ground freezes. In this case, the planting material of the crop is placed deeper in the soil than during spring planting. If the area is covered with mulch, the soil does not become compacted.
Sowing dill seeds in the country
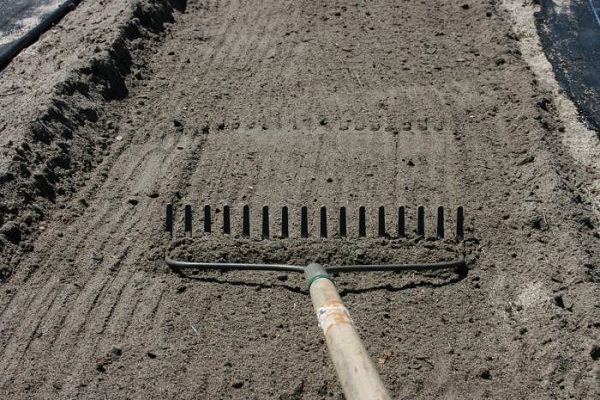
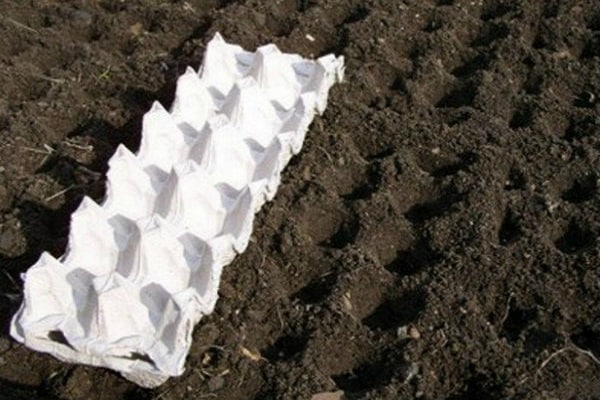
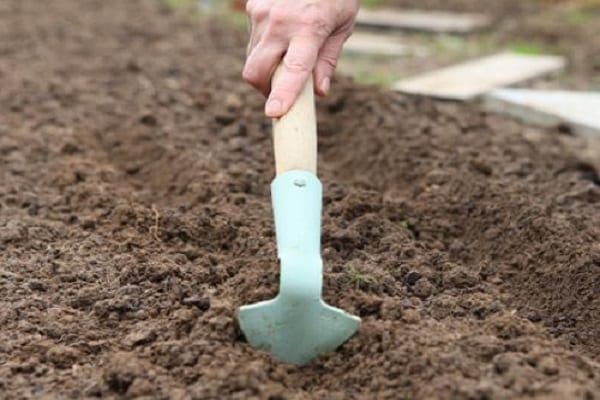
In the first spring month, humus or compost is added to the ground at the rate of 1 bucket per 1 square meter. m. Complex mineral fertilizers can be used as a replacement. After the soil is well moistened, seeds are sown in the beds using any method. Cover the top with vermicompost, compost or wet peat. Having slightly compacted the crops, water the soil with water from a watering can with a fine strainer so that the moisture can be evenly distributed.
If dill is sown for personal use, use the tape method. The row spacing should not exceed 25-30 cm. To obtain green mass, planting material is sown into the soil to a depth of 1.5-2 cm. After this, the soil is rolled. At a temperature of +3 °C, the first shoots of the crop appear. Dill is not afraid of slight frosts, so you can safely leave it in the countryside unattended.
Features of caring for dill
Dill is not particularly demanding and adapts to any soil after planting, so agricultural technology should not cause any particular difficulties. The culture is characterized by the following features:
- Feels great in moist soil.
- Tolerates frost well.
- A large amount of light promotes rapid growth.
The plant can develop in acidic soils, but the process will be slow. This point should be taken into account before disembarking. The content of essential oils in the crop prevents the germination of planting material. If you take into account the above features, a person will easily determine where to plant dill and will know what to pay attention to first.
Lighting and temperature conditions
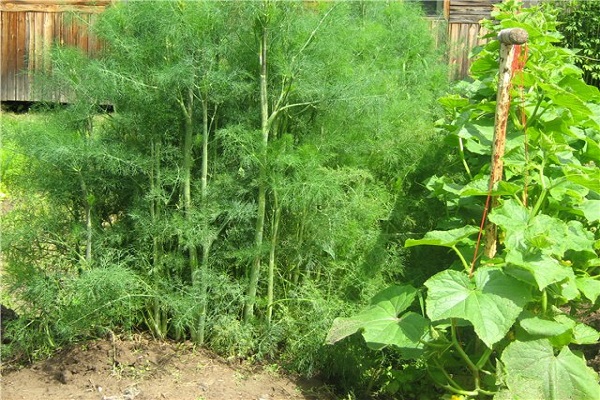
The beds with the crop are placed on the sunny side of the garden. Good predecessors are cabbage or cucumbers. Lack of lighting affects the appearance of the branches; they become thin and weak.If a piece of land is in the shade most of the day, choose another place for dill. This is also one of the important nuances that should be taken into account.

Due attention is also paid to temperature. Cold rainy days are not critical for dill. It survives any climate change well and adapts to the conditions. But culture can only fully develop in sunny weather.
Watering the plant
According to cultivation technology, the crop should be watered twice a day - morning and evening. It is important not to allow the soil to become waterlogged. Otherwise, it will affect the appearance of the plant. Greens will grow poorly, and the branches will turn yellow or red.
Loosening the soil
During the first 2-3 weeks after planting, the crop grows slowly. At this time, it is important to prevent the formation of a soil crust; if the soil is heavy, monitor this even more carefully. Regular loosening between the furrows contributes to a good harvest of dill. The procedure is carried out after watering, preventing the formation of a soil crust.
Top dressing
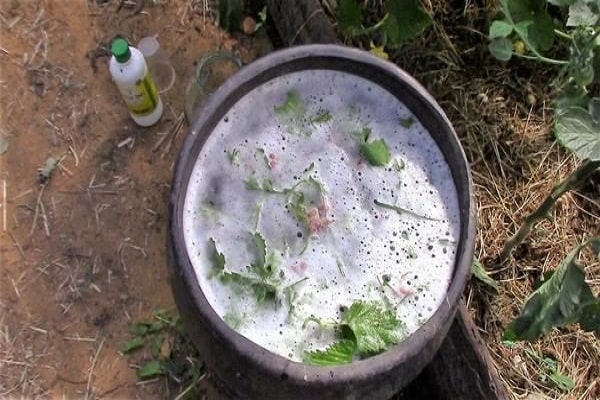
If the crop germinates well, it does not need fertilizer. As a rule, this is observed if the soil was initially well-dressed. If growth is weak, the plant should be fed with complex fertilizer. “Solution” has an excellent effect; take only 1 tbsp per bucket of water. l. substances.
Greens accumulate nitrates if gardeners use sodium or calcium nitrate, as well as urea. It is better to stop using them.
To speed up the growth of dill, do not use chemicals. As a treatment for greenery, weeds and pest-infested shoots are removed from the garden bed. With the onset of the new season, you need to change the landing site.If necessary, fertilize the crop and carry out preventive disinfection of the seed.
Pests and their control
Most often, the plant is affected by blackleg, fusarium wilt and powdery mildew.
Powdery mildew
It is a white coating that appears on stems, leaves and seeds. After powdery mildew infests the dill sprigs, they become unsuitable for consumption. The development of the disease is observed in the second half of summer, especially if the temperature drops at night. It can appear both in open and closed ground. It is prohibited to use chemicals to treat the crop.
To avoid contamination of a crop with a disease, it is necessary to do prophylaxis. Heat the collected seeds at a temperature of 50 °C for at least 30 minutes. Collect planting material only from healthy plants. Before planting dill in a new place, remove crop residues from last season.
Fusarium wilt
The disease affects dill leaves, which are closest to the ground. They begin to turn red or acquire a brown tint. Gradually all the branches change color and the plant fades. The reason for the development is a fungus that gets on the dill tissue if the care technology is not followed.
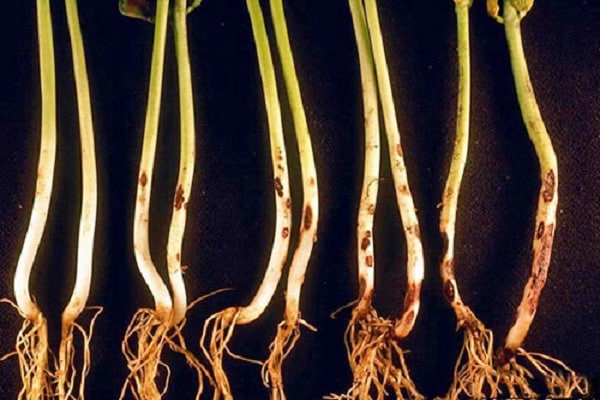
Blackleg
The death of the plant begins after the seeds germinate, since gardeners plant them in the soil already affected. The rotting of the root collar changes to the appearance of blackness and weakness of the branches. After this, the entire sprout of the crop dries out. The disease spreads even more if the soil is waterlogged. Blackleg also likes:
- shadow;
- insufficient oxygen in the soil;
- lack of loosening.
Blackleg can appear on plants that are planted in acidic soil.Its occurrence is also influenced by sudden temperature changes. The crop is affected by blackleg if it is infected with phomosis or cercospora. To avoid diseases, dill should not be planted in the same place.
Harvest and storage
Gardeners begin to receive sprouts of young greenery 35-40 days after planting the seed. Dill news is collected in different ways. While some people tear off large leaves, others uproot the plant. The most Dill is considered beneficial, the height of which exceeds 5 cm.
Despite the fact that the germination rate of the crop is average, after the sprouts appear it develops quickly. If the plant is not disturbed for a long period of time, it will reach a height of 25-30 cm, and sometimes higher. The greens are harvested before the flowering period begins, as the taste changes after that.
It is better to collect in the morning, at this time the greens are very juicy.
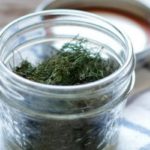
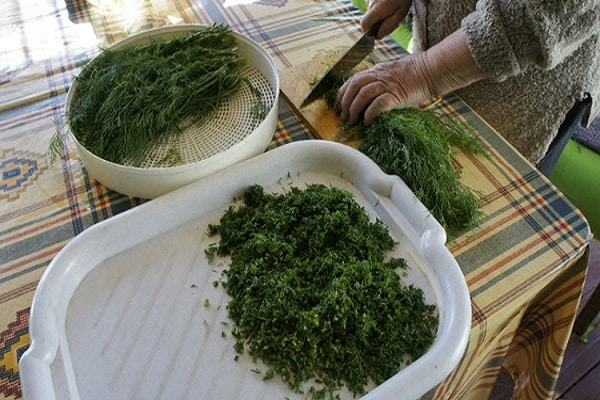
The yield of dill allows you not only to eat it fresh, but also to dry and freeze it for the winter. At the same time, it does not lose its taste.