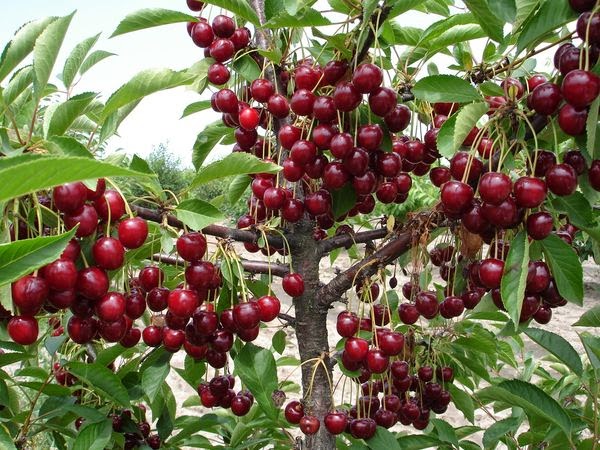
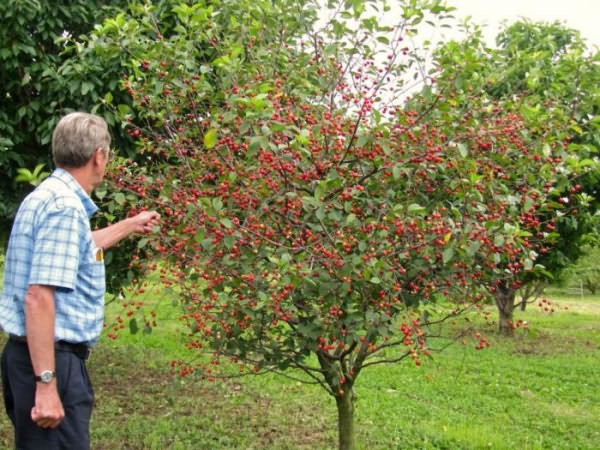
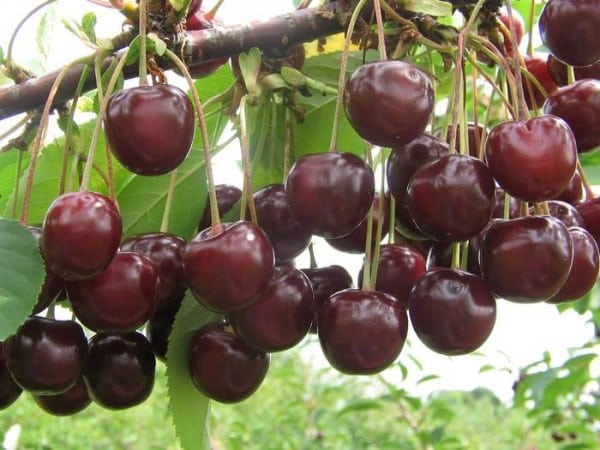
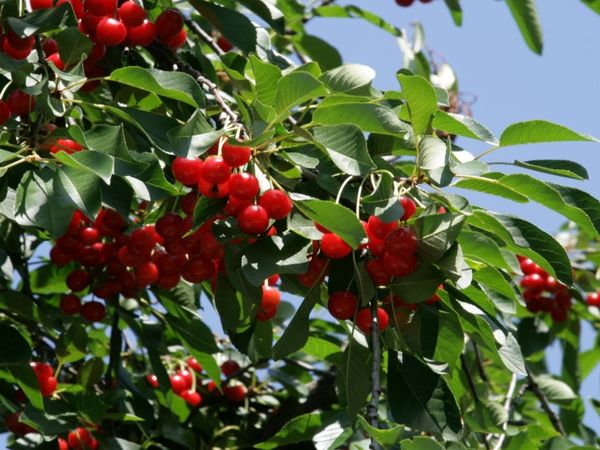
Cherry propagation - the process is quite simple, but only if you resort to the most common methods, using cuttings, shoots or taps. Growing from seeds is considered the most difficult, but, nevertheless, many gardeners try their hand at this process. The reward is a lush, beautiful tree, completely ready to be grafted with a good variety. Before growing cherries from seeds, it is better to understand all the features, of which there are quite a few.
Benefits of cherries grown from pits
Cherries grown from drupes have many advantages. The most important thing is that the plant is fully adapted to climatic conditions; additional hardening or the use of warm shelters is not required. Cherries also compare favorably with their hardiness and resistance to diseases; there will be no problems with care. Propagation by seeds is also recommended if you need to grow a tree to create a bonsai.
The disadvantage of growing a tree from seeds is that varietal characteristics are extremely rarely preserved. The only way to get sweet, tasty fruits is to graft.
The best varieties for germination
Not all varieties are suitable for planting seeds. It is recommended to use the following cherry seeds:
- Pink;
- Barbadian;
- Shpanka;
- Suriname;
- Felt cherry.
Even a correctly chosen variety does not guarantee that the experiment will be successful - bad weather conditions can destroy a young tree.
Requirements for seed material
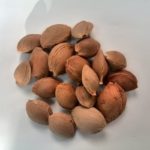
It is recommended to choose a mother tree in your garden, this ensures that climatic conditions will not cause much harm to the plant. It is better to use overripe fresh fruits to obtain planting material. Be sure to inspect the bones - there should be no damage or spots of rot.
Seed preparation and stratification
Be sure to remove the remaining pulp from the seeds and rinse them with warm running water. Pour water over the drupes and leave for three days, changing the liquid regularly. After drying for a short time, send the seeds into a container filled with damp sand, it will help preserve the seeds and cause sprouts to appear.
The stratification process is required; to do this, place the container in the refrigerator.Can be kept for several months in a cool, well-ventilated area. If autumn planting is carried out, there is no need for hardening; winter frosts will do an excellent job of stratification.
In what soil should I plant the seed?
The simplest version of the soil mixture is a ready-made substrate for seedlings, which is recommended to be purchased in the store. No less useful for plants will be the soil in which the mother plant grows at the dacha. Preliminarily subject it to special treatment, which will disinfect the soil. Sprinkle the soil generously with a pink solution of potassium permanganate or simply put it in the oven and heat it at high temperature.
Another option for treating the soil is to water it with boiling water.
If you use nutritious soil, you will not need to fertilize during planting. Otherwise, add some organic matter and mineral fertilizers. Place a drainage layer (broken small bricks, pebbles) in the pots.
Cherry planting and germination technology
For germination at home, small containers (up to 0.5 l) are usually used. If a container is used, you will have to maintain a distance between the seeds of 15 cm. If the drupes have managed to germinate in the sand, carefully lower them into holes made with a finger or a stick up to 3 cm deep. Gently sprinkle with damp soil mixture, carefully tamp with your hand.
If seeds without sprouts are planted, do not increase or decrease the depth - 3 cm is enough to germinate the seeds. Be sure to irrigate the soil surface. It is recommended to carry out the process with a spray bottle or simply pour it over the wall of the container.
To speed up the emergence of shoots and maintain humidity, build a greenhouse. A plastic bag or piece of glass works great for this purpose.After planting, place the container on a bright, warm windowsill. The first shoots will appear in 3-5 weeks. Sprouted drupes will sprout a little earlier—in 2-4 weeks.
Caring for seedlings is similar to growing indoor plants. Water regularly (use only warm liquid), loosen the soil surface. To destroy the crust that forms on the surface, use a thin stick. Do not loosen deeply - there is a risk of damaging the tender young roots and destroying the plant.
Fertilize with organic infusions, use a solution of mullein and humus. Fresh organic matter is strictly prohibited; such fertilizing can cause harm to the roots, even cause burns.
Cherries growing in pots are extremely rarely affected by pests or diseases. To completely eliminate the risk of disease or plant occupation by insects, it is recommended to carefully inspect the trees and, if necessary, use proven folk remedies or chemicals.
Caring for planted sprouts
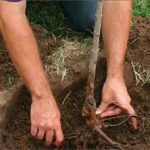
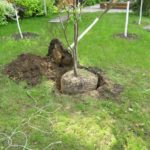
It is recommended to replant cherries in open ground at the age of 1-2 years. It is imperative to carry out the transplantation process before buds open or before frost. Prepare the pit in advance - add humus and potash fertilizers. Plant after a thorough inspection of the seedling; there should be no damage to the roots. Complete the planting by laying a thick mulching layer of sawdust or peat. Immediately install the support, make a small depression that will facilitate watering.
A prerequisite is regular but meager watering. Cherries, like most stone fruits, are afraid of excessive moisture, so it is better to irrigate the soil more often, but in small portions.Alternate watering with fertilizing, but only if the tree grows on too poor soil. Nutritious soils perfectly supply the plant with the necessary components, so in the first year after planting there is no need to apply fertilizer.
The soil in which the seedling grows should be loosened regularly. Do not go too deep; careless movements can damage the roots. Remove weeds - herbs growing abundantly near the tree will take away some of the nutrients, which will affect the condition of the plant.
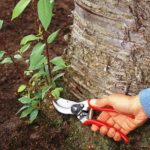
In order for the tree to grow and develop luxuriantly, it is necessary to carry out regular pruning. The first year, do not cut the branches - remove part of the main trunk. The recommended height at which to make the cut is about 65 cm from the soil surface. Carry out the procedure with a clean, sharp instrument. It is not necessary to cover it with garden varnish - pruning will not cause much harm to the cherry tree.
In spring and autumn, prune side shoots. Shorten them by a third. At the same time, remove dead, diseased or dry branches.
Another important rule for caring for planted cherries is regular inspection of the plant, which will allow you to promptly notice the development of a disease or insect infestation. Use chemicals or folk formulations to combat diseases and pests. The main thing is to carry out the procedure in a timely manner, preventing the spread of the disease or the proliferation of a colony of insects.
Cherry grafting
The first fruiting of cherries grown from seed will occur in 3-5 years, but you shouldn’t have much hope - the berries will be small and rather tasteless. It is recommended to vaccinate in a timely manner - this will allow you to obtain a varietal tree bearing large, sweet fruits.
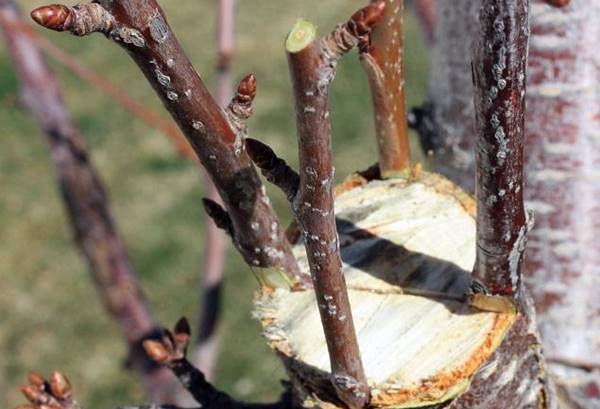
It is recommended to go to the garden for grafting in early spring, although it is better to prepare cuttings for the process in the fall. Store in a cool place or refrigerator. The simplest and most effective method of grafting is in a split. Engraftment of cuttings occurs in 99% of cases, but much depends on the quality of the scion and the development of the cherry grown from the stone. To avoid unpleasant mistakes, it is recommended to vaccinate when the tree is 2-3 years old.
Step-by-step vaccination:
- Shorten the stalk with a sharp knife, leave 4-6 healthy large buds, make a cut resembling a wedge.
- Cut the rootstock at a height of 25 cm, immediately make a cut in the trunk to a depth of 5 cm.
- Make sure that there is no dust or dirt at the cut site, insert the prepared cutting.
- Secure the grafting site using insulating tape (preferably with the sticky layer facing out).
- After fixing, use garden varnish - cover the area with the graft, and wrap the top with cling film.
The appearance of the first leaves on the grafted cuttings is a signal that the operation was a success. Cherry care does not change, but be sure to monitor whether the bandage is pinching the trunk. If necessary, loosen the fixing layer a little.
Water carefully - the tree is weakened after the operation, and overwatering threatens to rot the roots. It is better to irrigate the soil surface from a watering can, allowing the moisture to be completely absorbed into the soil.
Growing cherries from seeds is a process that will bring a lot of pleasure even to novice gardeners, because it is so interesting to watch the growth and development of a young tree. You won’t have to wait long for the reward - a few years after grafting, the tree will thank you for your care and attention with generous fruiting - juicy, sweet cherries.

