One of the most healthy and popular fruits is juicy, crisp apples. Many owners of even small summer cottages certainly grow this crop in their gardens, taking pleasure in caring for productive trees. Often apple trees are so generous that even after preservation a lot of fruit remains. There is no need to rush to sell them or simply distribute them to neighbors and friends - knowing how to dry apples at home, you can easily stock up on useful drying. It is recommended to use this tasty delicacy for preparing drinks, desserts, and baking.
- The benefits of dried apples
- Variety selection
- Preparing apples for drying
- Methods for drying apples for the winter
- On air
- In the microwave
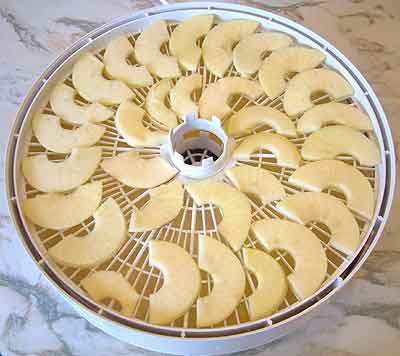
- Drying with an electric dryer
- In the oven
- Air fryer drying
- In a slow cooker
- How to know when dried fruits are ready
- Storing apples, important rules
- What and where to store
- Shelf life of dried apples
- What to do if there are insects in apples
The benefits of dried apples
Apple fruits are famous for their beneficial qualities and abundance of vitamins. Preserving them during canning is quite difficult - heat treatment removes most of the useful elements. Drying is the only way to leave all the substances necessary for humans in unchanged quantities.
During the drying process, the following are preserved:
- vitamins that normalize blood circulation, replenish the lack of certain elements in the body, increase immune strength;
- acids that improve the functioning of important organs and systems;
- minerals that saturate with useful elements and increase resistance to diseases;
- phytoncides that prevent the development of pathogenic microorganisms and infections;
- sugar that restores strength;
- polysaccharides that reduce the amount of cholesterol in the blood.
We should not forget that drying is prohibited for certain diseases. If you have diabetes, it is better to refuse tasty treats - some components can cause complications.
Variety selection
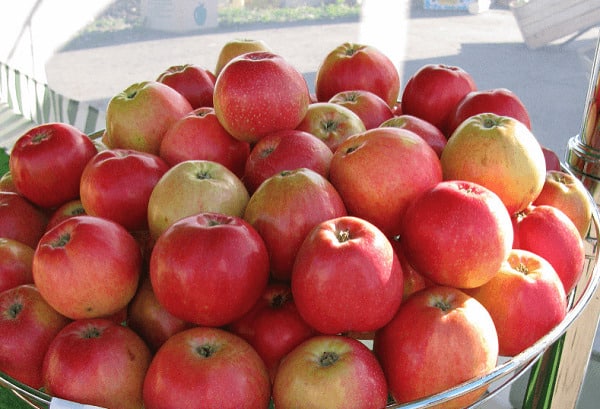
The choice of fruits for dried fruits has several features. Apples must certainly be large, with a small seed pod. It is recommended to use fruits with thin skin.
Summer varieties are sweeter, so drying them produces a slightly sweet flavor.
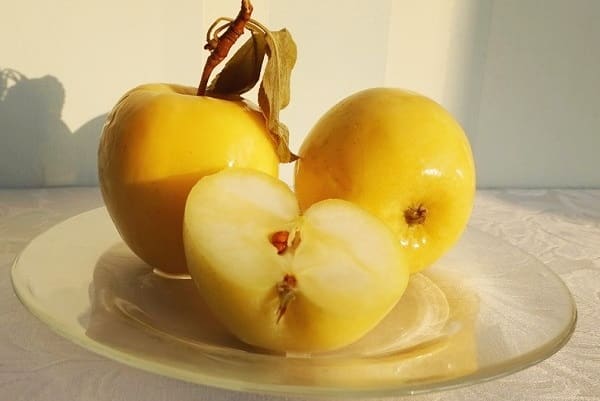
Sour varieties lose acid in the process, so you can safely use them. The most popular varieties of apples for making dried fruits are Antonovka and Pepin.
Preparing apples for drying
The preparation of fresh fruits is carried out in several stages.It is important to process as many apples as will fit on the baking sheets to dry. Long-term storage has a negative effect on peeled and cut fruits; they become dark. There is no need to wash the apples; excess moisture will prolong the process.
Prepare in this order:
- Dry the fruit with a clean towel.
- Remove the core with a special device.
- Do not remove the peel, especially from self-grown apples.
- Cut the prepared fruits into thin pieces. The drying time depends on the thickness of the slices, so it is not recommended to make them more than 5 mm.
- If the slicing process takes a long time, sprinkle the finished apple pieces with lemon juice or soak for 3 minutes in a saline solution (80-90 g of salt per bucket of water), which prevents darkening.
Start drying immediately; storing raw materials is not recommended - this will affect the taste.
Methods for drying apples for the winter
There are several ways to turn apple particles into flavorful dried apples. If the process is carried out in the hot summer season, it is not even necessary to use kitchen appliances; the warm sun will cope with the task no worse than a multicooker or oven.
On air
Drying in the sun is suitable for residents of hot regions - one cool or damp day is enough to spoil the fruit slices. You can dry an unlimited number of fruit slices at one time.
We recommend using large parchment-lined baking sheets or wire racks for drying. Be sure to lay the slices in one layer. Turn over regularly during the process.
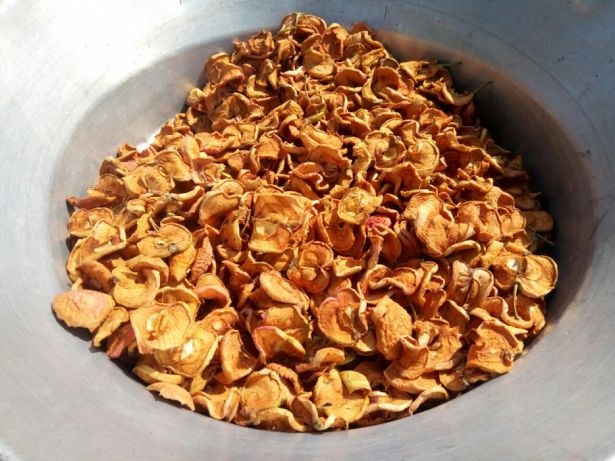
Another way is to string the prepared slices on threads and hang them in a sunny place. To prevent the destructive work of insects or flies, wrap the bundles with gauze. The duration of the process is 3-5 days.All that remains is to collect ready-made dried fruits and save them for use in winter.
In the microwave
Using a microwave allows you to dry much faster than in the open sun. The process is usually carried out in several stages:
- Arrange the fruit pieces on a plate in one layer.
- Turn on low power, drying time - 30-40 seconds.
- After excess moisture has evaporated, turn the particles over and put them back in the microwave.
- Set power to 300W, dry for 3-5 minutes.
Remove the finished dried fruits and store for storage after cooling. You can dry a lot of fruits in this way without much difficulty or time.
Drying with an electric dryer
The electric dryer is quite popular among housewives who make large supplies of drying materials for the winter.
Step-by-step process:
- Arrange fruit slices in trays.
- Place the filled trays in the dryer in several tiers.
- Leave at a temperature of 60-65 degrees for 6-8 hours (depending on the size of the particles).
After turning off the dryer, check readiness - press the slice with your finger; if moisture does not release, place it in storage containers.
In the oven
It is recommended to cook dried fruits in a gas or electric oven. The process differs little from using an electric dryer. The main thing is to choose the right temperature and turn the fruit slices in a timely manner.
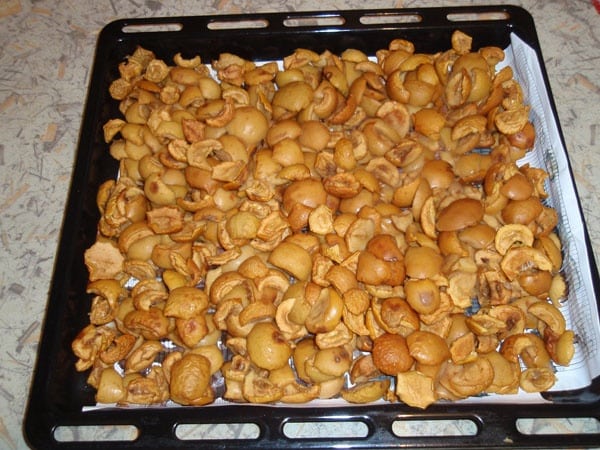
Place the prepared fruit slices on a baking sheet (pre-cover with parchment) and place in the oven. Dry the apples for about 4 hours. Temperature - up to 65 degrees.
Air fryer drying
Drying apple pieces is easy in an air fryer - the process will only take about an hour. It’s not difficult to cope with the work - arrange the prepared slices on the levels.Make sure that they do not lie too closely - this will extend the cooking time.
Turn on the device, temperature - 100 degrees. After turning off the air fryer, make sure the treats are ready and place them in storage containers.
In a slow cooker
The fruit particles are also dried in a slow cooker, which will cope with the task in a short time:
- Place the prepared slices into the bowl.
- Turn on the “Baking” mode for 40 minutes.
- Turn the pieces over and leave to dry for another quarter of an hour.
Spread in one layer on the countertop, leave until completely cooled, and place in clean, dry containers.
How to know when dried fruits are ready
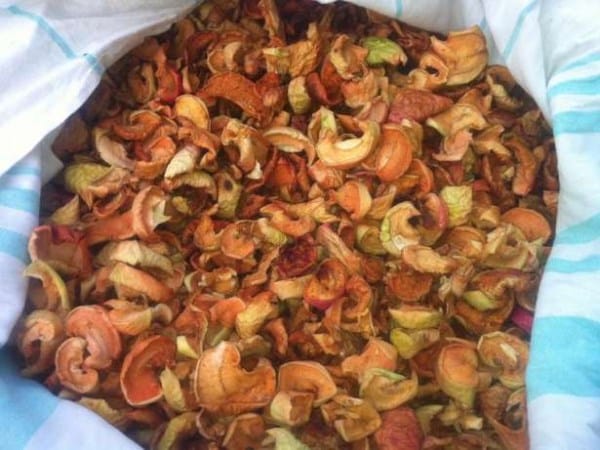
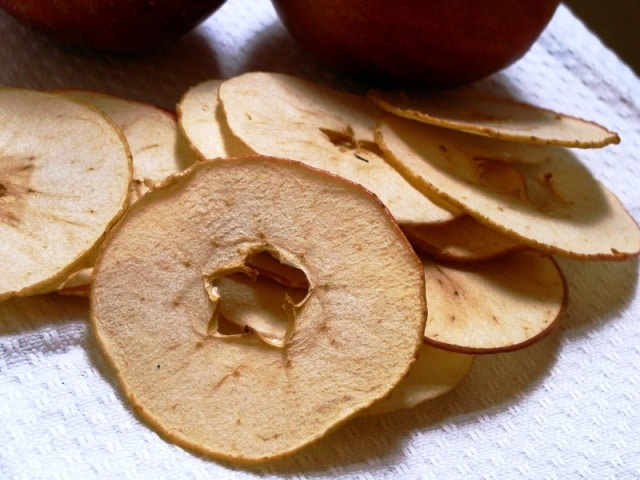
It is not difficult to determine the readiness of the particles even visually - the skin darkens. It is better not to pay attention to the pulp; it may take on a different shade. You can press the dried part with your finger, if after strong pressure it does not spread, the dried fruit is ready.
It should be remembered that too dark particles usually indicate overdrying. It is recommended to use them first; during storage they can lose their taste.
Storing apples, important rules
After drying, it is recommended to carefully review all the particles, select those that have not been dried, and send them additionally to the oven.
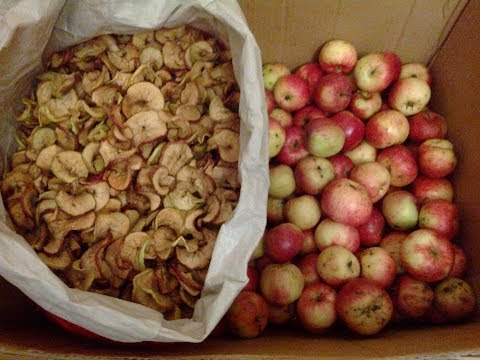
Pour the dried fruits into a large canvas bag and leave for several days. This allows all particles to acquire the same readiness.
After 3-5 days, examine the apple slices again. If suspicious (soft) particles are found, set them aside and use them first.
What and where to store
Regardless of where the storage will take place, in an apartment or in a country house, it is recommended to adhere to the basic rules.The most common way to store fruits is to use cloth bags that can be tied tightly.
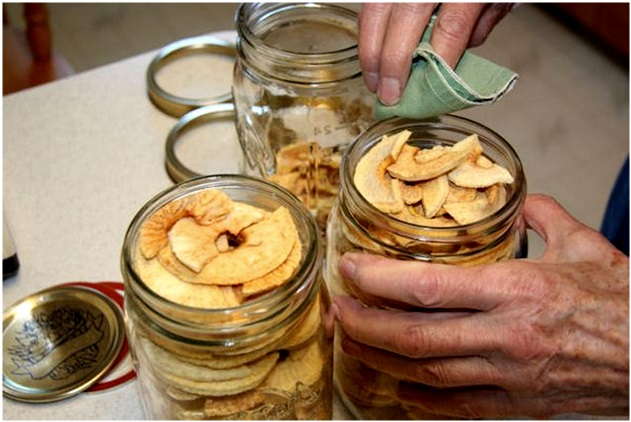
It often happens that there is high humidity in the room, which is undesirable when storing dried fruits. To prevent dry apples from spoiling, it is recommended to send them to containers or clean jars that close tightly. Many housewives use this method to prevent food moths from infesting them; pests will not be able to get into sealed containers.
Paper bags or cardboard boxes are also good for storing dried fruits. To keep apple slices longer, be sure to place them in a dry room - if the packages become damp, this will have a detrimental effect on the product.
Shelf life of dried apples
The shelf life of dried apples is about three years. During this period, be sure to carry out regular drying checks. If signs of spoilage appear, sort out the unusable particles and re-dry the remaining ones.
If summer varieties were used to prepare dry fruits, some of them have a short shelf life. It is recommended to store them separately and use them first for preparing food or drinks.
What to do if there are insects in apples
It often happens that if dried fruits are not stored properly, insects infest them, which in a short time can destroy or spoil the entire stock. If pests are found in drying, you need to act immediately - this will save most of the fruit.
The first stage of pest control is a careful inspection of every piece of fruit. If insect eggs are found, discard the slices immediately. Place the remaining dried fruits on baking sheets and place in the oven.Dry the slices for half an hour at a temperature of 65 degrees.
If it is not possible to use the oven, it is recommended to resort to another method. Insects also cannot tolerate frost, so leave it to dry for several hours at a low temperature.
It is strictly not recommended to use chemicals to get rid of insects; products after processing are unsuitable for consumption. If there are pests in the closet where dried fruits are stored, the fruits should be subjected to additional drying or freezing, and the room itself should be treated with toxic agents at this time. After killing the insects, wash all surfaces and only then return the dried fruit particles.
Drying apples is a process that allows you to stock up on valuable ingredients for baking, compote, and delicious desserts. It is not difficult to cope with the workpiece; the main thing is to carefully study the important rules and strictly follow them. In winter, delicious slices will certainly remind you of warm days filled with pleasant chores.

