Probably everyone who has their own garden plants apple trees in it. Often it is not even one tree. And when the time comes to harvest, a reasonable question arises: what to do with the fruits that you did not have time to eat. Actually options storing apples there are many, but the most useful is freezing, since in this case the maximum amount of vitamins remains in the product. This article will discuss how to properly freeze apples for the winter in the freezer.
Features of freezing apples at home
There are certain rules that you need to follow if you want to get a quality product:
- Before freezing, fruits must be dried to prevent them from sticking together.
- The fruit cannot be re-frozen, so it is packaged in small portions.
- To prevent the peeled slices from turning black, you need to soak them for a quarter of an hour in a slightly salty or slightly acidic solution.
- For winter preparations, choose a ripe, undeformed product.
- Do not freeze fruits that have been picked for a long time. Make sure that a minimum of time passes between harvesting and processing.
- Apples can be frozen without peeling them. If necessary, it can be easily removed from slightly melted fruit.
- Apples are frozen at a fairly low temperature, so the freezer must work properly.
What varieties of apples are best?
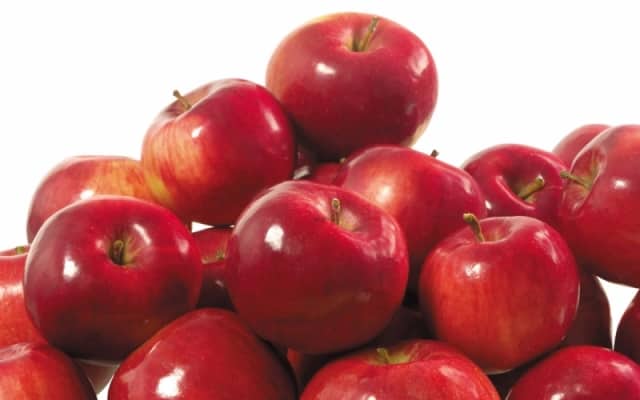
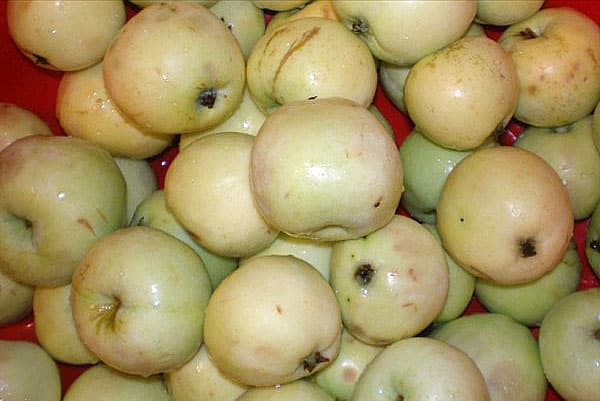
Of course, not all apples are suitable for freezing. They prefer late (autumn or winter) sweet and sour varieties: Antonovka, Golden, Kutuzovets, Sinam and many others. The specific variety will depend on the purpose of further use.
For example, Jonathan and Golden Delicious retain their shape best, while Fuji and Gala retain their sweet taste. But remember, like most frozen foods, apples will change slightly in both texture and taste.
Preparing fruit for freezing
To prepare fruit you will need:
- apples;
- water;
- towel;
- knife;
- cutting board;
- baking sheets or trays;
- bags or containers for storage.
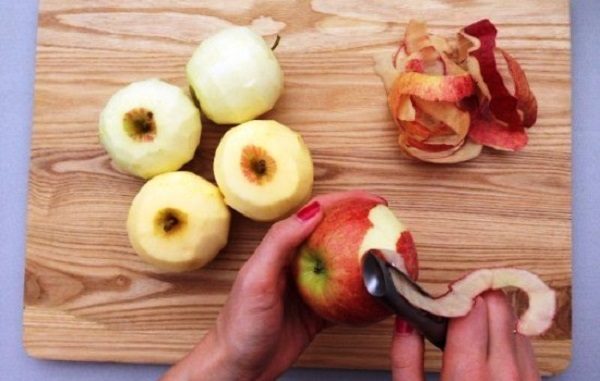
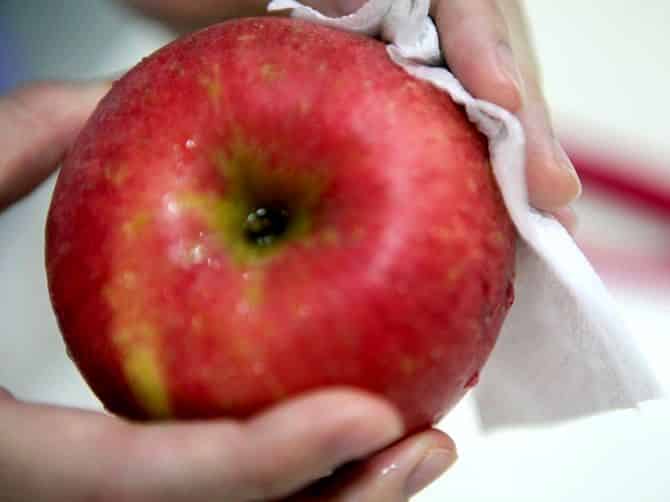
Collect ripe whole apples, wash them thoroughly with water and wipe dry with a towel. If necessary, cut off the peel with a well-sharpened knife. Cut out the stem, tail, and core. Next, you need to cut the fruit using the chosen method.If you plan to freeze whole fruits, then simply wipe them thoroughly.
Required temperature
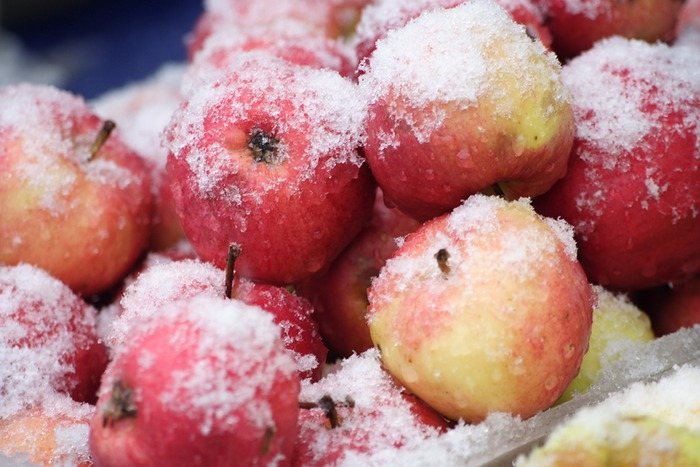
Most recipes recommend storing apples at a temperature of minus 18 degrees and below.
The colder it is in the freezer, the longer the fruit can be stored.
There is also an option that involves shock freezing. In this case, the apples are immediately packaged in containers or bags and sent to the freezer. The freezer compartment is set to the “ultra-fast freezing” mode.
Any of the above methods requires the ability to regulate the temperature of the freezer.
Ways to freeze apples for the winter
There are different ways to freeze apples. They will differ depending on the capacity of the freezer and the purpose of freezing.
Entirely
For this freezing option, you need to take fresh apples. First they are washed and dried with a towel. Next you need to remove the seeds (this rule is not mandatory, but it is better to do it now, because it is much easier). If necessary, you can peel the fruit. If this is done, be sure to keep them in a special solution, which was mentioned at the beginning of the article. This will help maintain an appetizing appearance even before the apples end up in the freezer.
To prepare it you will need:
- water - 1 liter;
- citric acid - 5 grams.
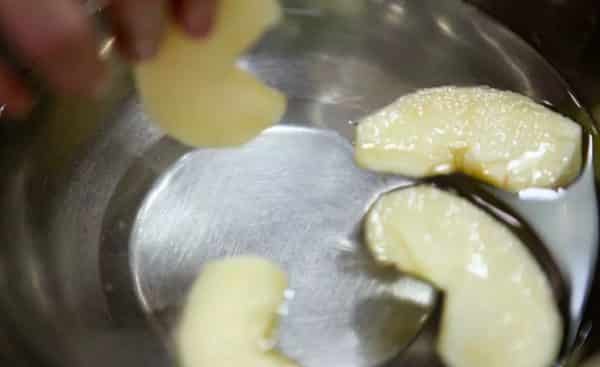
Mix the acid thoroughly in the water and keep the chopped fruit in the resulting solution for at least a quarter of an hour.
Afterwards, the fruits are packaged in bags or sealed containers and stored.
Apples frozen in this way can remain in the freezer for up to six months. Whole fruits can then be baked, added to pies, pies, or made into compote.The only disadvantage of this freezing method is that fruits take up a lot of space, and storing them can be simply inconvenient.
In slices
Another freezing option that is popular is sliced apples. First you need to rinse the fruits well and dry them with a towel. Next, if desired, you can remove the peel (if you plan to cook compote, then it is better to leave the peel, but for various types of fillings, cut it off). Cut the apples into 4 parts and remove the seeds, stem and tail. Next, the fruit is cut into slices or plates of the required size. To preserve the appearance, do not forget about the salt or lemon solution.
Then place the slices on a baking sheet or kitchen board. To simplify the task of transferring, it is better to cover it with parchment or cling film. Carefully place the tray in the freezer compartment of the refrigerator.
The main thing here is to arrange the fruit slices correctly: make sure that they do not touch each other.
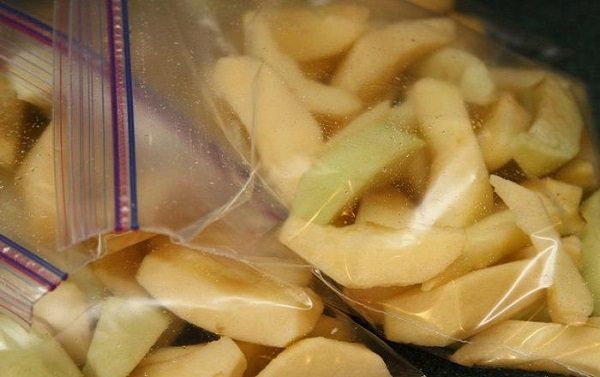
After about 3 hours, you can take out the chopped apples and pack them in bags or storage containers. They try to prevent air from getting into the container - this will increase the shelf life. Fruits frozen this way take up much less space.
Dry freezing
With this option, apples are frozen in two temperature conditions, so you need to have a freezer with the ability to adjust the cold supply. Apples are also laid out on a board or baking sheet in one layer.
Don't forget to check that the pieces don't touch each other. The fruits are placed in the freezer for a couple of hours at a temperature of minus 23. Then the fruit is taken out, packaged and stored at a standard temperature of minus 18 degrees.
In sugar syrup
This freezing method is very popular among housewives for two reasons:
- thanks to the syrup, the shelf life increases to a year;
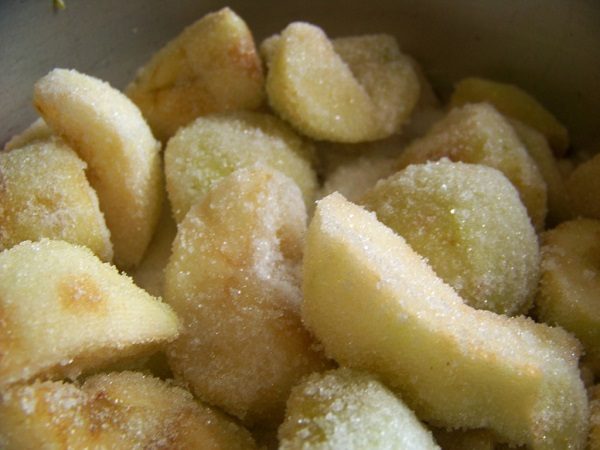
- The apples become sweet and can be eaten as a separate dish without any further processing.
Ingredients:
- water - 0.75 liters;
- sugar - 0.45 kilograms;
- ascorbic acid - 1.5 grams.
Recipe:
- Prepare syrup from the indicated ingredients.
- Cool and pour over the chopped apples.
- After a day, pour boiling water over the pieces of fruit (it’s more convenient to use a colander for this), place them on a tray according to the scheme described above and put them in the freezer for freezing.
- After 2-3 hours, pack the apples and store them in the freezer. Do not forget to monitor the absence of air in the container.
Preparation of puree
This option for freezing the product is perfect for using purees as fillings for baked goods or for baby food. In the first case, you can add sugar to taste, in the second, it’s better to do without it. To prepare applesauce, you need to wash the fruit, dry it with a towel, cut off the peel in a thin layer, remove the stem, seeds and tail.
Prepared apples need to be cut into small pieces, placed in a saucepan and filled with a small amount of water. Wait until the resulting mixture boils, reduce the heat to low and simmer, stirring constantly, until the fruit reaches the required consistency. Cool the resulting mixture. If necessary, you can further puree in a blender. The finished puree is frozen in jars. The shelf life is on average 10 months.
Storage
The shelf life of frozen apples at a temperature of minus 18 degrees is on average 9 months, but it may vary depending on the freezing method.If you want to prolong it, then you need to soak the fruits in a salt or lemon solution.
Ingredients for the brine solution:
- a tablespoon of salt;
- 4 liters of water.
Cooking method:
- Combine salt and water and mix well.
- When the salt has completely dissolved, lower the apple stock into the solution for just a few minutes.
- Next, spread on a baking sheet and freeze in the standard way.
Ingredients for the sugar solution:
- sugar - 2 cups;
- water - 3 glasses.
Cooking method:
- Mix everything thoroughly until the granulated sugar is completely dissolved.
- Pour the solution over the apple pieces for a few minutes and mix well.
- Place on a tray and freeze using one of the methods described above.
If the freezer does not support such low temperatures, you can also freeze apples for the winter, but they will only be stored for 3 months. For packaging, choose storage bags or airtight containers. Be sure to completely release the air from the bags if possible, and close the containers tightly. And in order not to miss the end of the shelf life, they sign the packaging date of each container.

